Did you know your seemingly private PDF documents could be silently broadcasting a wealth of personal and professional information? From your name and company details to precise editing timelines, hidden metadata lurks beneath the surface. Whether you're handling confidential legal contracts, sensitive financial reports, or valuable client portfolios, mastering the art of metadata removal is crucial for safeguarding your privacy. This guide unveils your arsenal of tools and techniques to thoroughly scrub your PDFs clean in minutes, preventing potential data leaks and ensuring your documents remain truly private. Let's dive in and take control of your PDF security.
Method 1: Remove PDF Metadata with Adobe Acrobat Pro
Best for: Professionals needing thorough, compliant metadata removal
While Adobe Acrobat Pro offers a straightforward process for removing PDF metadata, this feature is only available in the paid version. A quick guide is provided below:
Why Use Acrobat Pro?
- Removes 100+ hidden fields (author, edits, comments, attachments)
- Batch processing is available via Action Wizard
- GDPR/HIPAA compliant for legal/medical docs
Step-by-Step Guide
1. Open: Launch Acrobat Pro and open your PDF (File > Open).
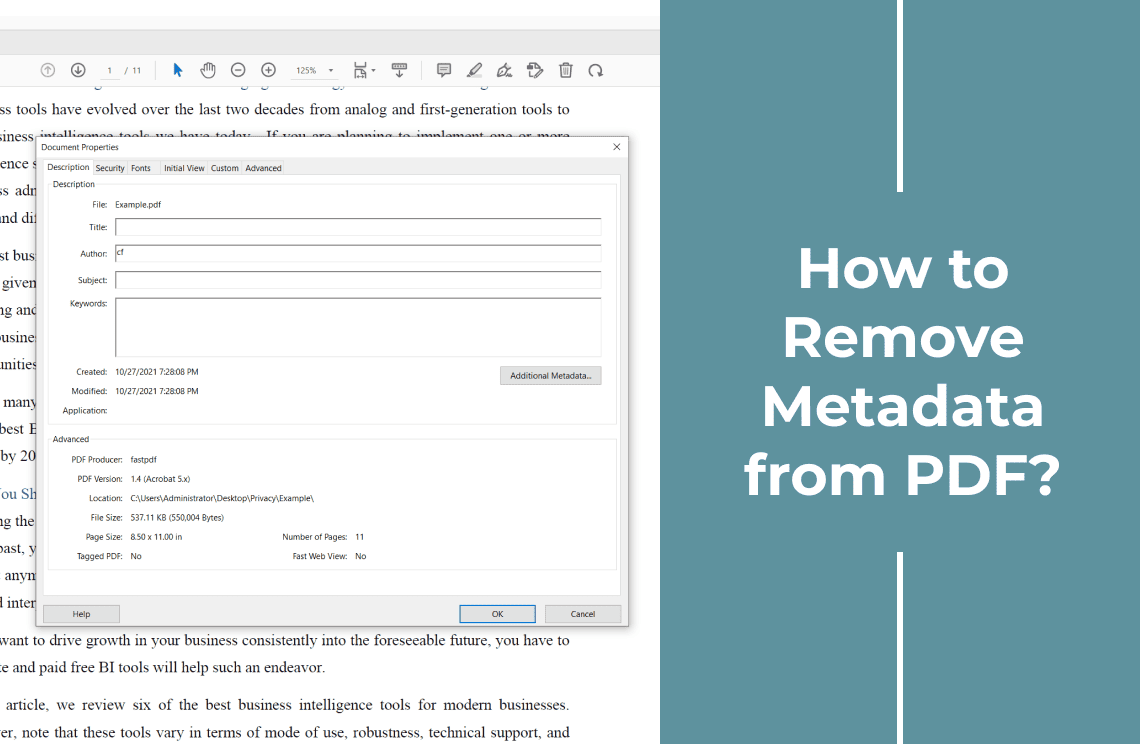
2. Properties: Go to File > Properties (Ctrl+D).
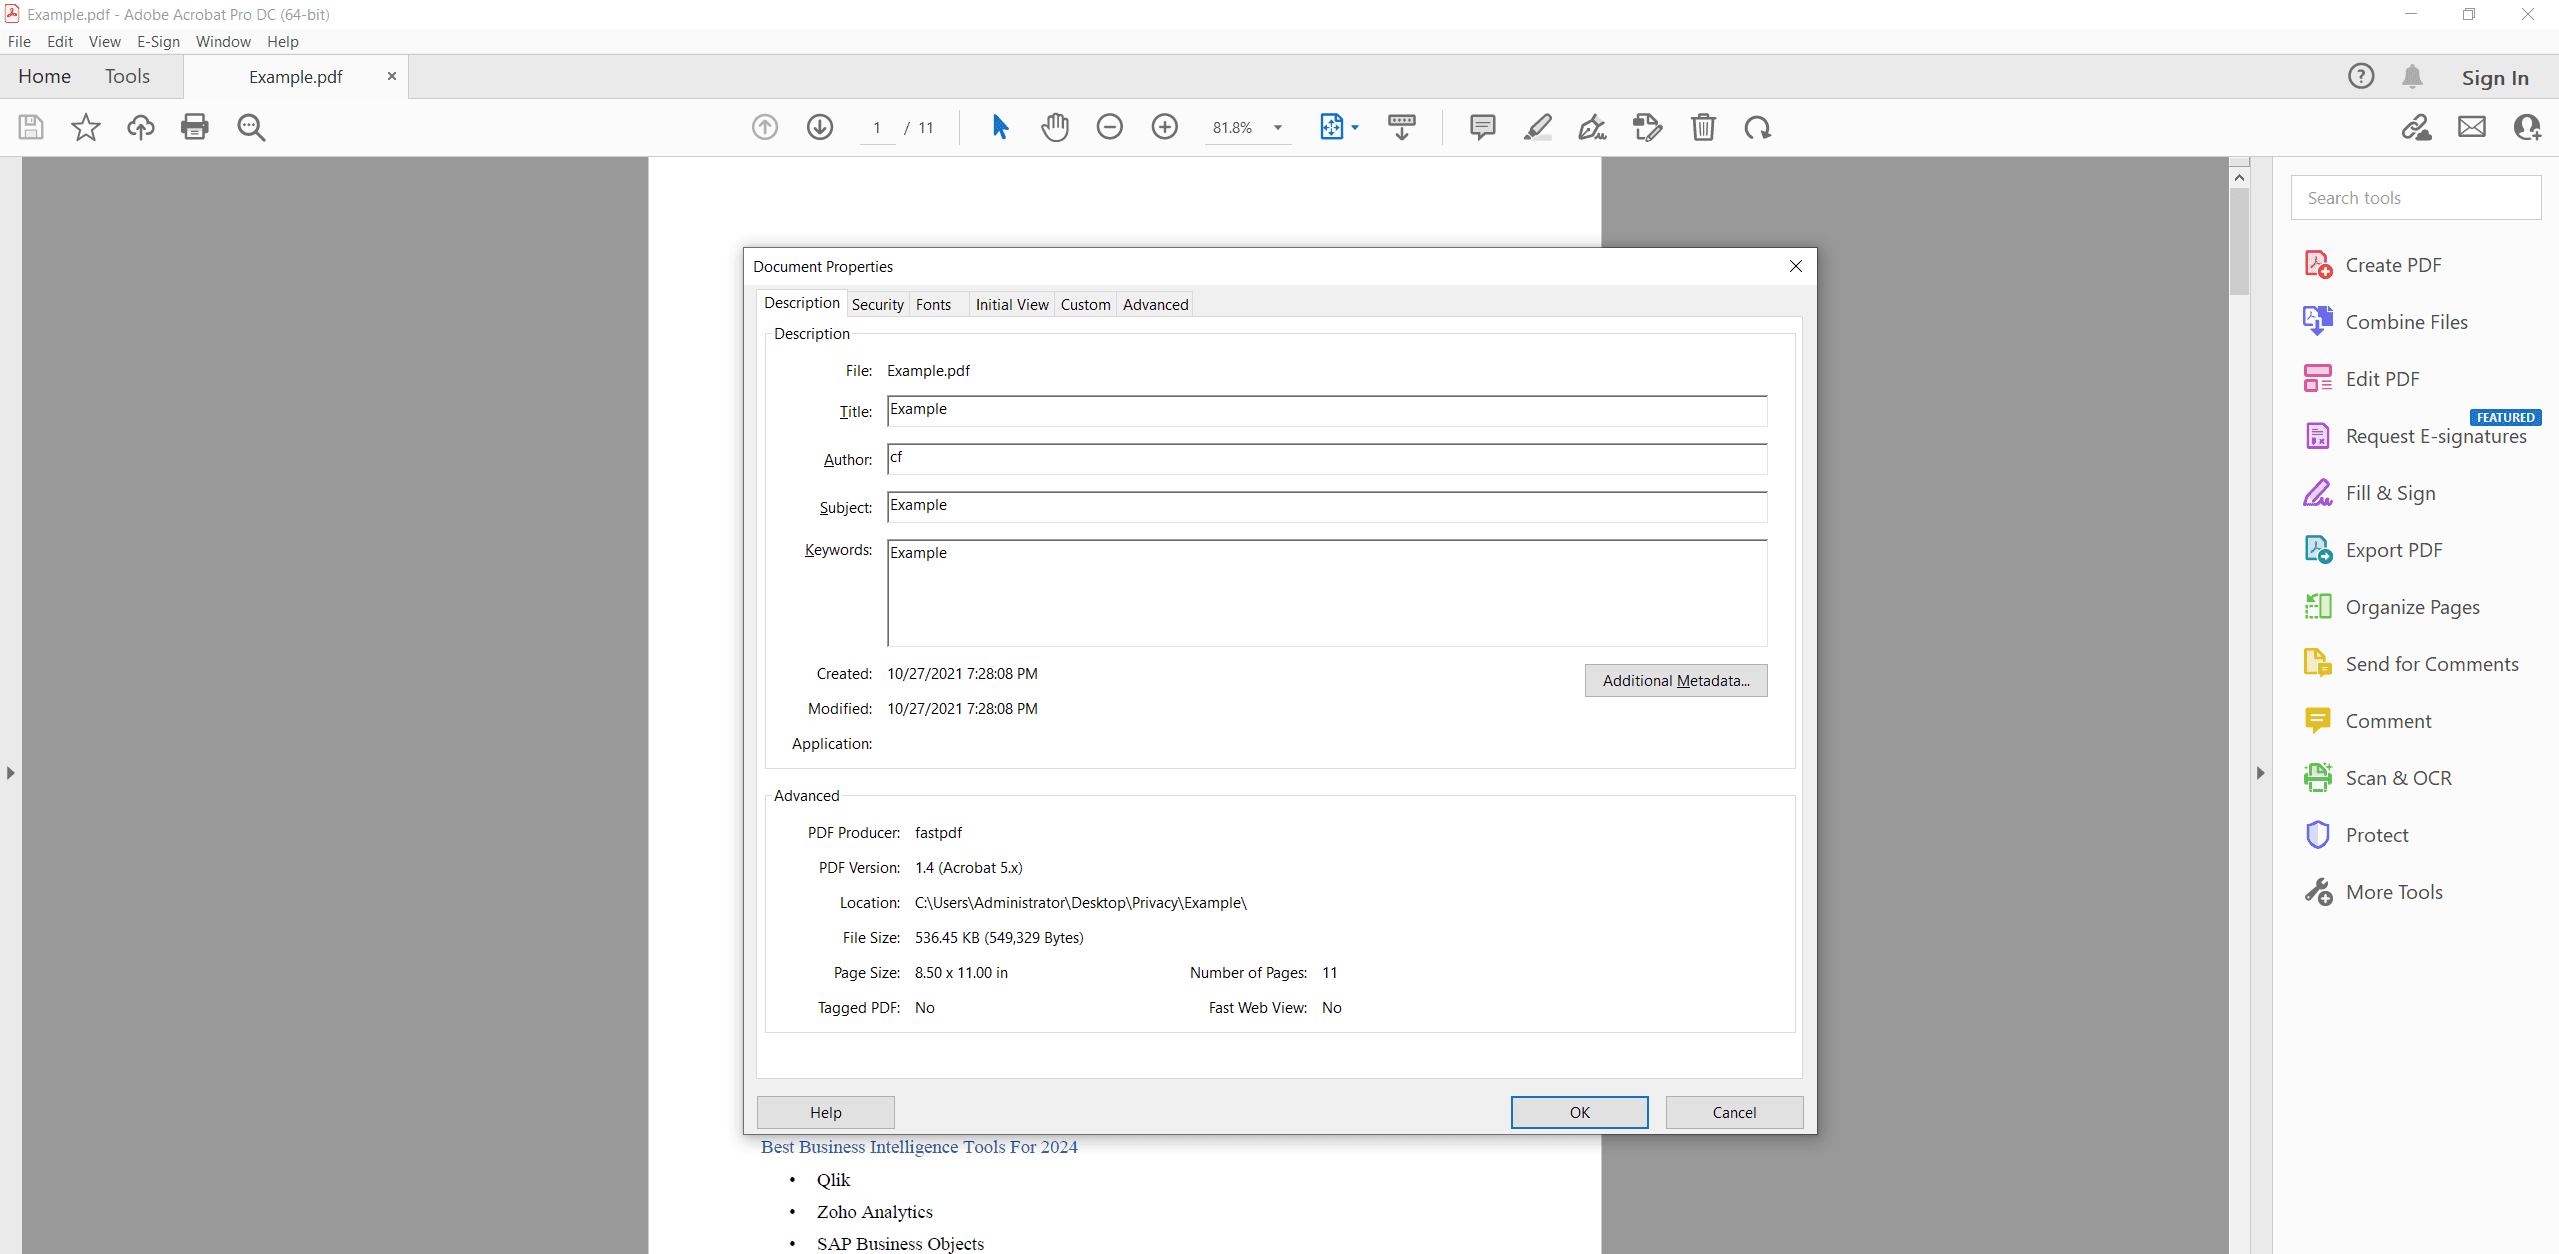
3. Basic Info: In "Description," clear or change Author, Title, Keywords, and Subject.
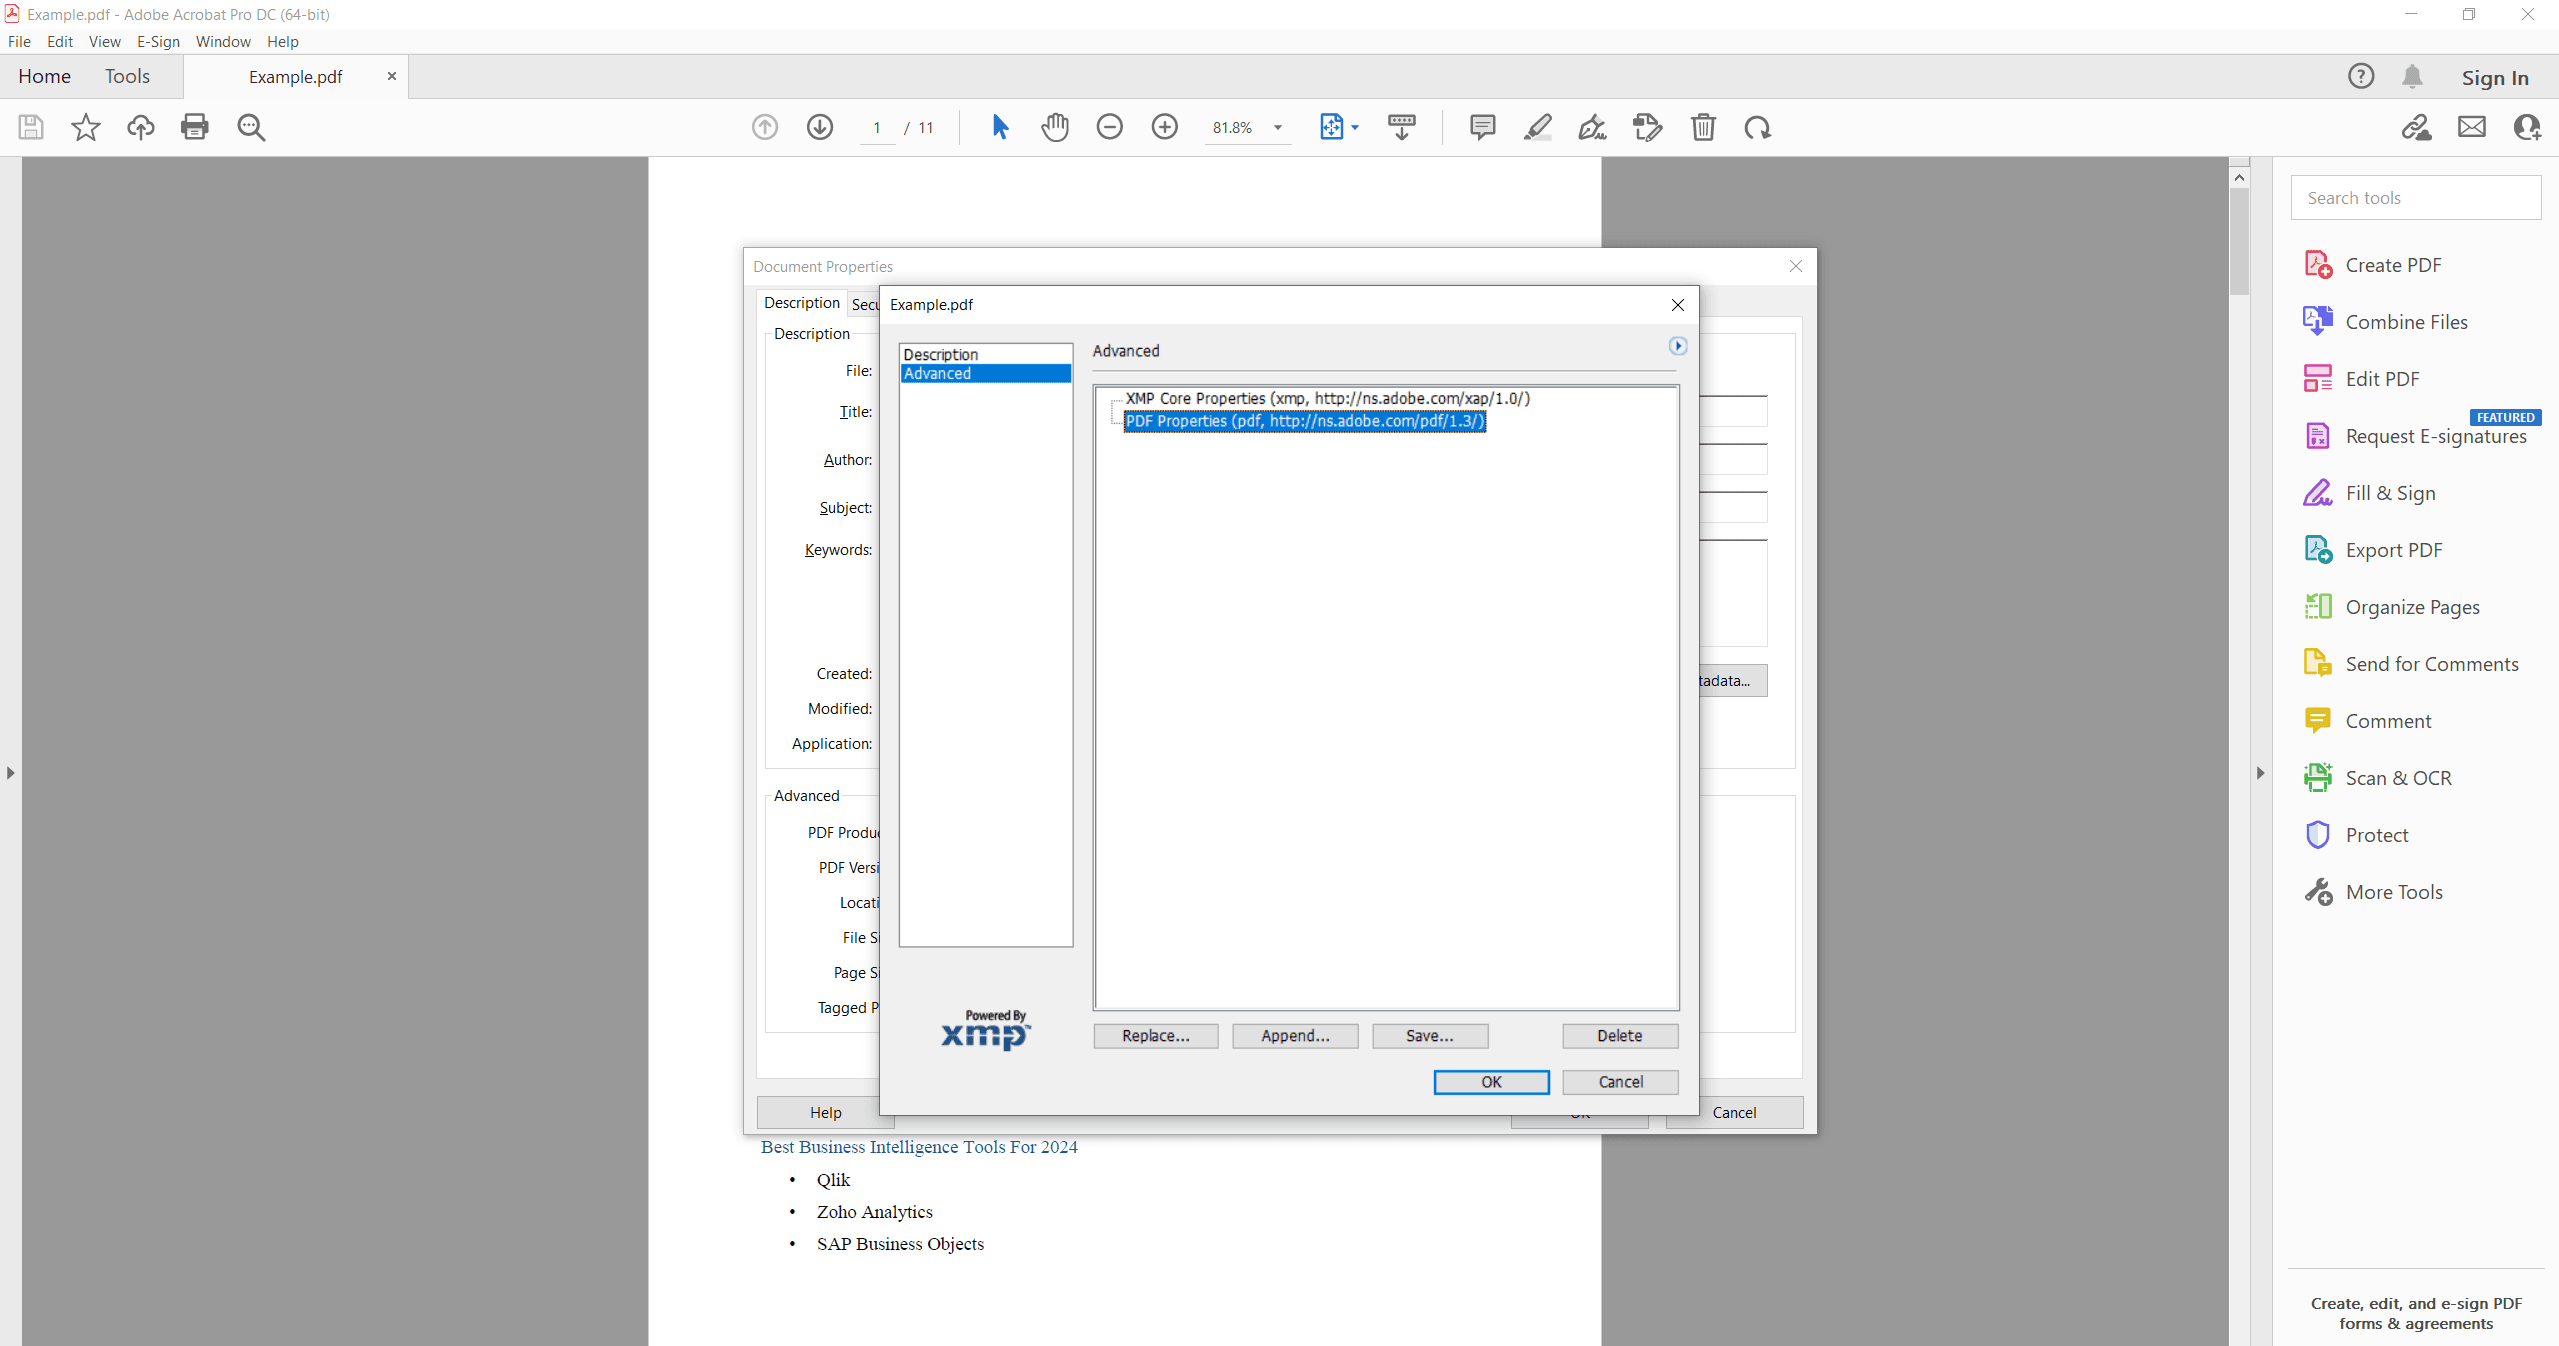
4. Advanced Removal: Click "Additional Metadata," then the "Advanced" tab, and select "Remove All." Confirm.
5. Extreme Security (Optional): For highly confidential files, use Tools > Redact > Remove Hidden Information and check all boxes.
6. Save Securely: Choose File > Save As to create a clean version. Always keep the original.
Method 2: Windows Built-in Limitations for PDF Metadata Removal
Important Note: Native Windows tools CAN NOT reliably remove PDF metadata
The Reality Check (What Doesn't Work):
File Explorer Attempt: Right-clicking a PDF, going to "Properties" > "Details," and clicking "Remove Properties and Personal Info" will not effectively erase the PDF's internal metadata. You might see changes in File Explorer, but the data remains inside the document.
The "Print to PDF" Trick
1. Open and Print: Open your PDF in a web browser like Edge or Chrome and press Ctrl+P (or Cmd+P on Mac, though this section primarily addresses Windows limitations).
2. Choose Printer: Select "Microsoft Print to PDF" as your printer.
3. Save: Save the new PDF file. This process strips away the original metadata. 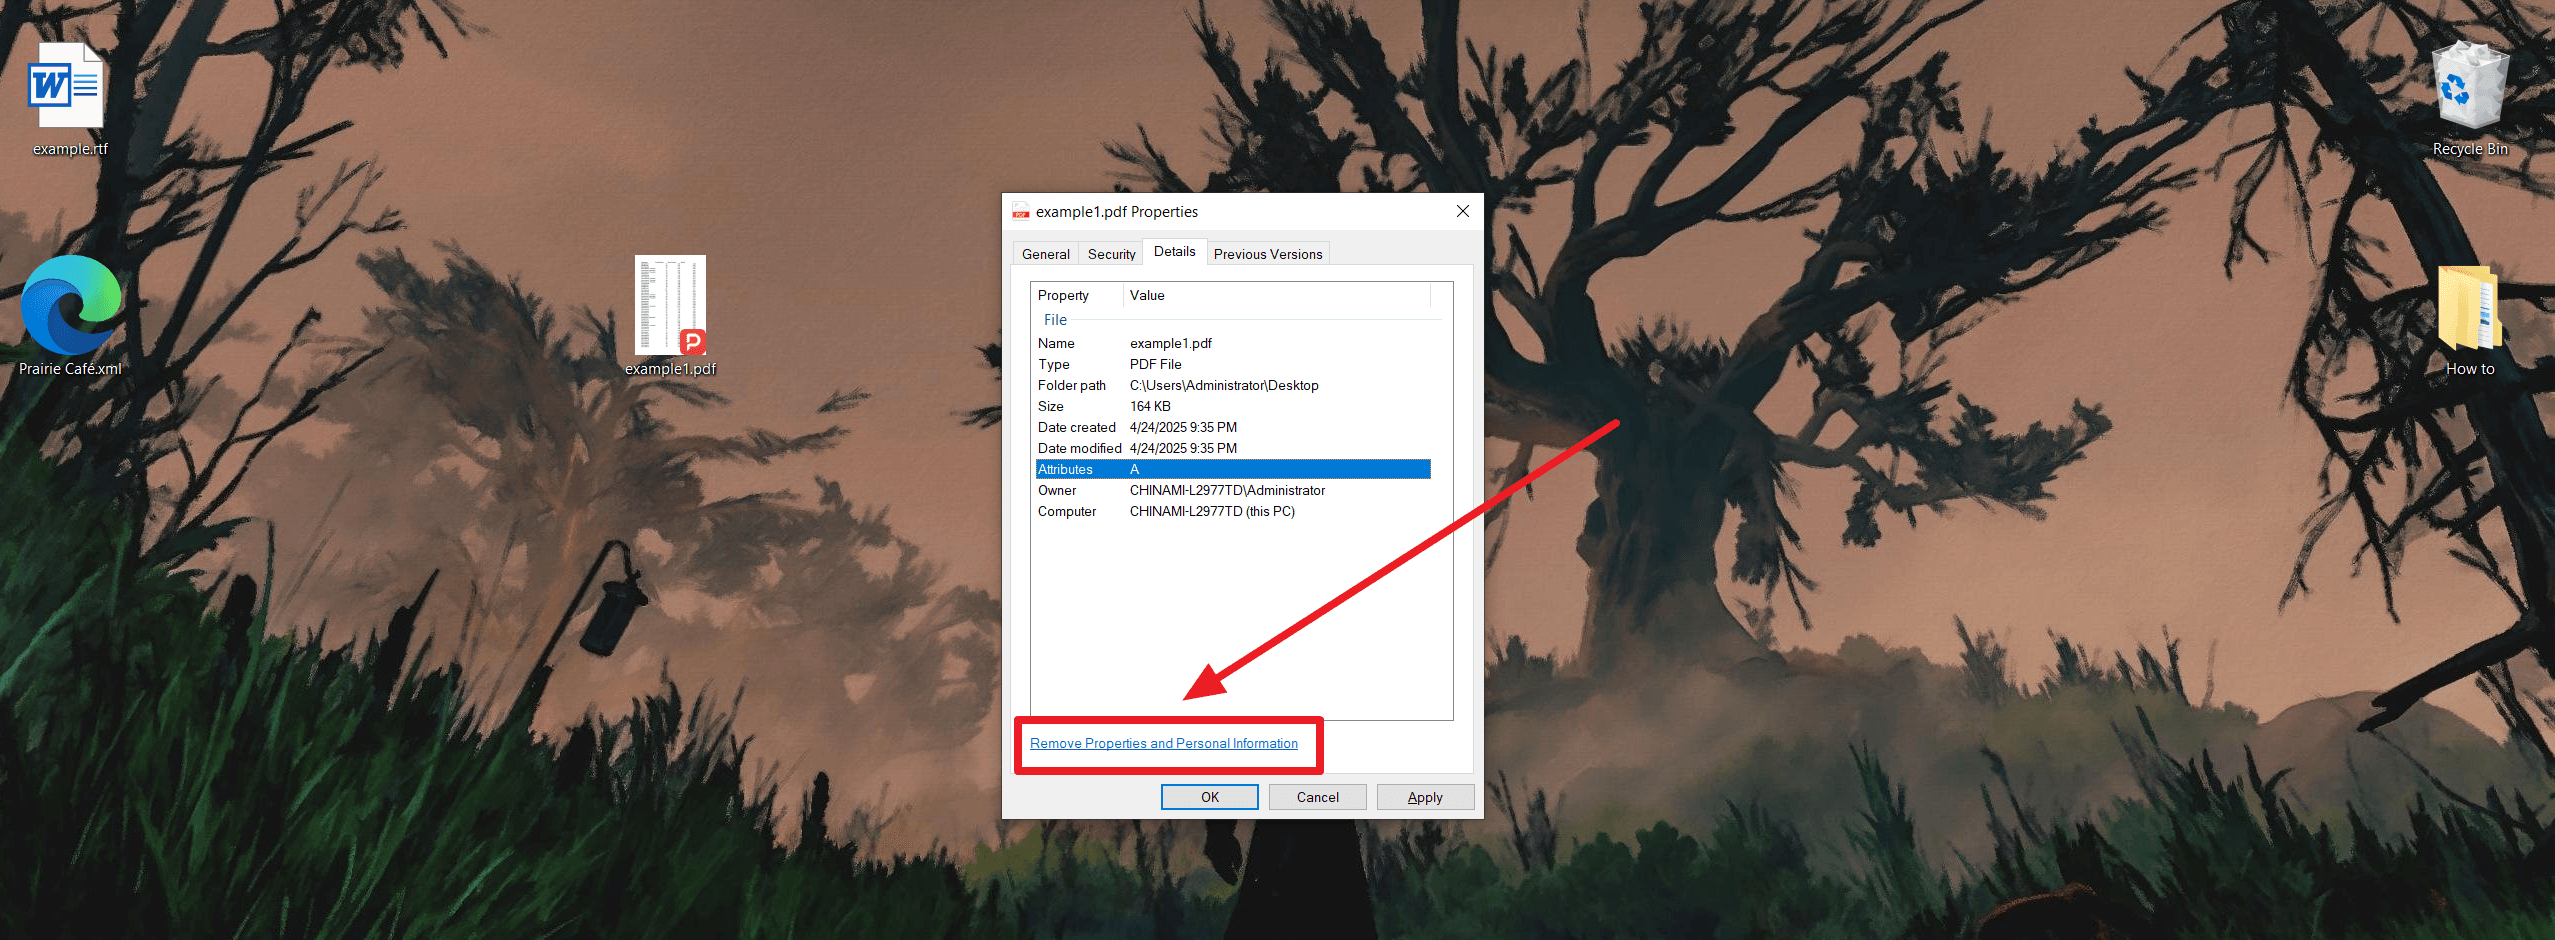
macOS
PDF metadata removal is not possible in macOS. Users are limited to viewing and adding some metadata, accessible by right-clicking the document and selecting 'Get Info.'
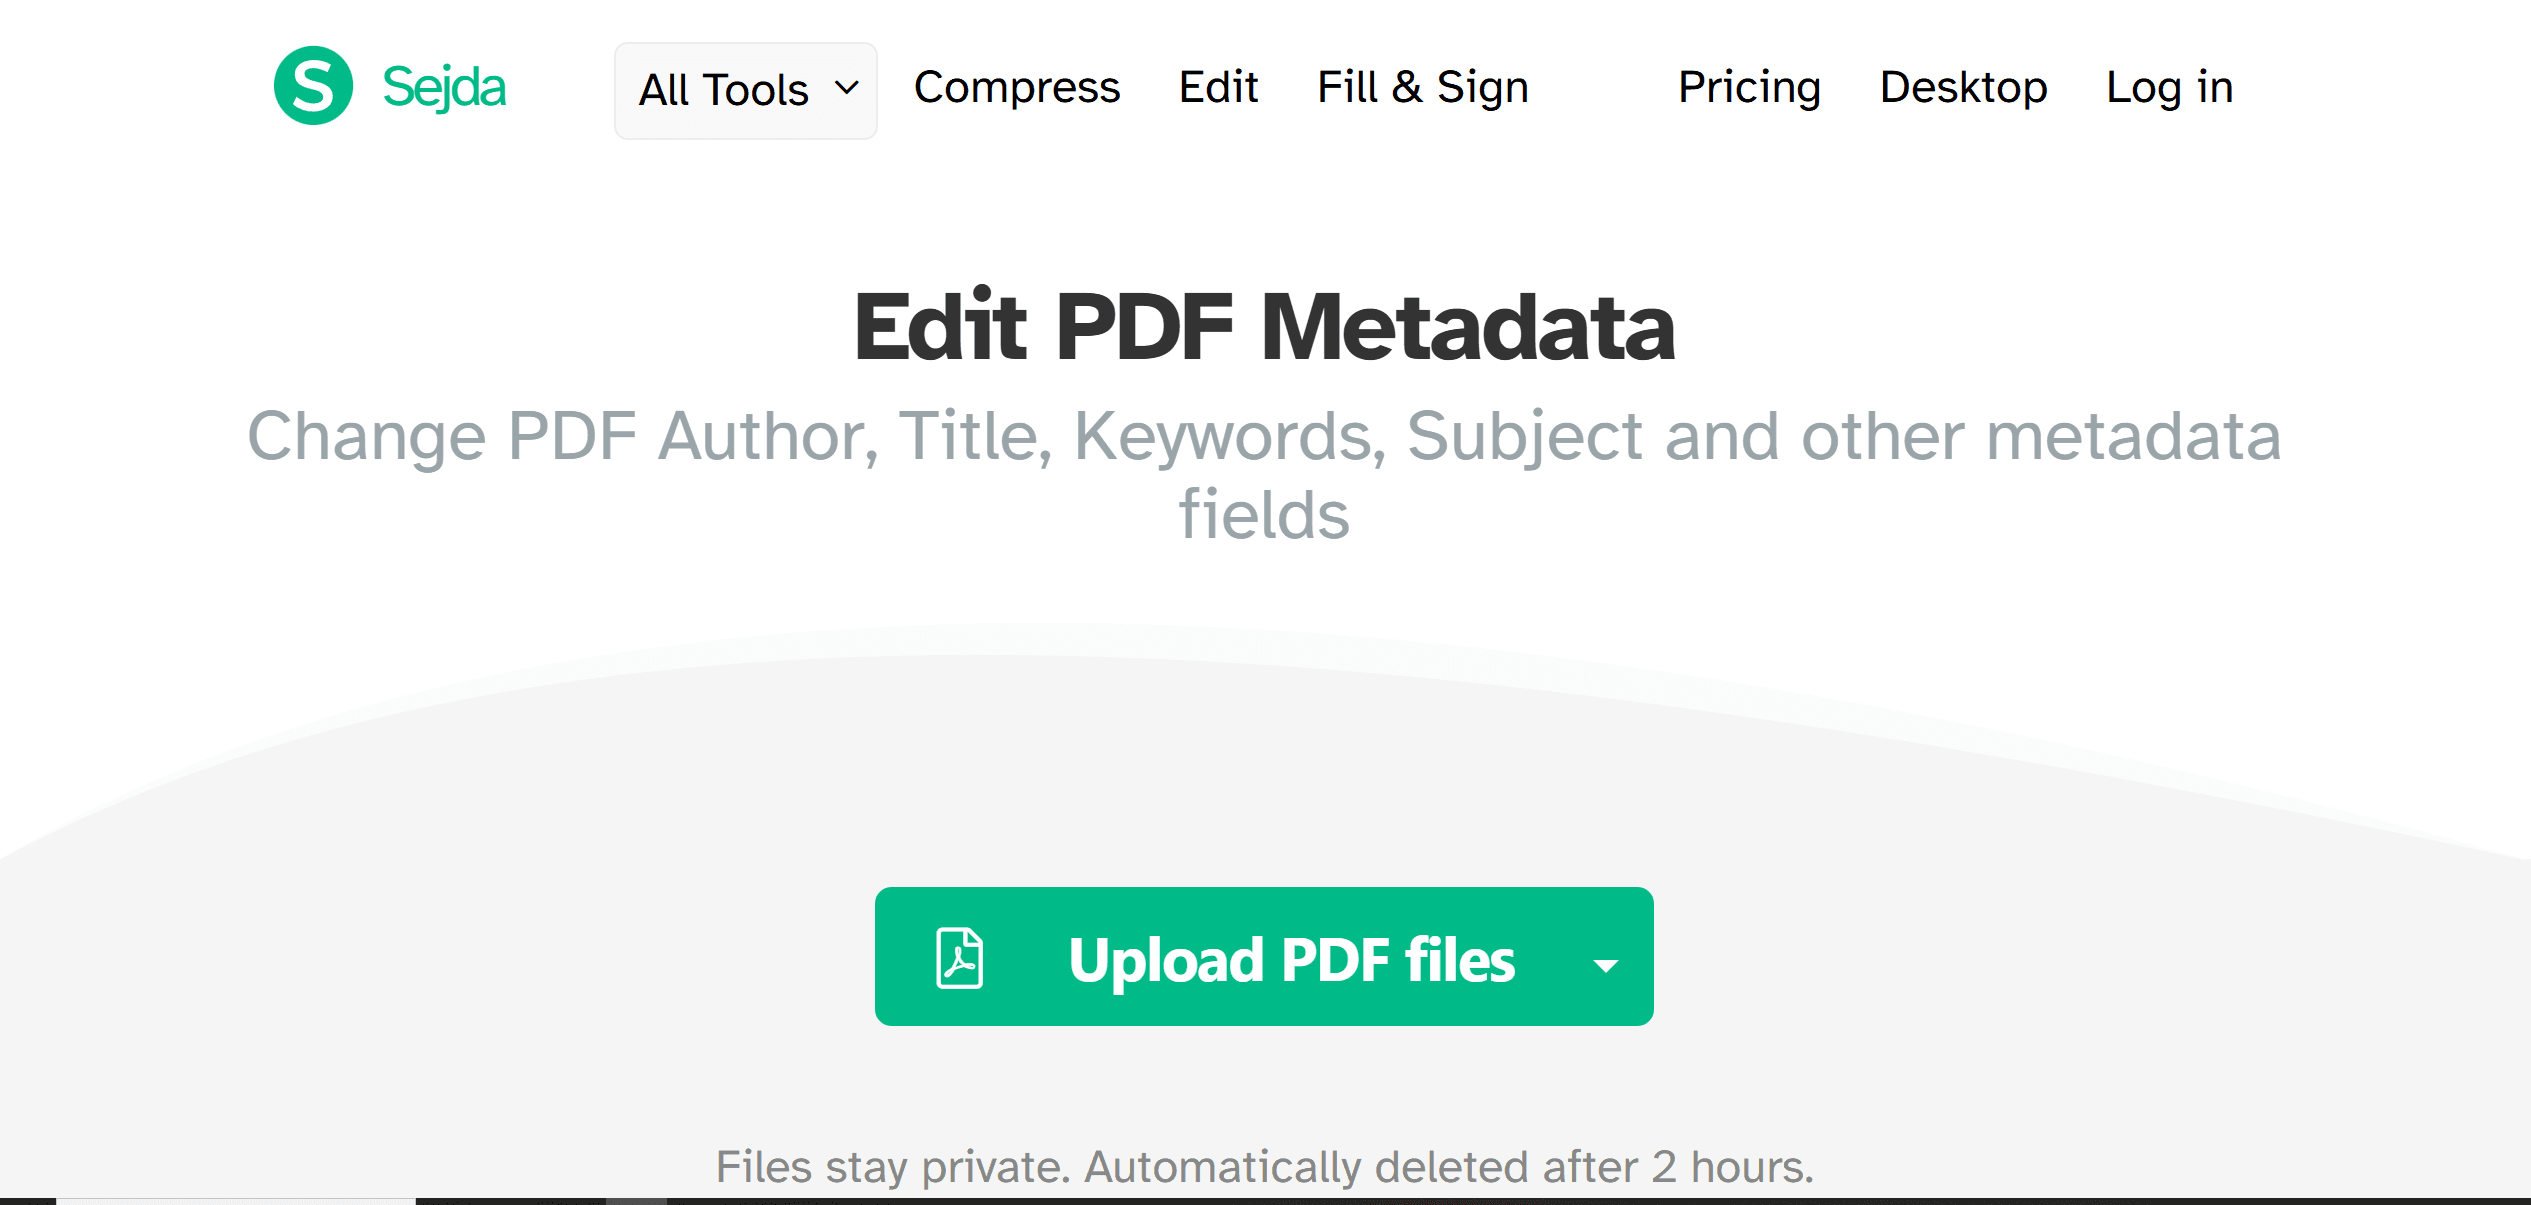
Method 3: Remove Metadata via Online Tools
Best for: Quick fixes on non-sensitive documents
Step-by-Step Guide
1. Upload: Go to Sejda PDF metadata online editor and drag-and-drop your PDF or click "Choose File" to upload it.
2. Choose an Option: Select an option which are "Remove all metadata" and "Change metadata".
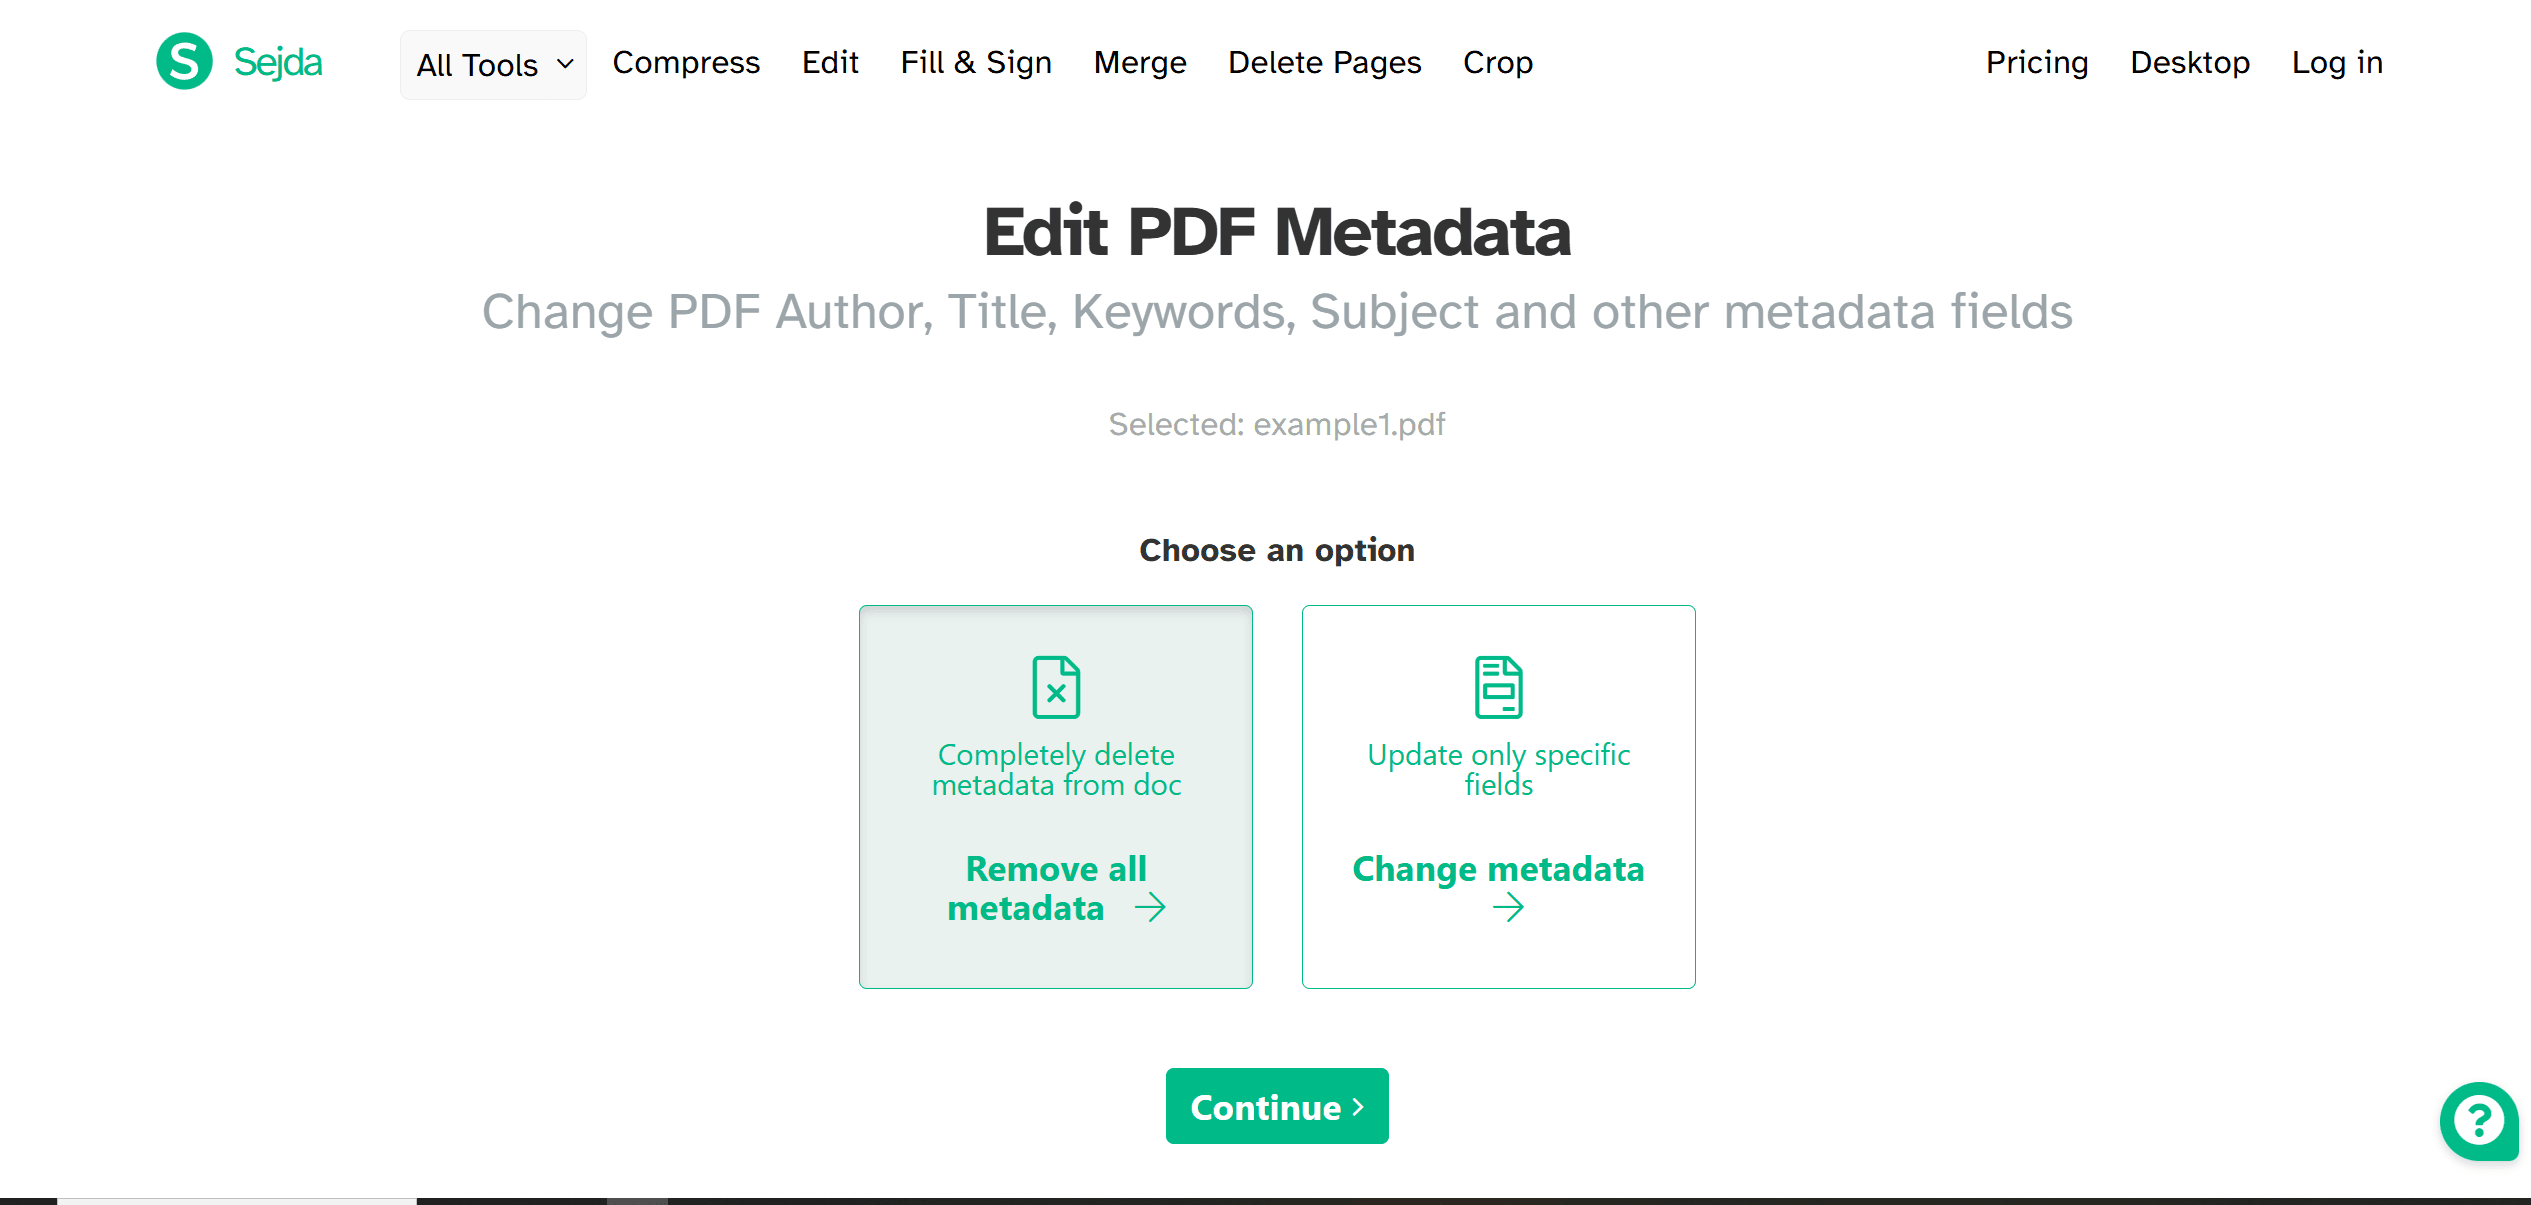
3. Save and Check: Save your changes and then reopen the Properties to ensure the metadata fields are blank.
Method 4: Remove PDF Metadata with PDFelement
Best for: Budget-conscious users needing robust metadata removal
As an alternative to Adobe Acrobat, PDFelement enables the removal of metadata information from PDF files. Compared to Adobe Acrobat DC, PDFelement is more affordable and features a more user-friendly interface. It can be downloaded for both Windows and macOS. The following outlines how this PDF metadata remover functions:
Step-by-Step Guide
1. Open PDF: Launch PDFelement and open your file by clicking "Open PDF" or dragging and dropping it.
2. Access Properties: Go to File > Properties or right-click the PDF and select "Document Properties."
3. Clear Metadata: Manually delete or overwrite the information in fields like Author, Subject, Keywords, and Producer. Consider using generic text like "Company Name."
4. Save and Check: Save your changes (Ctrl+S on Windows, Cmd+S on Mac) and then reopen the Properties to ensure the metadata fields are blank.
5. Optional Advanced Protection: For added security, go to the "Protect" tab and use the "Apply Redaction" feature to permanently black out sensitive text or images.
Final Verdict: How to Permanently Erase PDF Metadata
You're now equipped with four effective strategies to eliminate hidden metadata from your PDFs, each catering to specific needs. For legally or medically sensitive documents demanding thoroughness, Adobe Acrobat Pro is your champion. Budget-conscious users seeking robust features will find PDFelement a compelling alternative. When a quick, non-sensitive cleanup is all you need, Smallpdf offers a convenient online solution. And for those dealing with numerous files, PDF Agile provides automation and batch processing.
Regardless of your chosen method, always verify the removal with a metadata viewer. For confidential legal and medical files, stick to offline tools and consider adding password protection. Remember that removing metadata is distinct from redacting visible content. For ultimate efficiency, explore creating automated workflows with tools like PDF Agile. Once you've erased metadata, it's irreversible, so always double-check before saving. Choose the method that best suits your requirements and take control of your PDF privacy today.