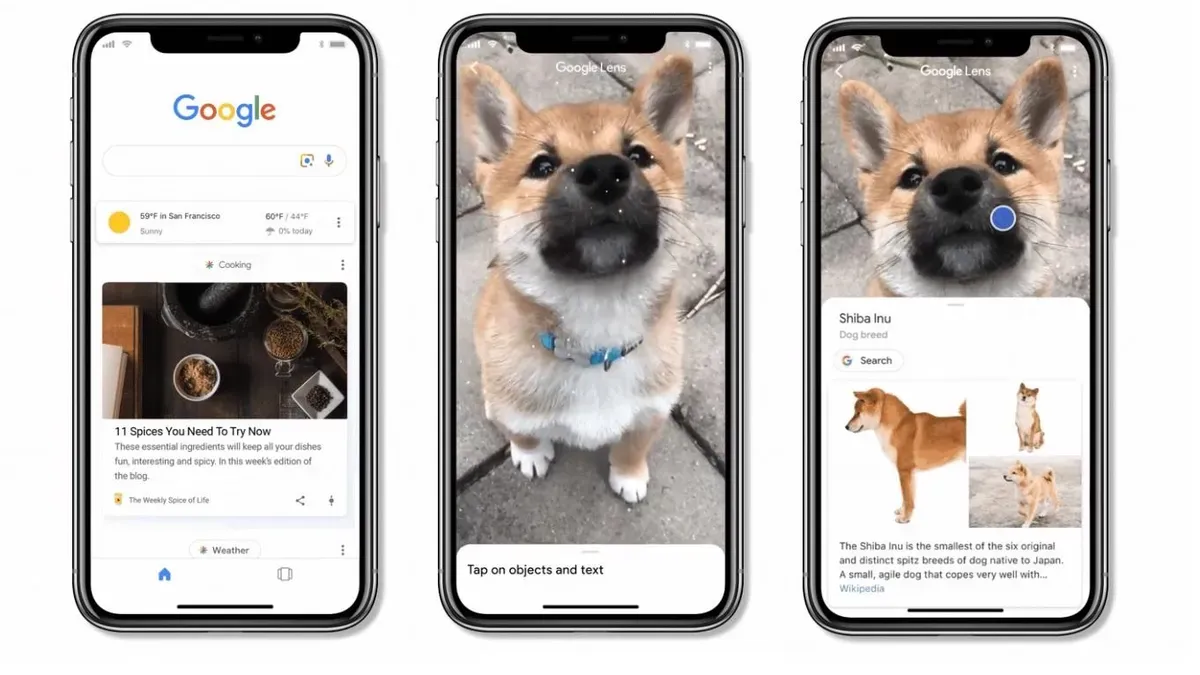
Google Lens is a visual search feature that utilizes image recognition to provide information about things it "sees" through the use of a device's camera or images. There are times when Google Lens may not work on your device, and many factors can be responsible for this. When faced with the issue of Google Lens not working, you should check any of the reasons given below to give you an idea of how to fix the problem. You do not have to be a technology expert to know how to detect all the problems associated with Google Lens not working. However, you should consider visiting an expert if you cannot resolve the particular problem.

Common Reasons for Google Lens Malfunction
Internet connectivity issues can cause Google Lens to malfunction since it requires a seamless internet connection to function. Poor or unstable cellular or Wi-Fi connectivity can, therefore, prevent it from functioning optimally. When such an issue occurs, you should try switching networks or resetting the connection to improve performance.
In addition, using an older version of the Google Lens application can result in incompatibility and non-functionality in Google Lens. Make sure the app is up-to-date by checking for updates in the app store.
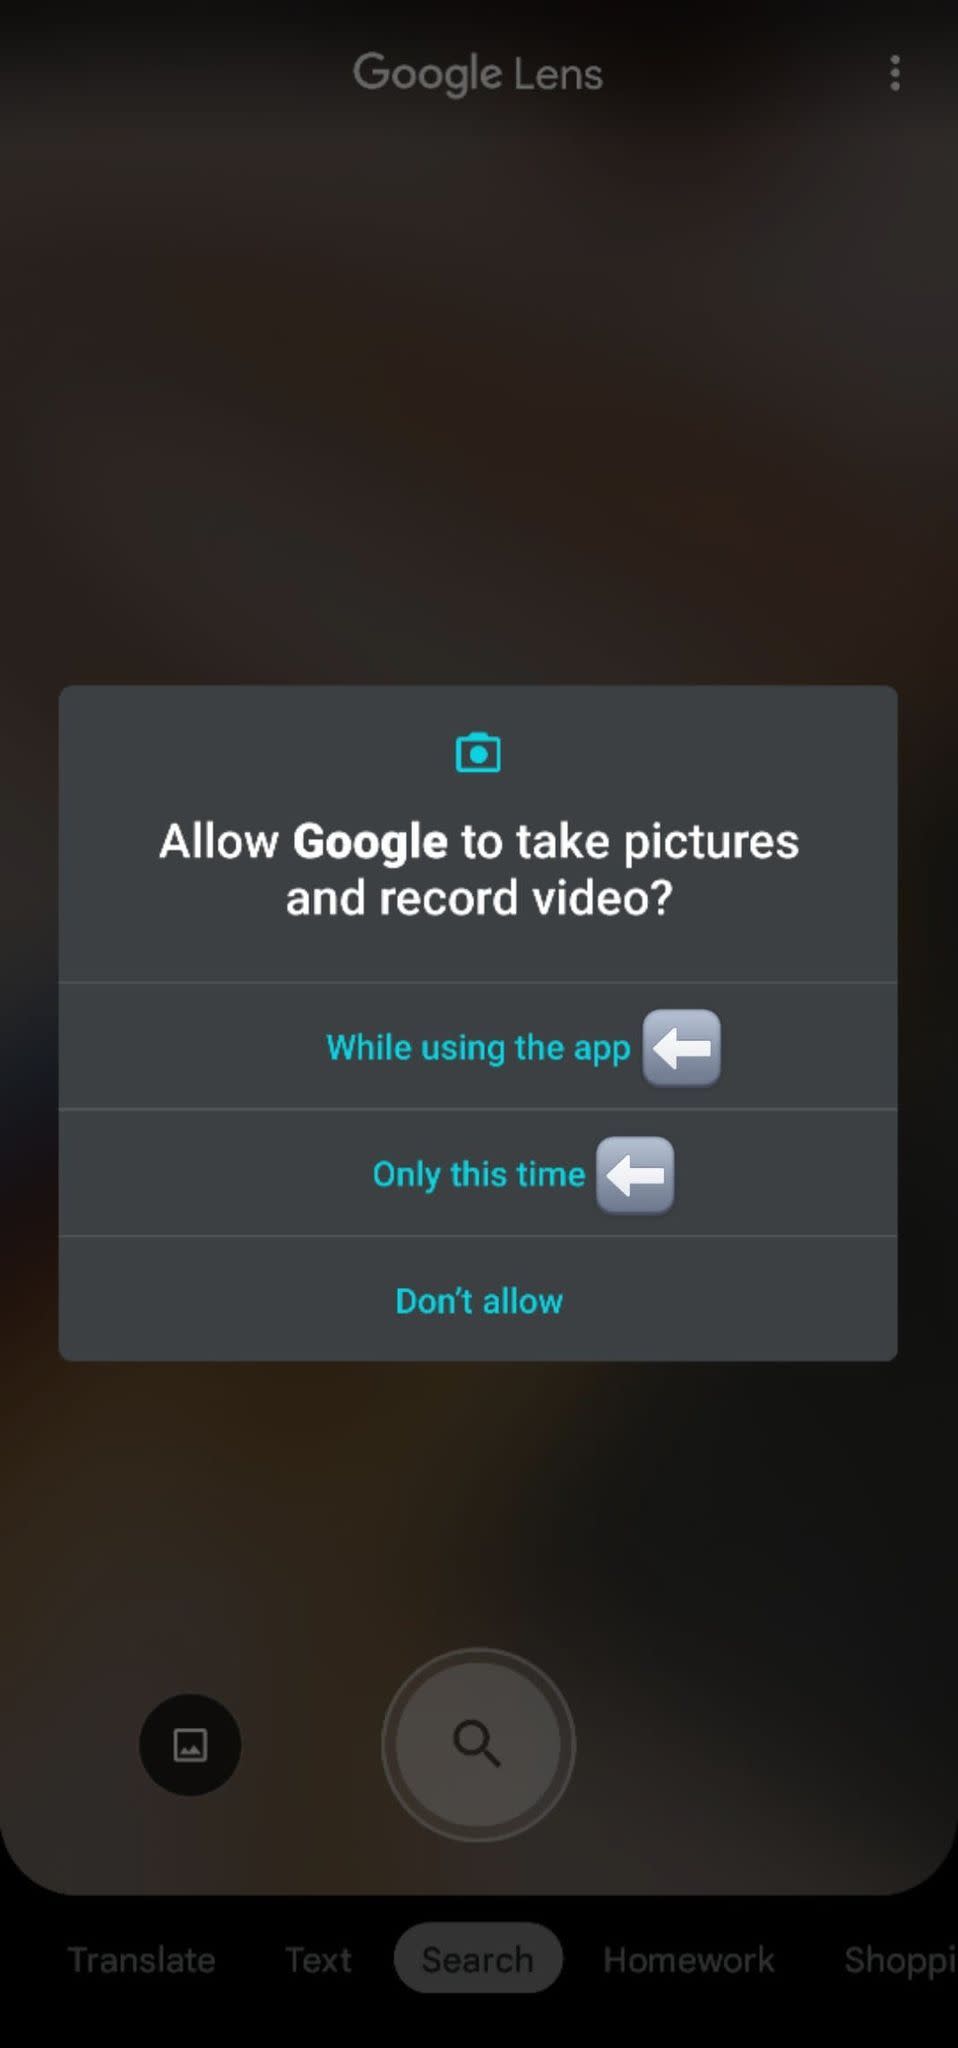
Furthermore, Google Lens will fail to work optimally if it lacks the appropriate permissions to access the camera, storage, or other related features on the device. To prevent this problem, go to device settings and check if the necessary permissions are enabled for the app.
Some other factors that can cause Google Lens to malfunction are:
- Cache and data issues: Faulty or accumulated cache and data at times make apps perform abnormally. Trashed or duplicate cached data can hinder Google Lens performance. Clear the cache and app data to resolve such issues and improve functionality.
- Unidentifiable object: Google Lens is unable to identify objects when there is not enough light or the object is not clear. Ensure there is good lighting and the object is in focus for accurate identification by the app.
- Google server issues: Google server issues, though as infrequent as they are, also make Google Lens fail. Check Google's status page to see if the issue is related to server downtime or service disruptions.
- Malfunctioning camera: Whether the device's camera works or not, Google Lens will not be able to scan. Test your device's camera to ensure it is functioning properly and troubleshoot any hardware issues.
- Software bugs: Sometimes, there may be occasional software bugs or glitches that will hinder the app's performance. Rebooting the app or the device might solve such a problem. Consider reinstalling the app if bugs persist.
- Google Lens disabled: Google Lens cannot function if it has not been enabled, particularly on freshly bought devices. Check settings to ensure that Google Lens is activated and properly set up on your device.
Steps to Troubleshoot and Fix Google Lens
You can apply each of the points below when troubleshooting and fixing Google Lens issues.
Step 1. Check Internet Connection
- If you are not sure of the speed, you can run a speed test to ensure the connection is fast enough. If the connection is weak after carrying out the speed test, you should consider switching to a different Wi-Fi network or turning on mobile data; this can improve performance and resolve connectivity issues.
- If you are using an iOS device, check the Control Center to determine whether Wi-Fi or cellular data is enabled. Find out if both Wi-Fi and cellular data are active to prevent connectivity interruptions while using Google Lens.
- If you are using an Android device, on the other hand, navigate to the Quick Settings window to check whether Wi-Fi or cellular data is enabled. Make sure both Wi-Fi and mobile data are switched on to avoid any connection disruptions.
Step 2. Update the Google Lens App
If you are using an Android device, you can update the Google Lens app from the Google Play Store, Launch the Google Play Store, and search for "Google Lens." Then tap on "Update" if an update is available. It will automatically update the Google Lens app for improved functionality.
Conversely, those using iOS devices can update Google Lens from the App Store. Just type in "Google Lens" in the App Store's search bar and press the "Update" option if it needs to be updated.
Step 3. App Permissions
Follow the steps below to ensure app permission for Google Lens on your device:
1. Open your device's Settings.
2. Tap on "Apps" or "Applications".
3. Find and tap on "Google Lens".
4. Press on "Permissions" or "App permissions".
5. Ensure that permissions such as Camera, Storage, and Microphone are enabled.
Step 4. Clear Cache and Data
The accumulated cache can lead to unresponsiveness or lag in the app. If the cache data is corrupted, it can prevent the app from recognizing images or even lead to a crash. You can clear cache and data by following the steps below:
1. Navigate to the Settings of your phone and then to "Apps" or "Applications Manager".
2. Locate and click on "Google Lens".
3. Click on "Storage" and then "Clear Cache" to erase temporary data.
4. Then, tap on "Clear Data" to delete cached data.
5. Restart the Google Photos app and check if the problem is solved.
Step 5. Restart the App and Device
Restarting the app can refresh its entire system and make it function optimally. If the app is already opened on your device, simply close it and restart it. Apart from refreshing its system, restarting the app also removes random bugs that can hinder smooth functionality.
On the flip side, you can decide to restart your device entirely to fix minor software problems. This action is more reliable in fixing the non-functionality problem than merely restating the Google Lens app.
Step 6. Check the Google Lens App Server Status
Google Lens app can only function if the server is up and running. Slow performance and image recognition issues can come up if the server has issues. Follow the steps below to check the server status.
1. Launch the Google Lens app.
2. Touch the three horizontal lines to open the menu.
3. Scroll down and touch "Settings."
4. Inside the Settings menu, touch "About."
5. Inside the About, find the "Server Status" option and touch on it to check what the status is.
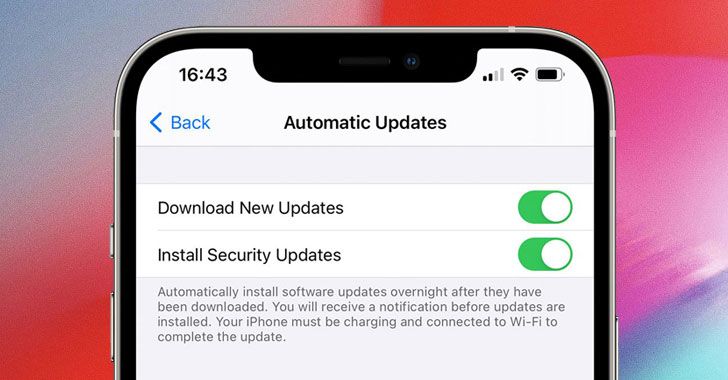
Step 7. Update Device OS
Updating your device's operating system will ensure compatibility and bring about optimal performance. If the issue still persists after you have updated the operating system, do not hesitate to reach out to Google support for assistance.
FAQs
Q: What are the most common reasons why Google Lens is not working?
A: Some of the most common reasons are:
- Old Google app: The apps are incompatible.
- Permissions disabled: Camera or storage permissions are disabled.
- Slow Internet connection: Lens requires a secure Internet connection.
- Corrupted cache files: Too much cache slows down the device.
- Incompatible device: Some devices are incompatible with Google Lens.
Q: How do I get Google Lens back to work in the quickest time?
A: You can get the app to work faster by applying the tips below:
- Update the Google App: Update from Play Store or App Store.
- Enable permissions: Settings > Apps > Google > Permissions > Turn On Camera permission.
- Reboot device: Restarting may fix minor issues.
- Clear cache: Settings > Apps > Google > Storage > Clear Cache.
- Reinstall the app: Reinstall the Google app.
Q: Will internet problems occasionally interfere with Google Lens?
A: Yes, Google Lens does turn web searches live. Check your Wi-Fi or cellular data settings and restart your router if necessary.
Q: Do I need to update my device to fix lens issues?
A: Yes, extremely outdated system software will affect Google Lens. Settings > Software Update > Download and install an update.
Conclusion
Google Lens not showing reverse image search is one of the most common issues with Google Lens and you can check the list of remedies provided above to help you resolve the issue. You may be able to handle some of the faults by yourself, but should not hesitate to get in touch with a professional if it looks too complicated for you to handle. If the device is still within the warranty period, you should avoid attempting to resolve it by yourself. Instead, get in touch with professionals to assist you. If not, you will lose the warranty cover on the product.
For further tech insights and solutions, especially for document handling, visit https://www.pdfagile.com/blog/categories/knowledge for expert guidance.