Creating a PDF that looks exactly as intended, regardless of where it's opened, is crucial for maintaining professionalism and ensuring clear communication. One key factor in achieving this is font embedding. This comprehensive guide will walk you through the process of embedding fonts in a PDF, both with and without Adobe Acrobat, and explain the many benefits of doing so.
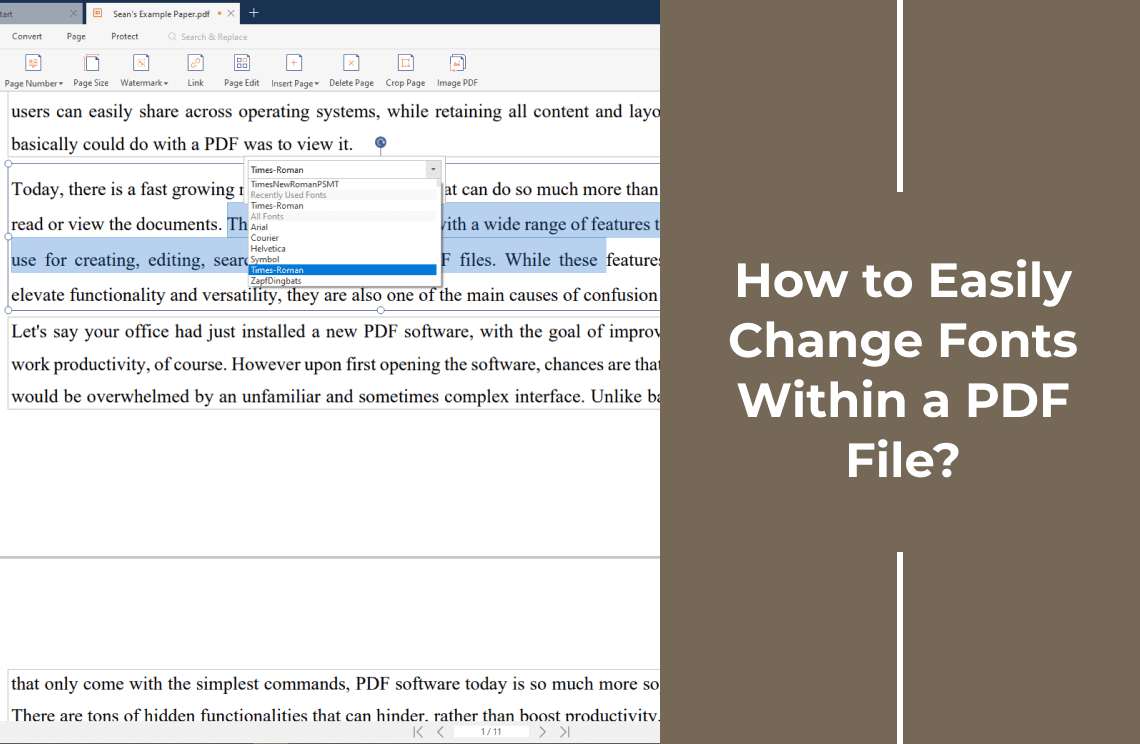
PDFs are designed to be universally viewable, but sometimes, fonts can cause issues. If a PDF uses fonts that aren't available on the viewer's system, the PDF reader will substitute them, potentially altering the document's appearance and layout. Embedding fonts solves this problem by including the font files within the PDF itself, guaranteeing consistent rendering across all devices.
How to Embed Fonts Without Adobe
Method 1: Using Microsoft Word
Follow these steps to ensure fonts are fully embedded when saving as a PDF in Word:
Step 1: Embed Fonts in Word Document
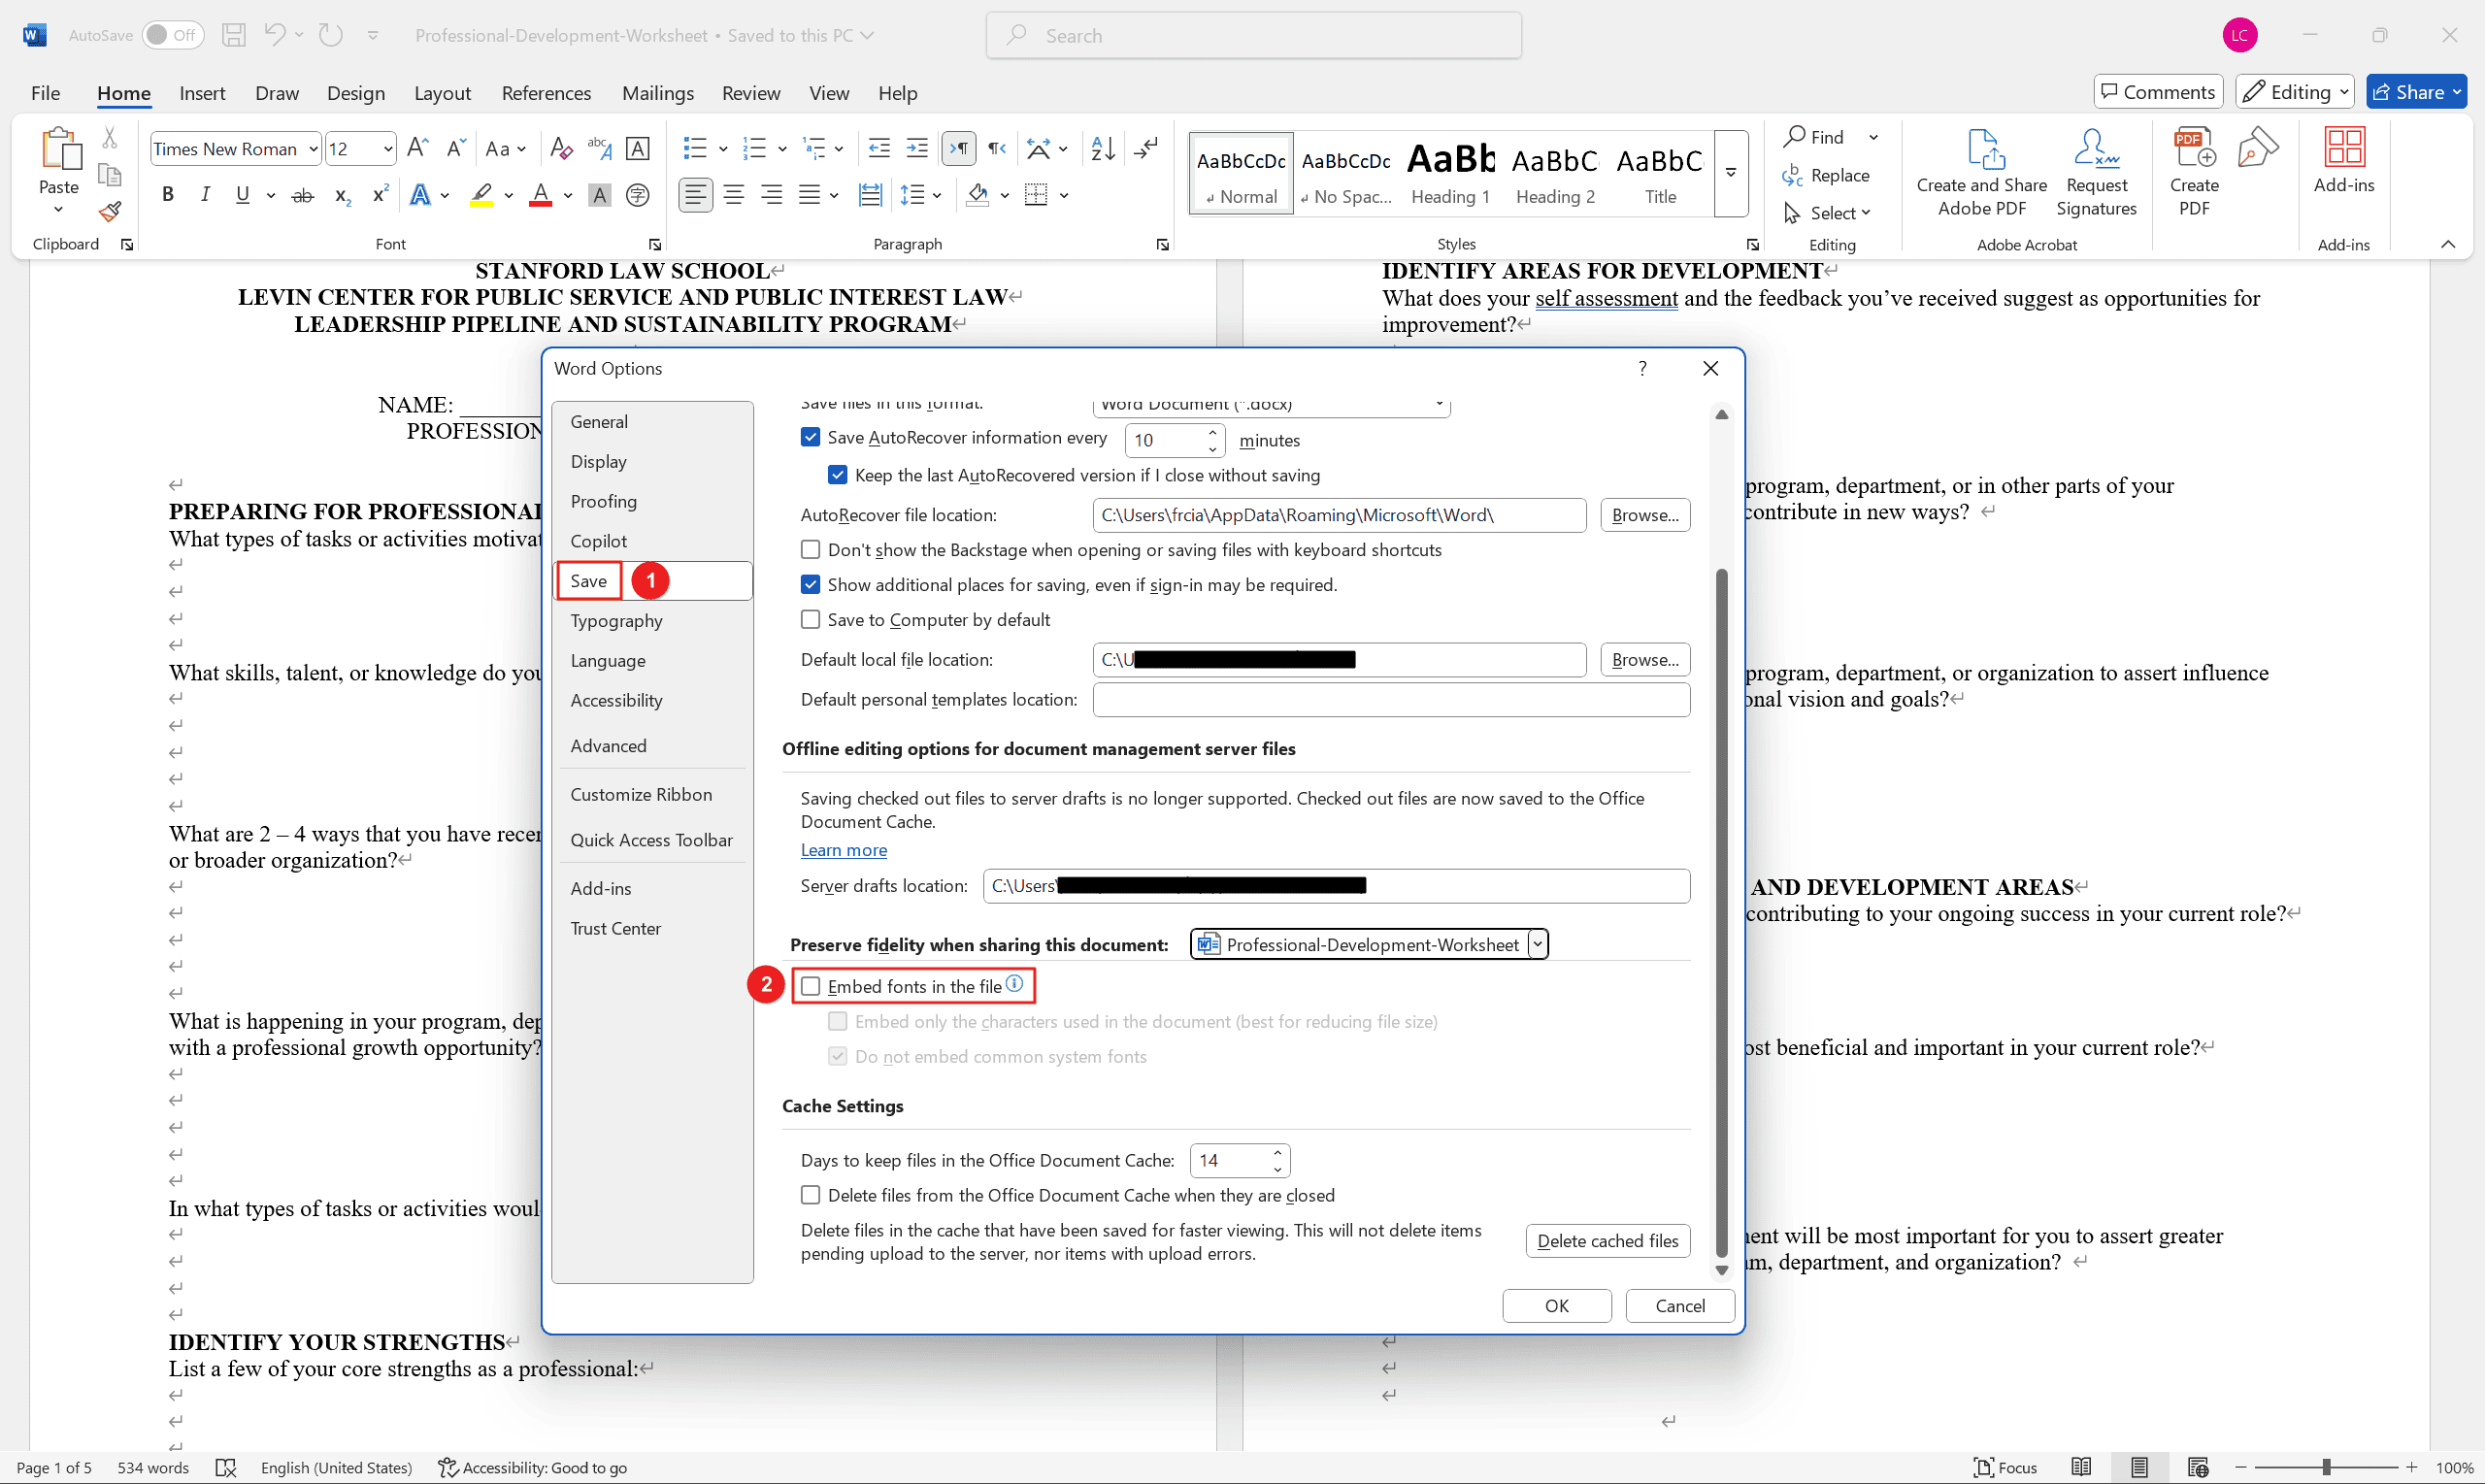
In Word, go to File > Options > Save. Check the box that says "Embed fonts in the file" under "Preserve fidelity when sharing this document" section. You'll see two options below this checkbox, and these are crucial to understand:
- "Embed only the characters used in the document (best for reducing file size)": This option embeds only the specific glyphs (characters) used in your Word document. For example, if you use the word "Hello," only the characters H, e, l, and o will be embedded. This results in a smaller file size compared to embedding the entire font. However, if someone edits the document and adds characters that weren't originally present, those new characters might not display correctly if the font isn't available on their system.
- "Do not embed common system fonts": This option prevents Word from embedding common fonts that are typically found on most computers (e.g., Arial, Times New Roman, Calibri). This is a good practice to reduce file size, as it assumes these common fonts are readily available. If someone opens the .docx file on a system without these common fonts, the system will substitute them.
These embedding options primarily affect how the Word document itself is displayed. They do not guarantee that fonts will be embedded in a PDF created from the Word document.
Step 2: Save As PDF
Go to File > Save As and choose PDF as the file type. This uses Word's built-in PDF creator.
Step 3: Check the PDF
Open the resulting PDF in a PDF viewer (for example: Adobe Acrobat) and check if the fonts are actually embedded (File > Properties > Fonts). If they are, great! If not, the font embedding didn't carry over from Word to the PDF creation process. This is the most likely scenario.
Method 2: Using LibreOffice
LibreOffice, like Word, doesn't directly guarantee font embedding in the PDF creation process. While it offers settings related to fonts, their effectiveness for PDF embedding can vary. It's crucial to understand that these settings primarily affect how LibreOffice handles fonts within its own document format (.odt). Whether these fonts are actually embedded in a PDF created from the LibreOffice document depends heavily on the PDF export settings and the PDF engine LibreOffice uses.
Step 1: Enable Font Embedding Setting in LibreOffice
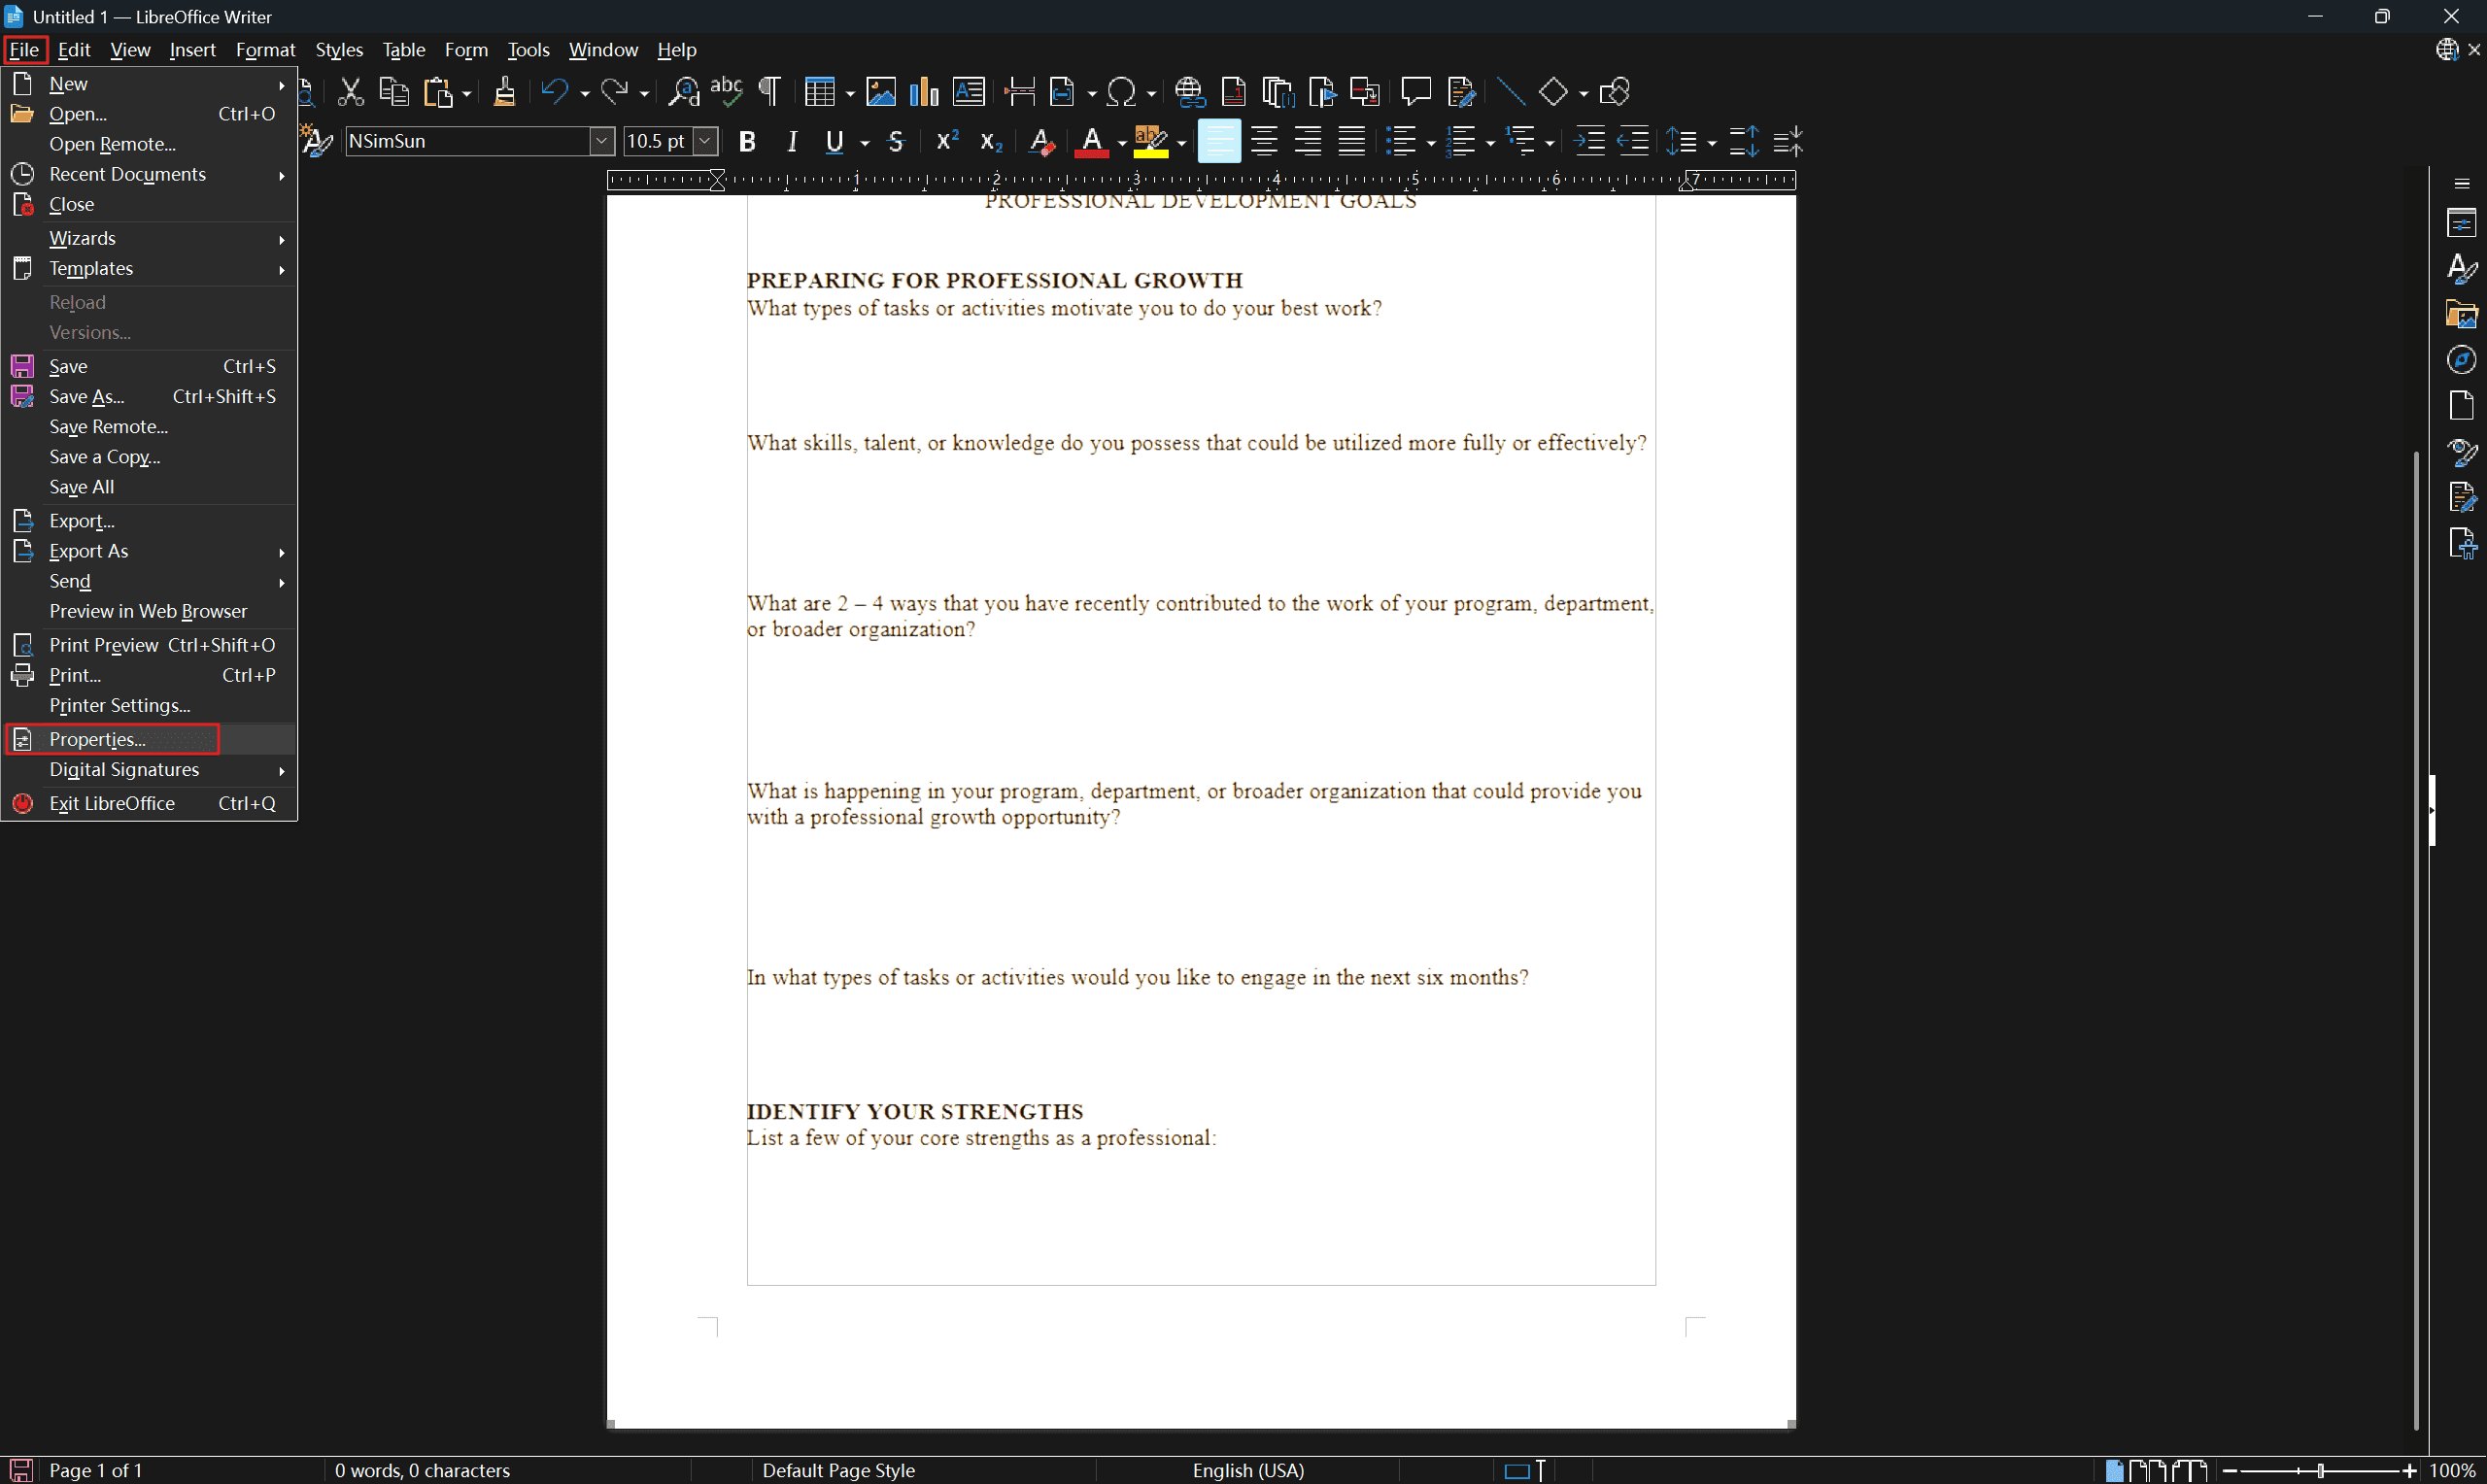
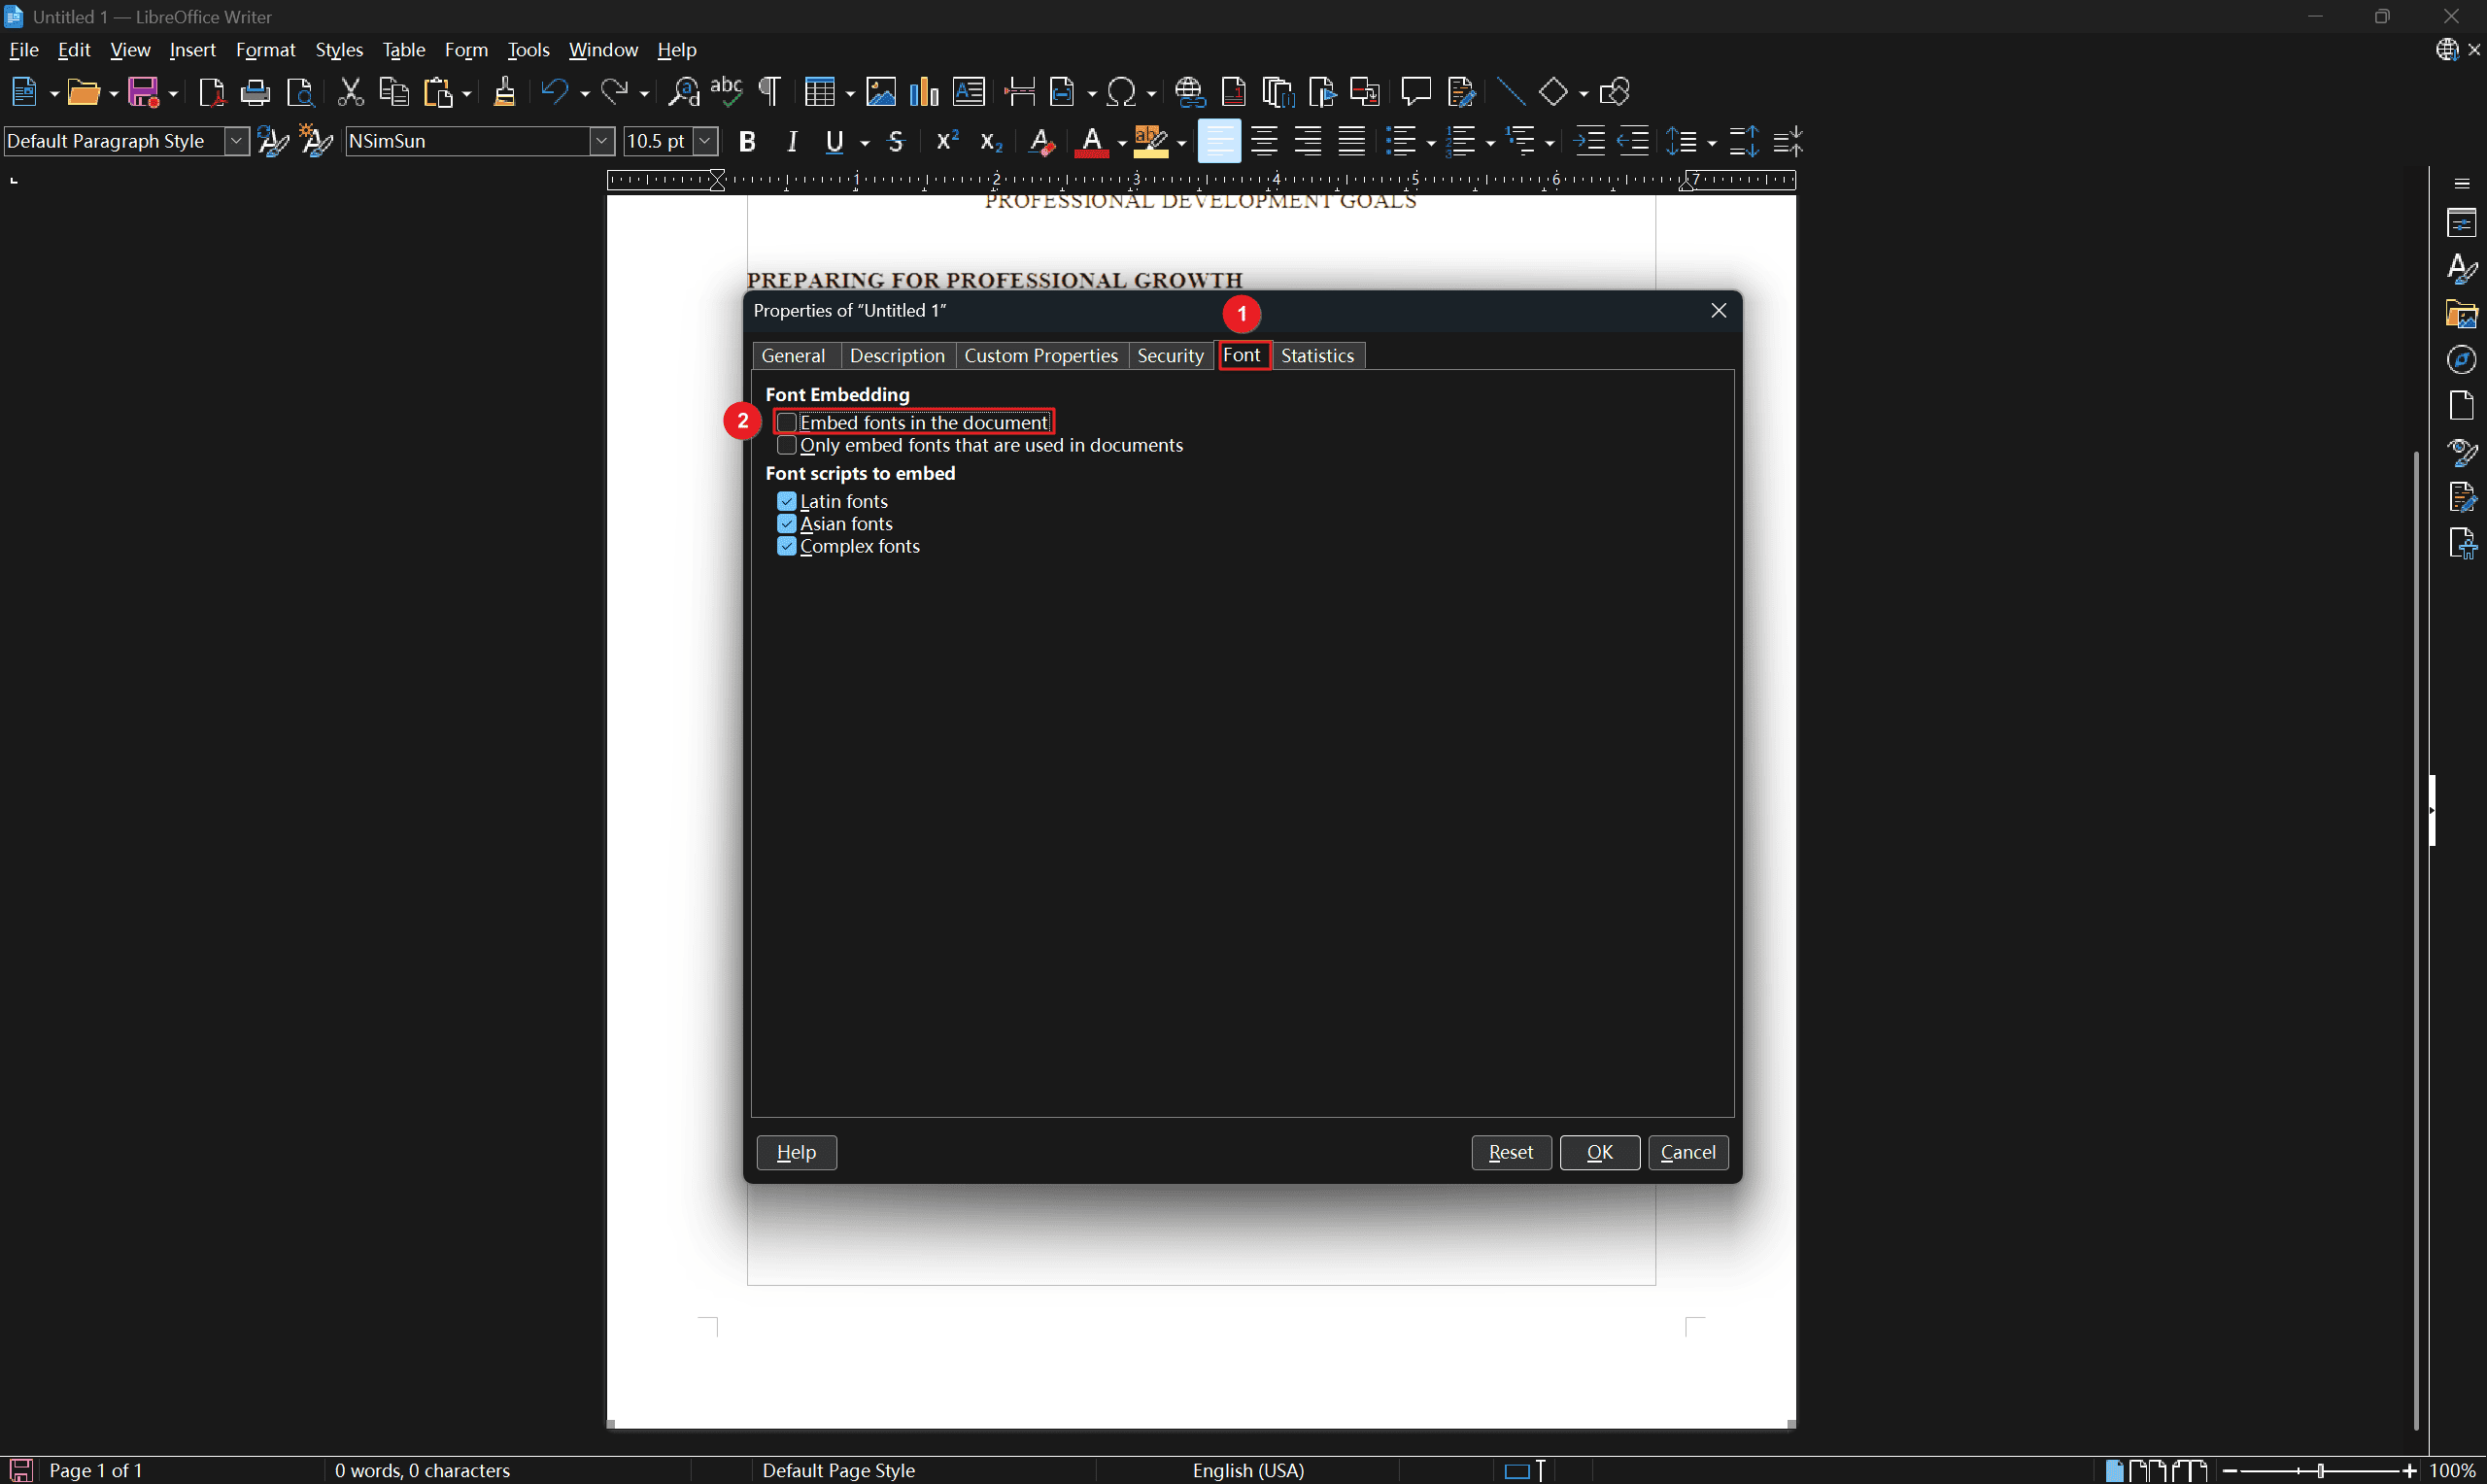
Go to File > Properties. In the Properties window, go to the Font tab. Under the "Font Embedding" section, check the box that says "Embed fonts in the document."
You'll also see other options in this section:
- "Only embed fonts that are used in the document": This is analogous to Word's "Embed only the characters used in the document." It embeds only the glyphs (characters) actually used in your document, reducing file size. However, if the document is edited later and new characters are added, they might not display correctly if the font isn't available on the viewing system.
- "Font scripts to embed" (Latin fonts, Asian fonts, Complex fonts): This section allows you to specify which font scripts (character sets) should be considered for embedding. If you know your document only uses Latin characters, for example, you can select only "Latin fonts" to potentially further reduce the file size. If your document uses Asian or other complex scripts, you'll need to select the appropriate options here to ensure those characters are embedded correctly.
Step 2: Export as PDF
Go to File > Export As > Export As PDF. During the PDF export, check the settings in the PDF Options dialog related to font embedding. These settings can influence whether or not the embedded fonts from the .odt are carried over to the PDF.
Step 3: Check the PDF
Open the resulting PDF in a PDF viewer (ideally Adobe Acrobat) and verify whether the fonts are embedded (File > Properties > Fonts). Even with the settings in LibreOffice enabled, the actual embedding depends on the PDF export process.
How to Embed Fonts with Adobe (Using the PDF Printer Driver)
It's important to clarify that embedding fonts in a PDF using Adobe products often involves configuring the Adobe PDF printer driver settings, rather than a direct action within Acrobat itself. You're essentially setting up how the PDF printer should handle fonts during the PDF creation process. While you can check which fonts are embedded in an existing PDF using Acrobat (File > Properties > Fonts), the embedding itself is typically handled during PDF creation.
Here's the detailed process:
Step 1: Open your Source Document: Open the document you want to convert to PDF (e.g., Word, Excel, InDesign).
Step 2: Initiate the Print Process: Go to File > Print.
Step 3: Select Adobe PDF Printer: Choose "Adobe PDF" as your printer from the printer selection dropdown. This is crucial; you're using Acrobat's PDF creation engine.
Step 4: Access PDF Printer Properties: Click the Properties button next to the printer selection. This opens the Adobe PDF printer properties window.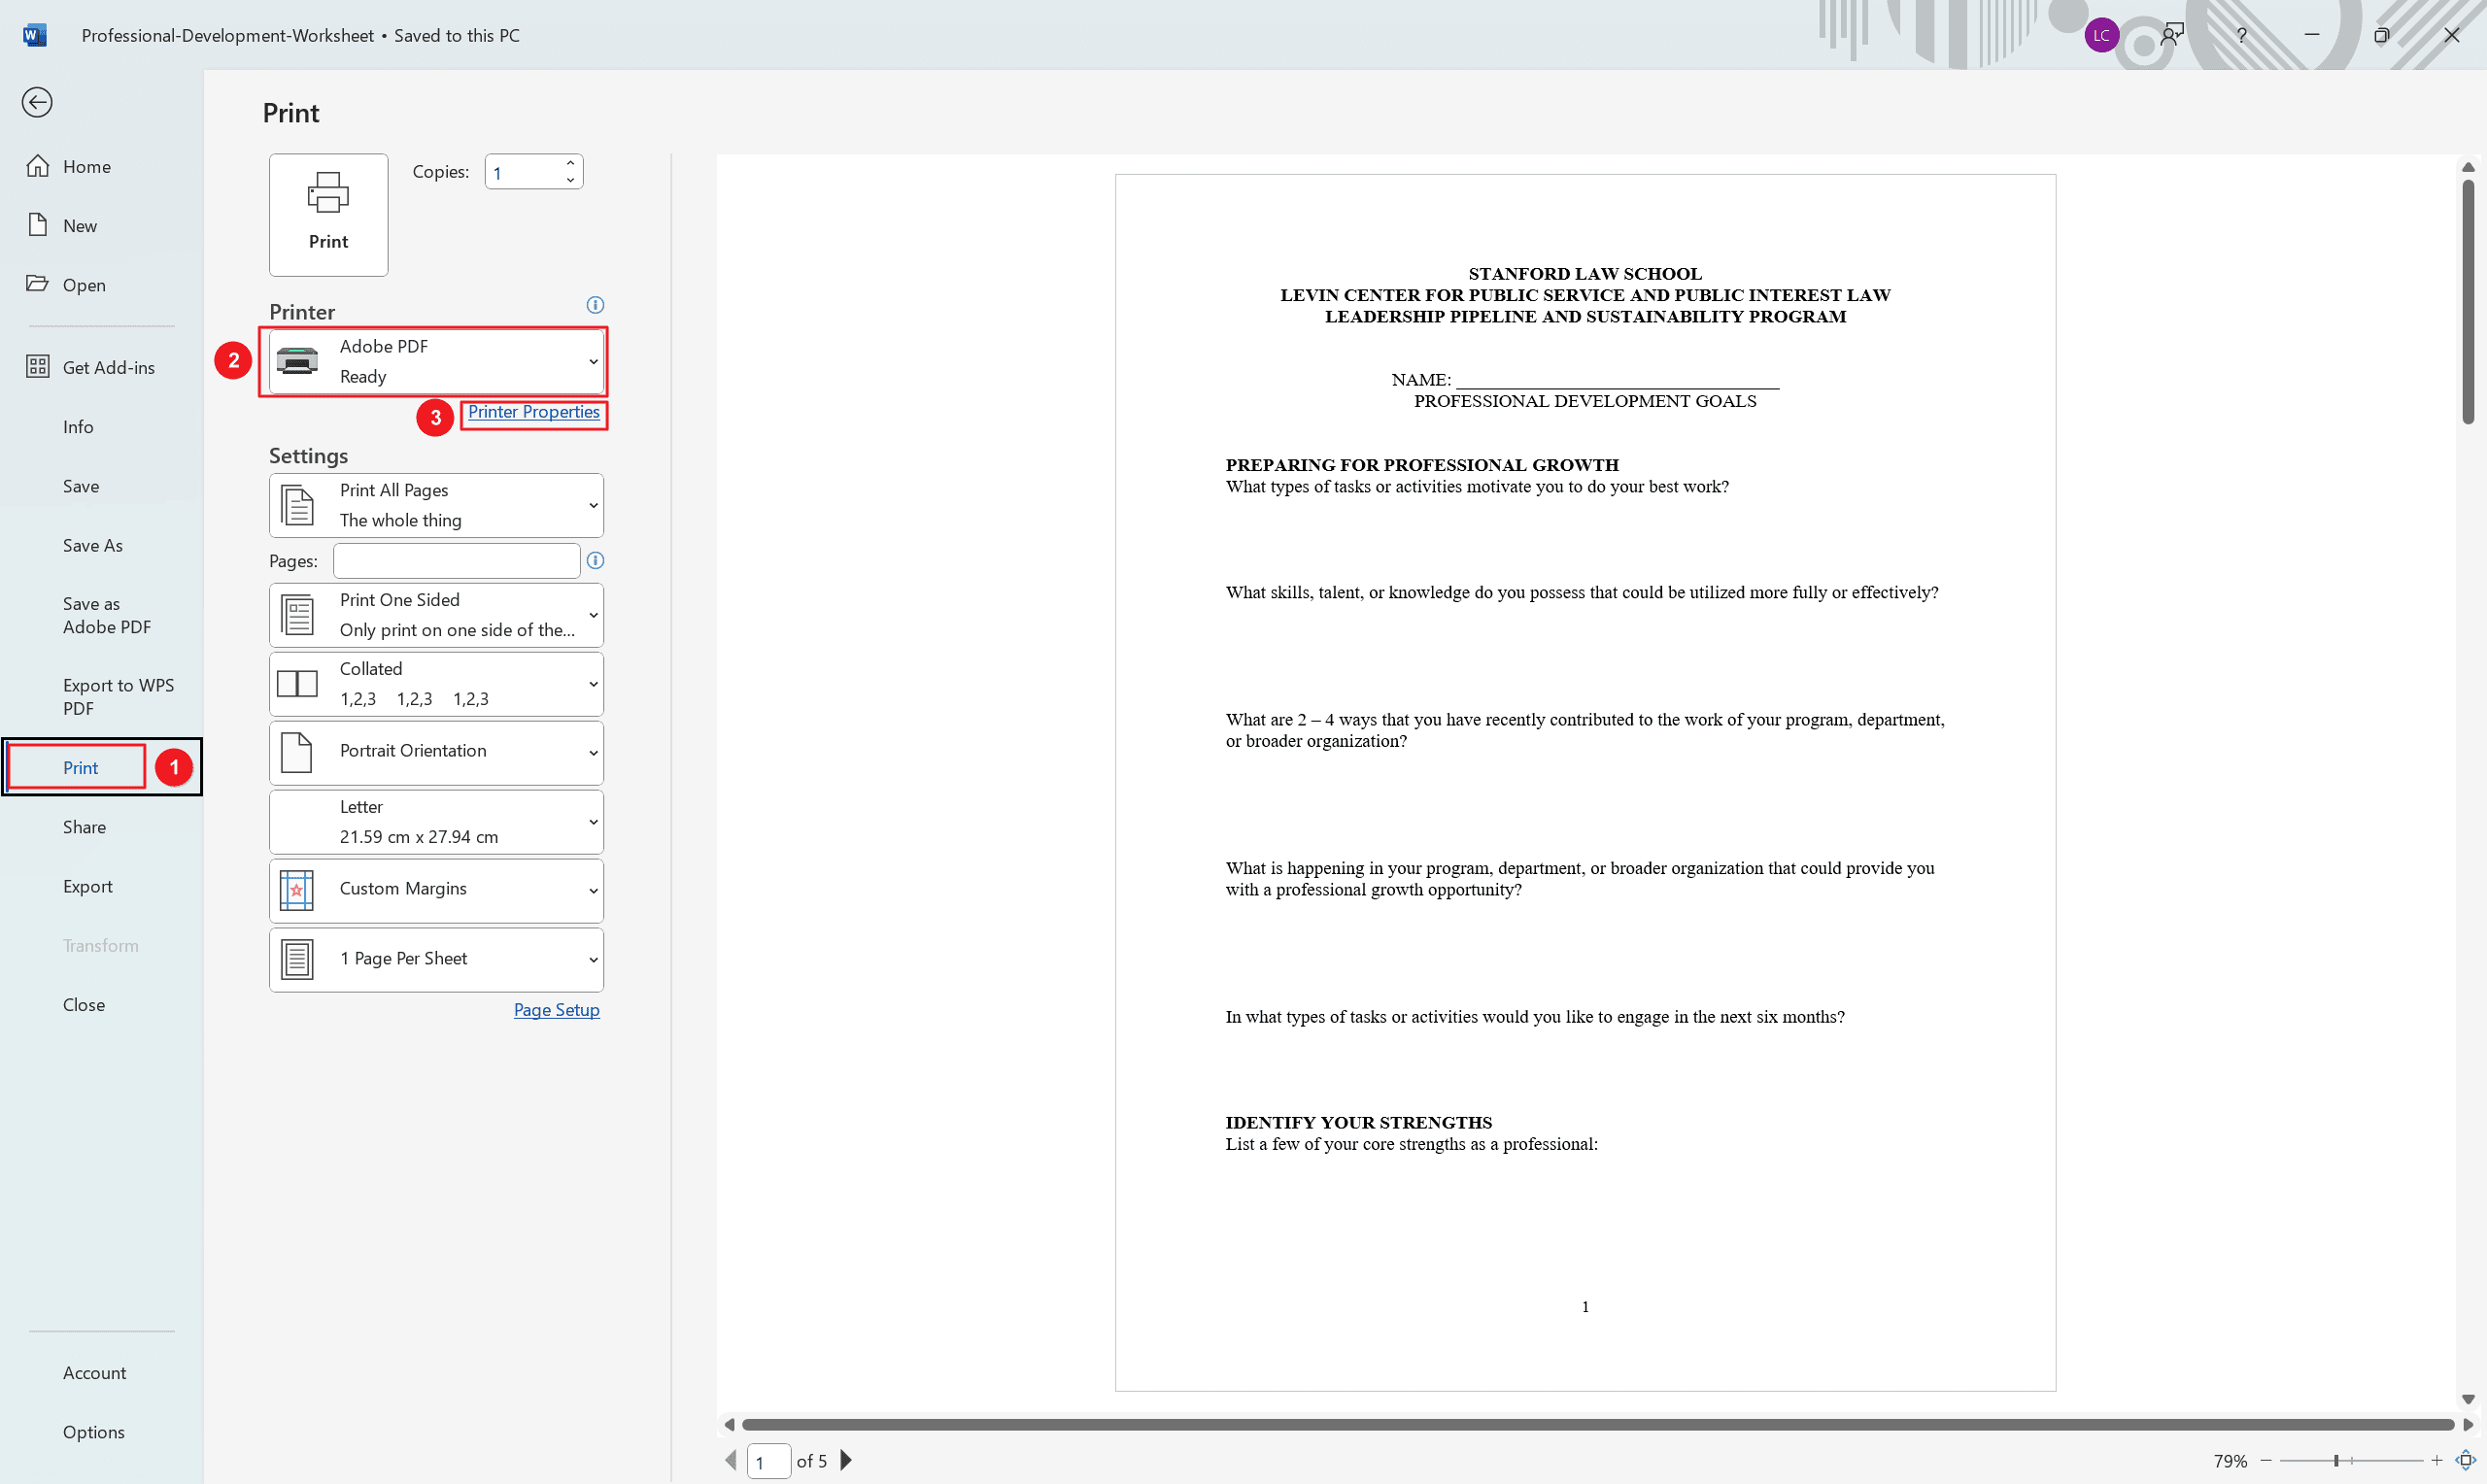
Step 5: Navigate to Adobe PDF Settings: In the Properties window, select the "Adobe PDF Settings" tab.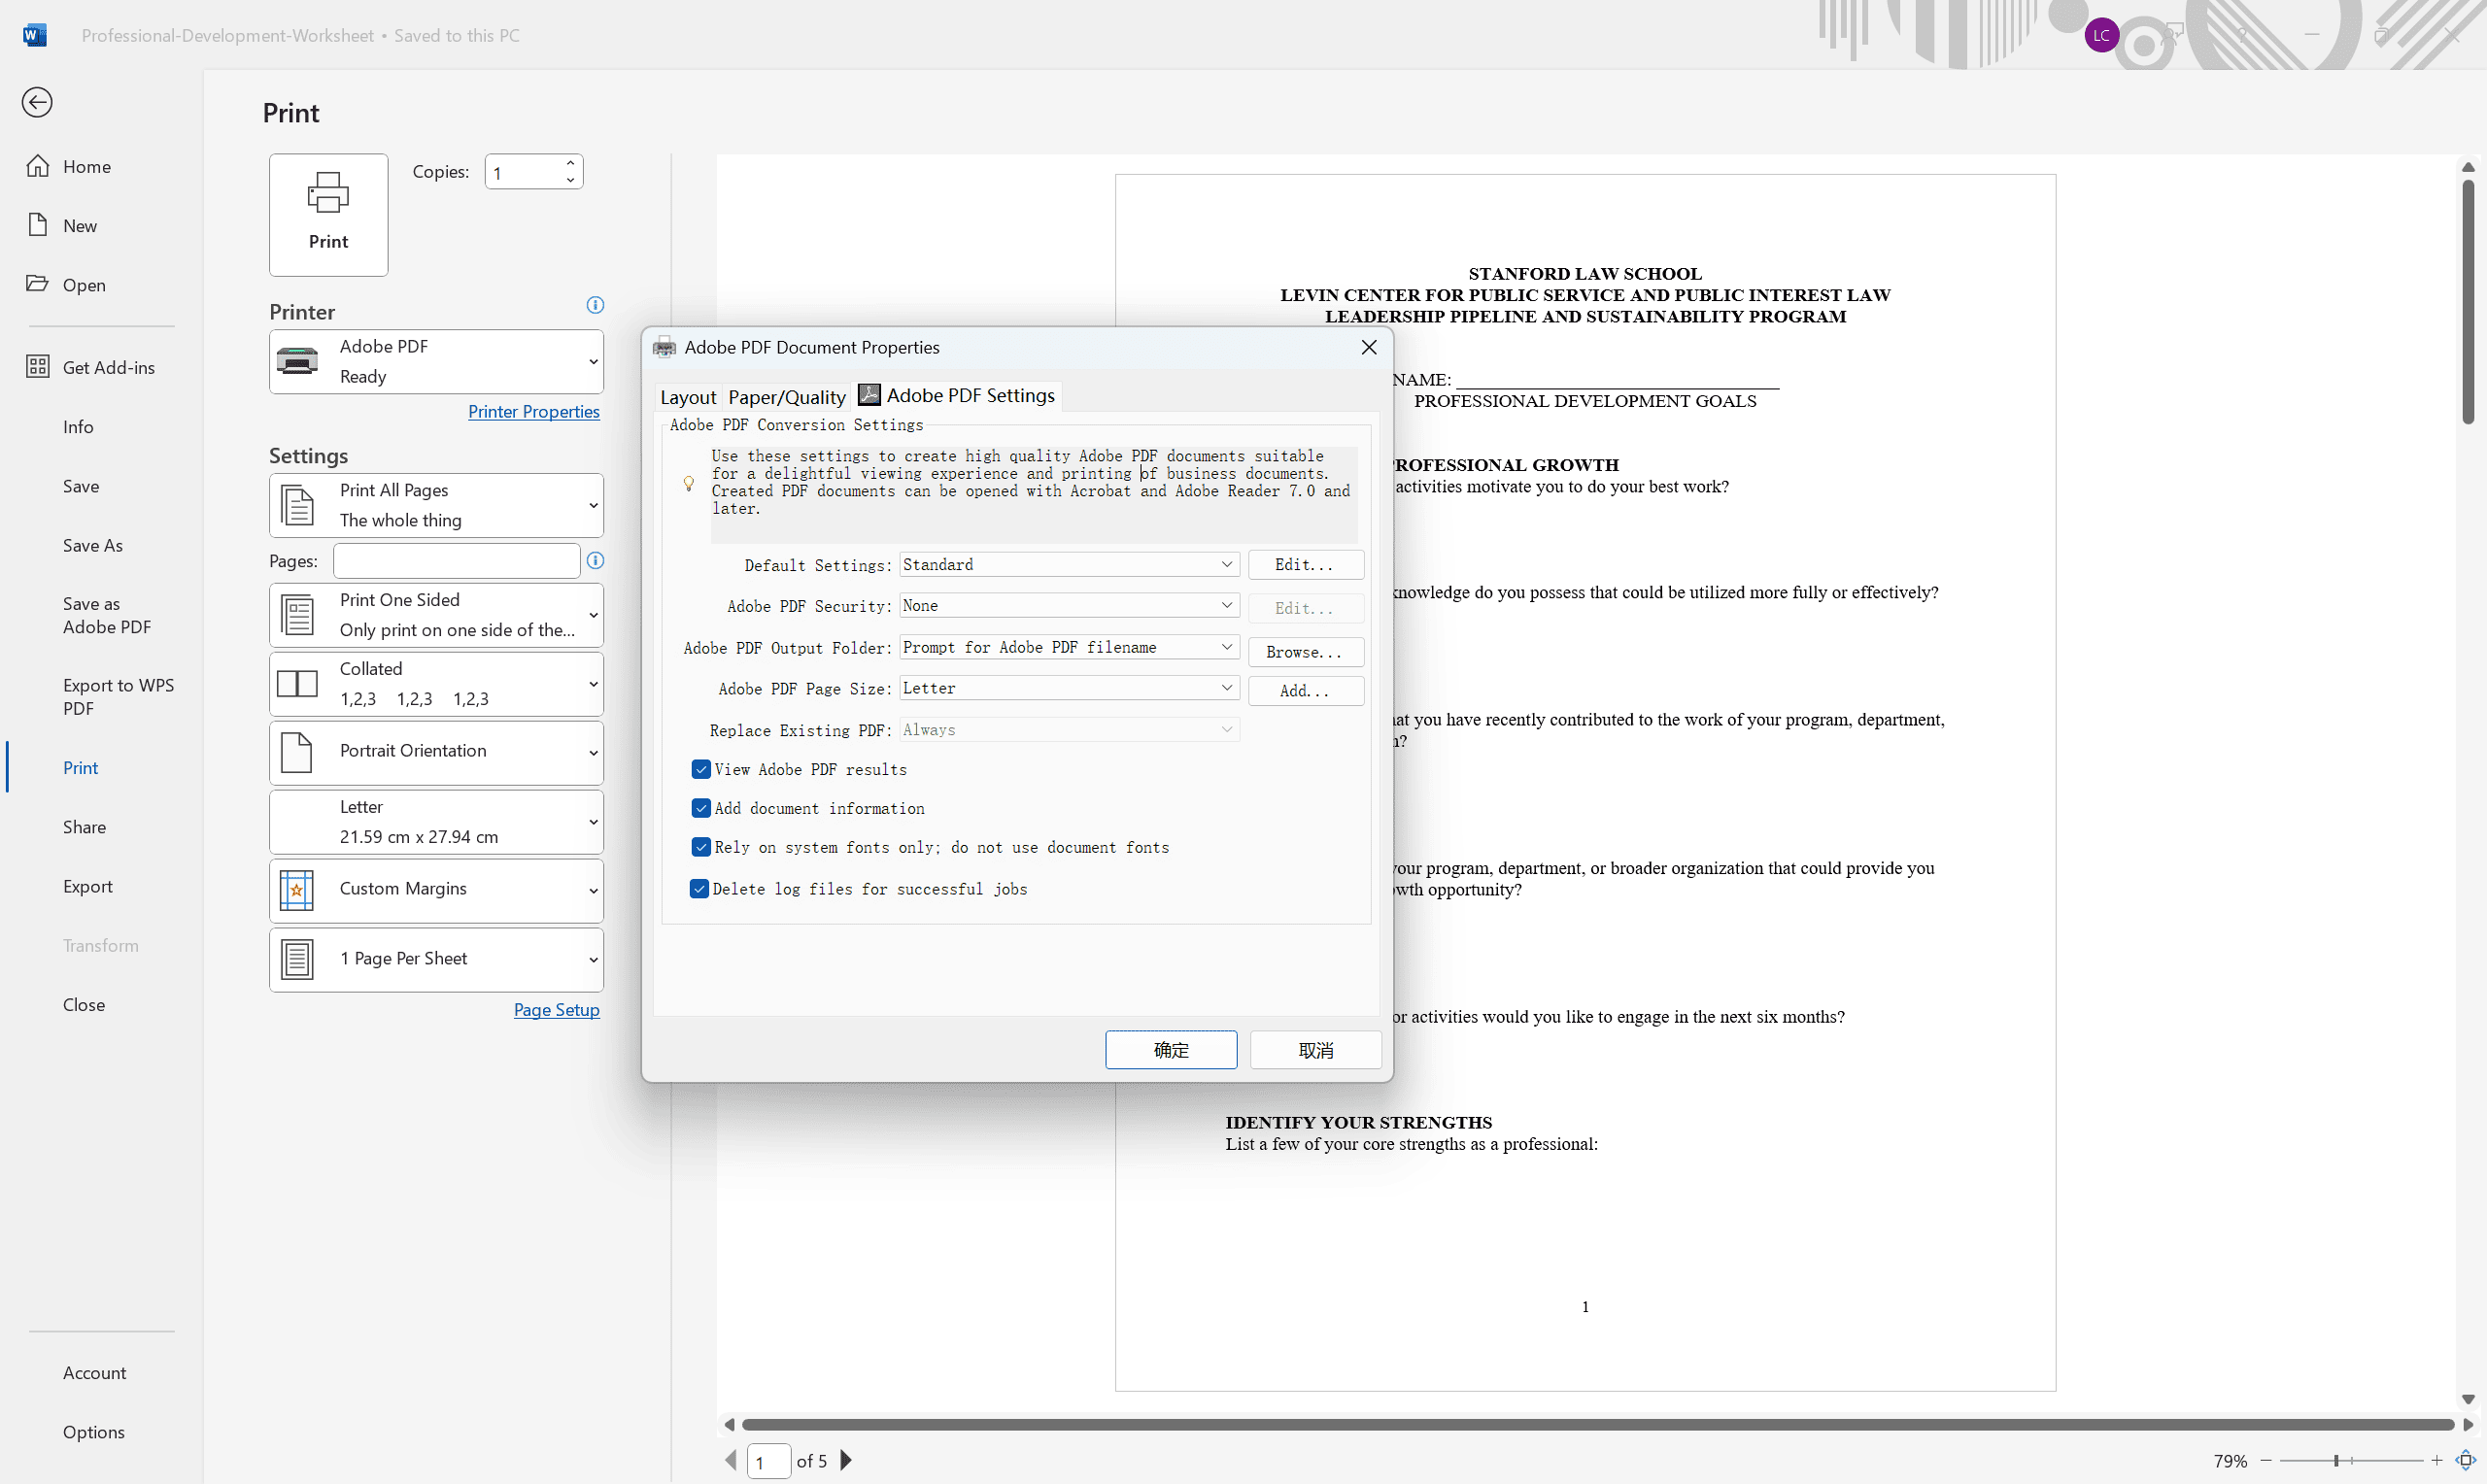
Step 6: Edit Default Settings (or Create a New Preset): Click the Edit button to the right of "Default Settings." This opens the "Adobe PDF Settings" dialog box. Alternatively, you can create a new preset if you don't want to modify the defaults.
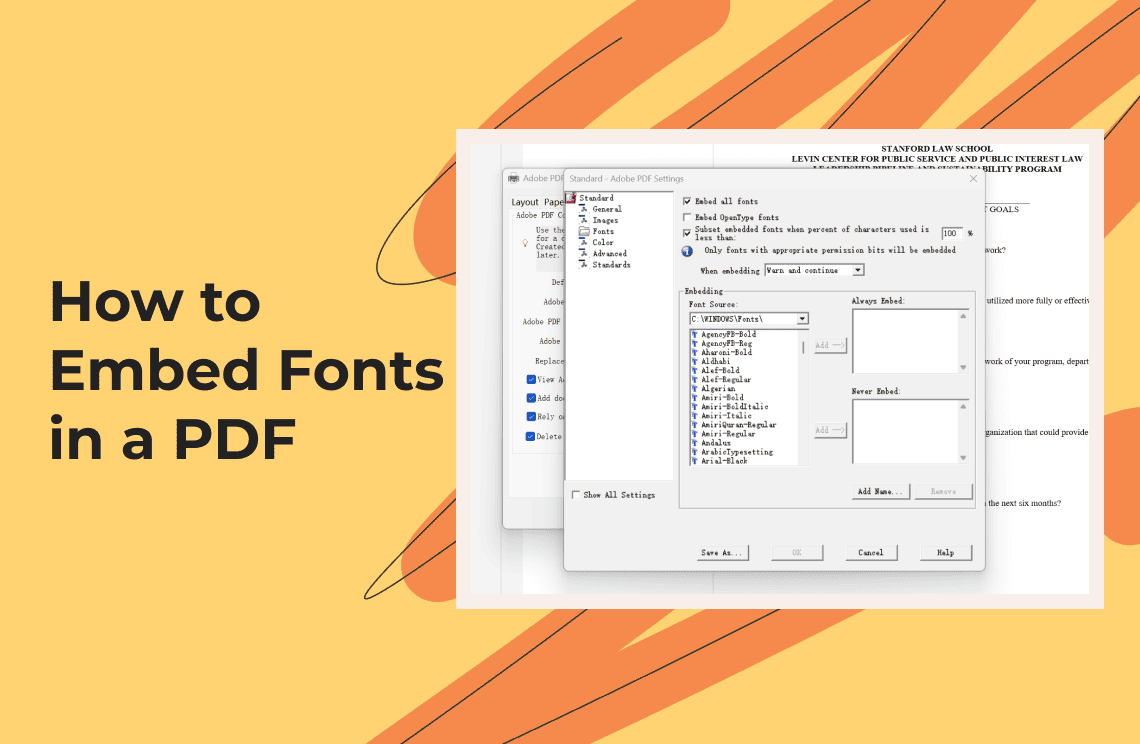
Step 7: Configure Fonts: In the left-hand menu of the "Adobe PDF Settings" dialog, click Fonts.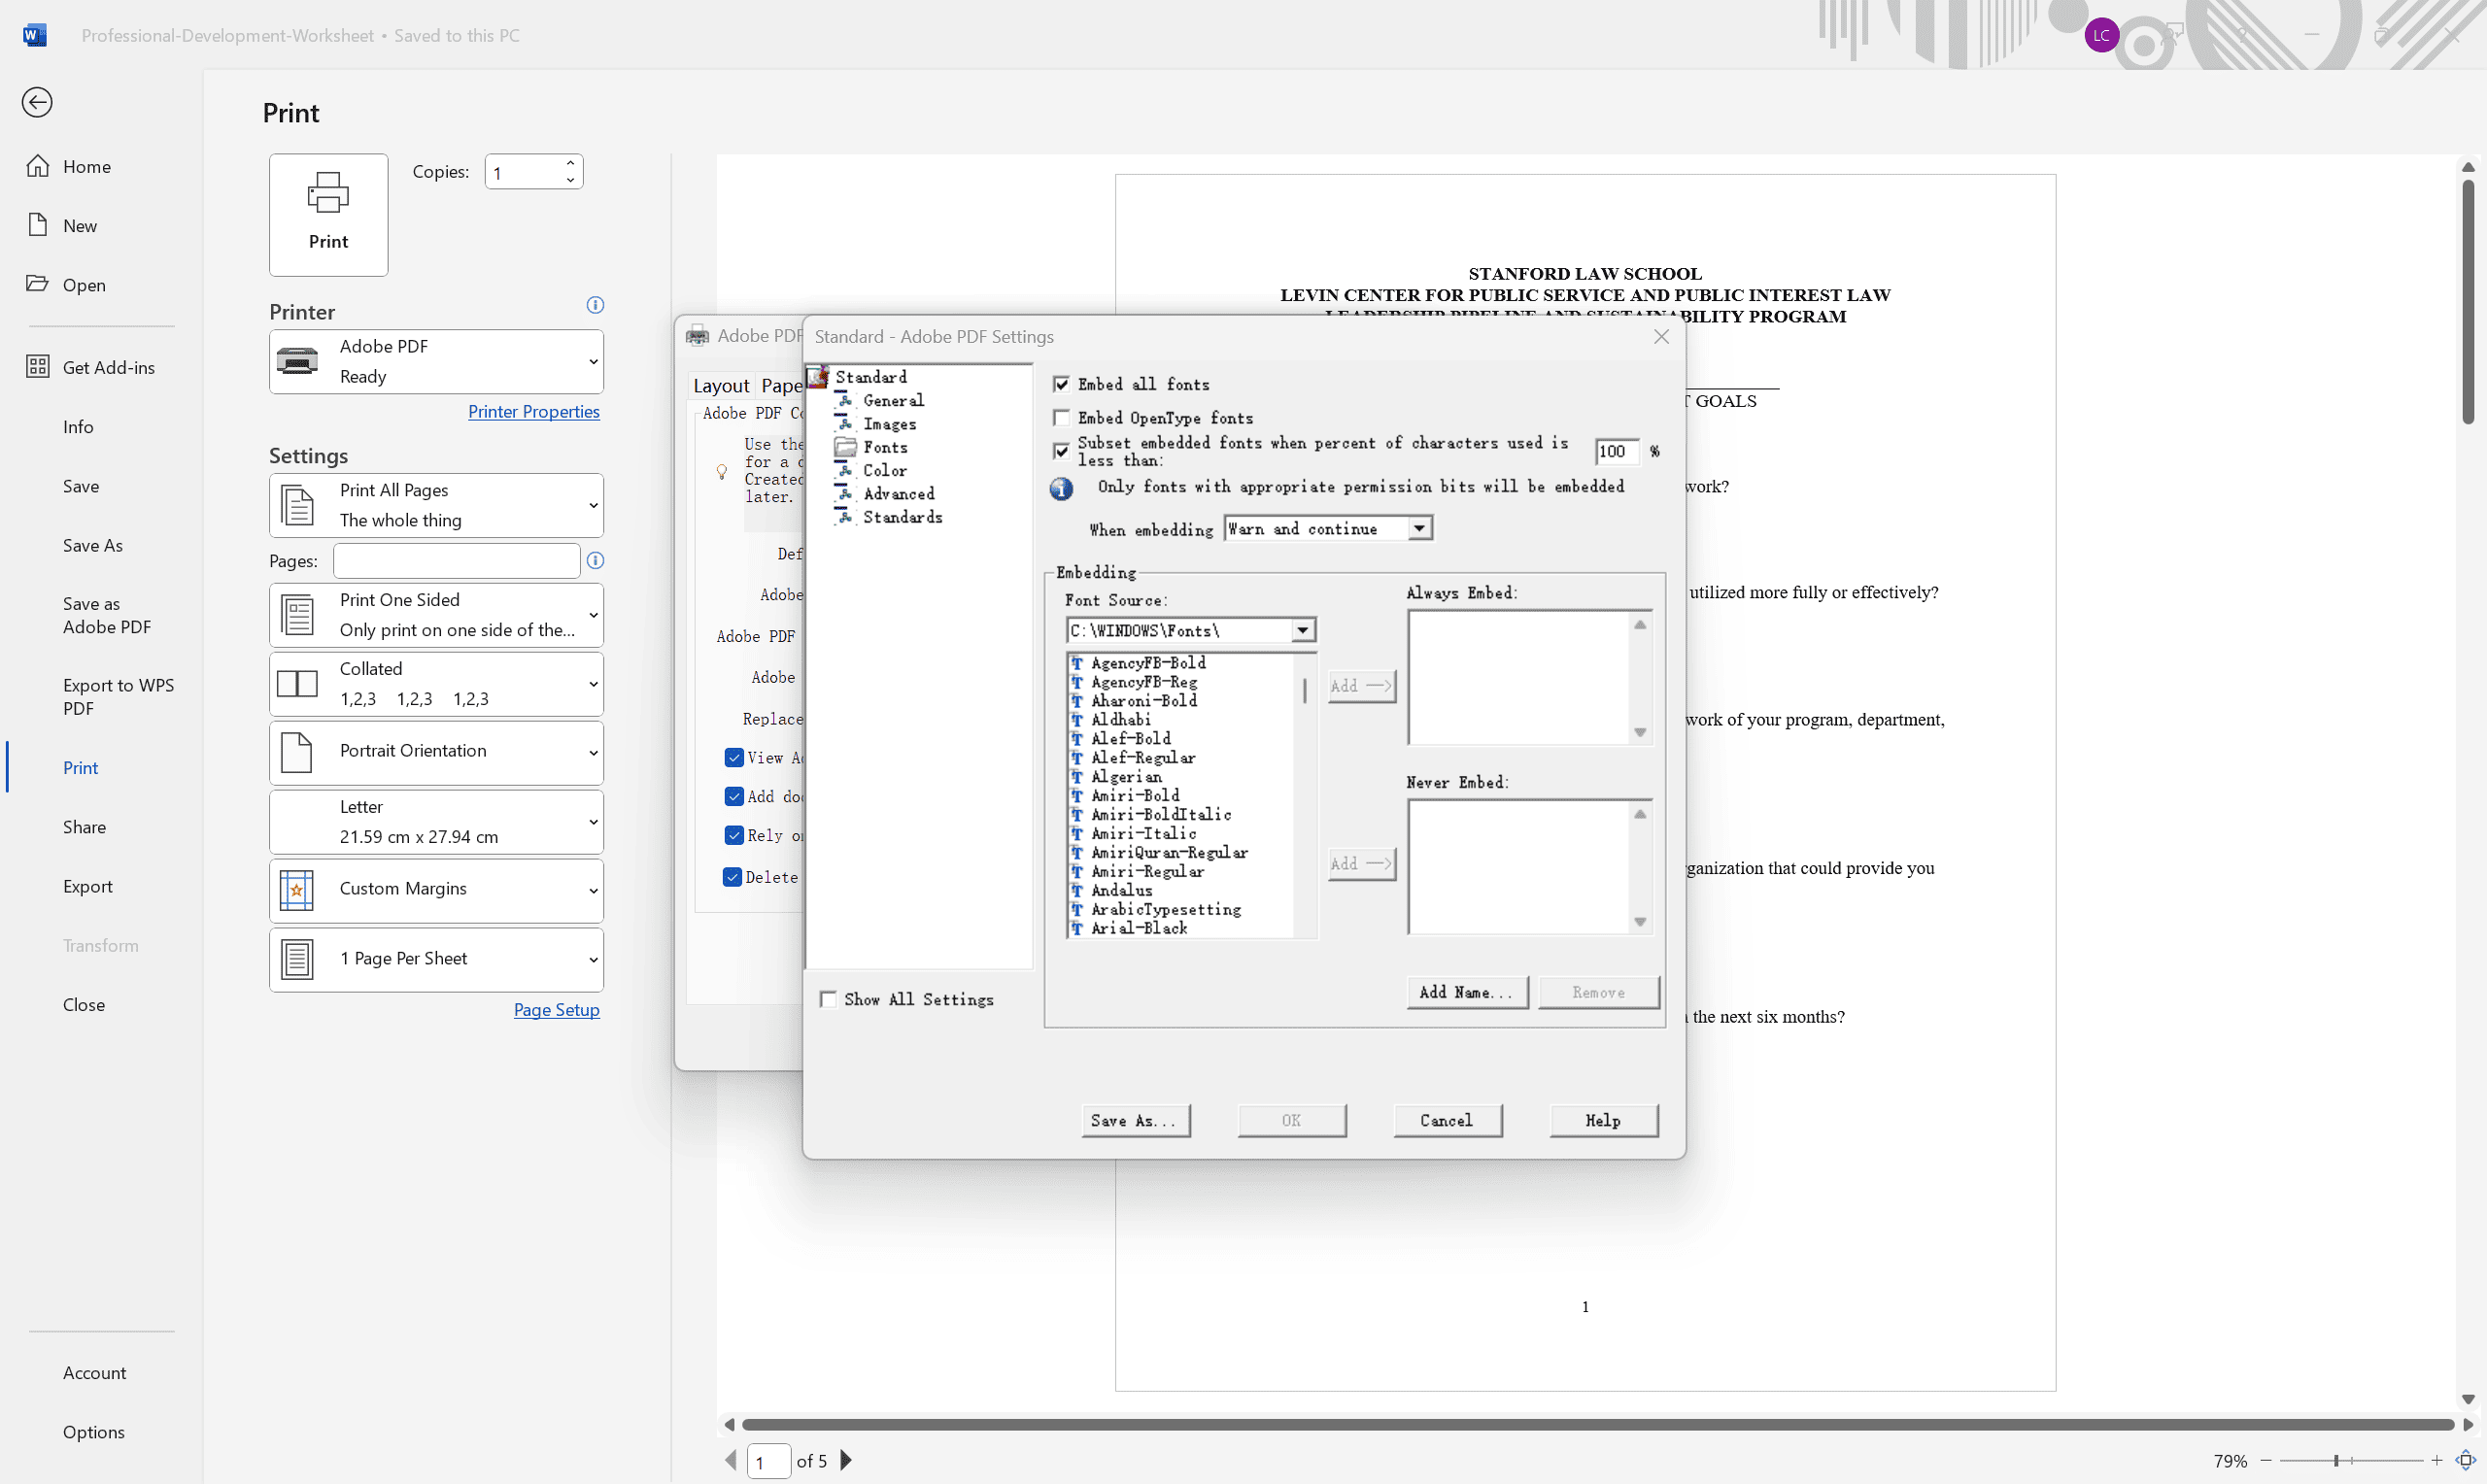
Step 8: Ensure Fonts are Available:
- Check the Font Source List: The "Fonts" section displays a list of available fonts. The fonts you want to embed must be in this source list.
- Add Fonts: If the fonts you need are not in the source list, they need to be made available to the system. The typical way to do this is to install the fonts in your operating system's fonts directory (usually C:/Windows/Fonts on Windows, or /Library/Fonts on macOS). You might need to copy the font files (.ttf, .otf, etc.) into that directory. Note: If you have trouble finding the Fonts folder you can search for it in the search bar on the launcher menu. After installing the fonts, you might need to restart your application or even your computer for the changes to take effect. Once the fonts are installed, they should appear in the source list when you reopen the "Adobe PDF Settings" dialog.
Step 9: Move Fonts to "Always Embed": From the list of available fonts, select the fonts you want to embed and move them to the "Always Embed" box using the arrow buttons. This ensures that these fonts are embedded in the PDF during creation. If you want to embed all fonts, you can check the box at the top that says "Embed all fonts."
Step 10: Save Settings and Create PDF: Click OK on the "Adobe PDF Settings" dialog to save your font embedding preferences. Then, click OK on the printer properties window. Finally, click Print in the original print dialog. This will initiate the PDF creation process, and the Adobe PDF printer driver will now embed the specified fonts according to your settings.
Step 11: Verify Font Embedding: Open the newly created PDF in Adobe Acrobat and check if the fonts are indeed embedded (File > Properties > Fonts).
Benefits of Embedding Fonts in a PDF
Embedding fonts in a PDF offers significant advantages for both digital and print documents. First, it ensures consistent visual presentation across devices and operating systems. Without embedded fonts, text might appear distorted or automatically substitute with default fonts like Arial or Times New Roman, disrupting your document’s design. This is especially critical for branding materials, resumes, or official reports where professional aesthetics matter. Second, embedding fonts guarantees print accuracy. Printers rely on embedded font data to reproduce text exactly as designed. Missing fonts can lead to misaligned layouts, incorrect spacing, or garbled characters, wasting time and resources. Third, it enhances accessibility. Screen readers and assistive technologies depend on embedded font data to interpret text correctly, ensuring your document is usable for individuals with visual impairments.
Additionally, font embedding helps you stay legally compliant. Many commercial fonts require embedding permissions for distribution. Ignoring licensing terms could lead to legal issues, especially in commercial or public-facing documents. Finally, embedded fonts future-proof your PDFs. Even if a font becomes unavailable on newer systems, your document’s text will remain intact and editable.
FAQs
Why aren’t my fonts embedding in the PDF?
If your fonts aren’t embedding, two common issues could be at play. First, the font’s licensing restrictions may prevent embedding. To check this, open the font file’s properties (right-click the font > Properties > Details) and review its embedding permissions. Second, your software settings might be subsetting fonts instead of embedding them fully. Ensure options like “Embed all characters” (in Word) are enabled during export.
How do I know if fonts are embedded in a PDF?
In Adobe Acrobat, open the PDF and navigate to File > Properties > Fonts. Embedded fonts will be listed with "(Embedded)" or "(Embedded Subset)" next to their names. For non-Adobe tools, online validators like PDF Accessibility Checker can scan your file for embedded fonts.
What is the difference between subsetting and full font embedding?
Subsetting embeds only the characters used in the document, reducing file size but limiting editing capabilities. Full embedding includes the entire font, which is essential for editable PDFs or documents where users might need to add text later.
Are all fonts legally embeddable?
No. Font licenses vary, and some explicitly prohibit embedding. Always review the font’s license (found in its documentation or properties) before embedding. Fonts labeled “Editable” or “Print & Preview” often have restrictions, while “Installable” licenses typically allow embedding. Websites like Font Squirrel or Google Fonts provide free, embeddable fonts for commercial use.
Why is my PDF file size so large after embedding fonts?
Embedding full fonts can increase file size. Using subsetting whenever possible is the best way to mitigate this. Also, consider compressing images within your PDF to further reduce the overall file size.