Indeed, first impressions always matter especially in professional and academic booklets. However, a thoughtfully crafted cover page can set the stage for your content. It captivates your audience immediately. So, gone are the days when designing a compelling cover page required expensive software or graphic design skills. Now, here enters Google Docs, a powerful yet user-friendly tool at the tip of your fingers. Its versatile features and broad accessibility empower you to create stunning cover pages that enhance your document's presentation and competence. So, are you ready to make your first impression memorable? Let us create exceptional cover pages with Google Docs templates.
How Do You Create a Google Docs Custom Cover Page?
Step 1. Open Your Google Docs Page: Open Google Docs and create a new document (or open an existing one).
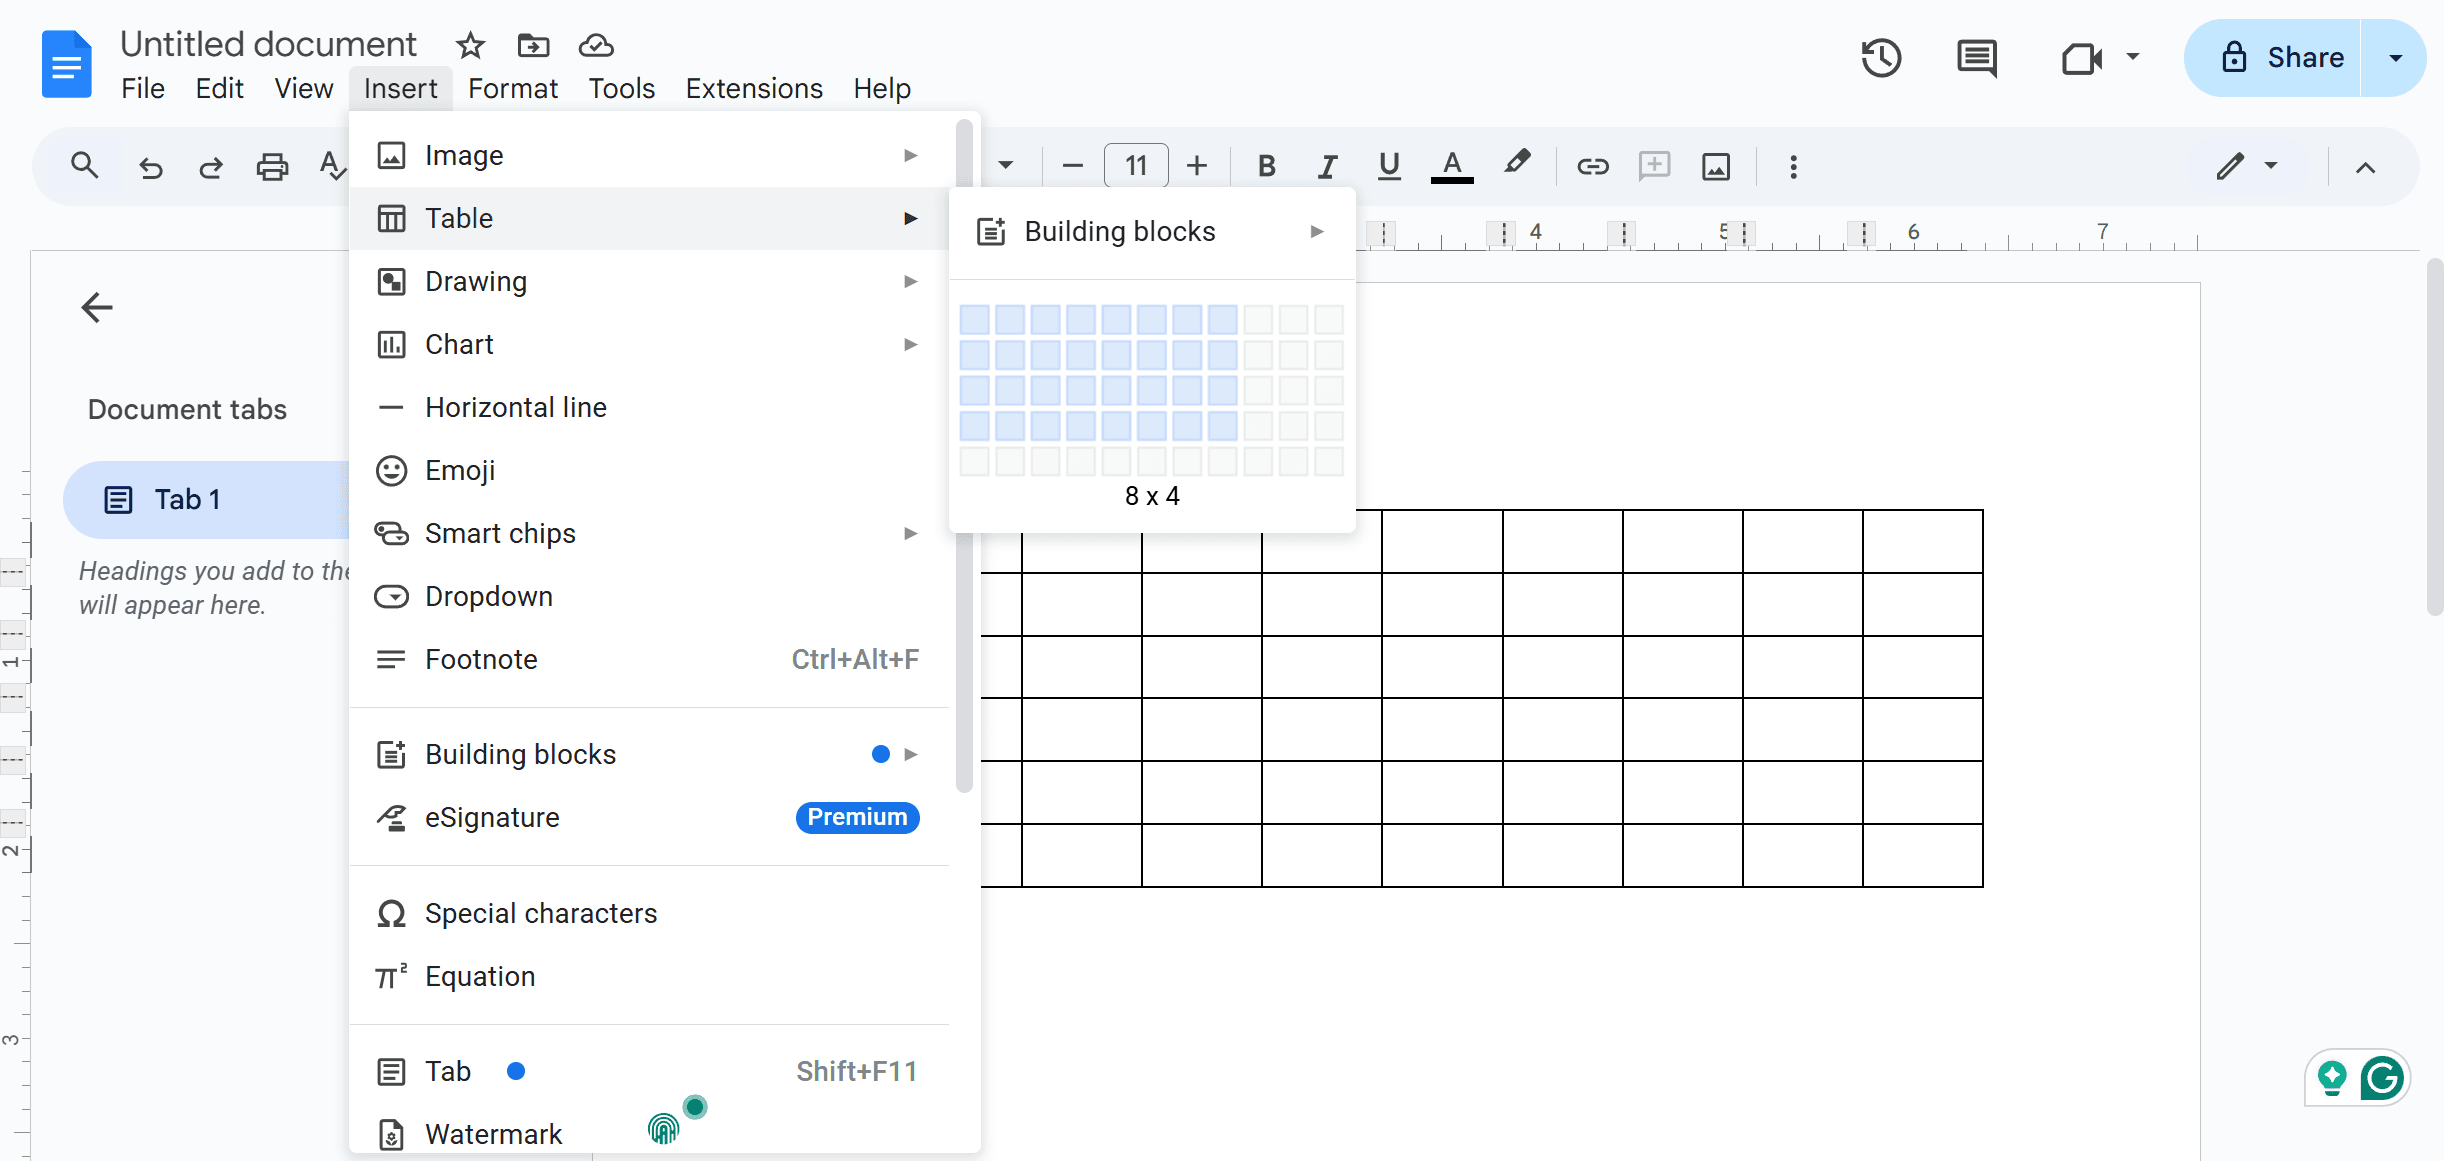
Step 2. Insert a Table: Go to "Insert" > "Table" and select a 1x2 table (or a grid that suits your design).
Step 3. Customize Table Dimensions: Click and drag the table's edges to resize rows and columns, shaping your cover page layout.
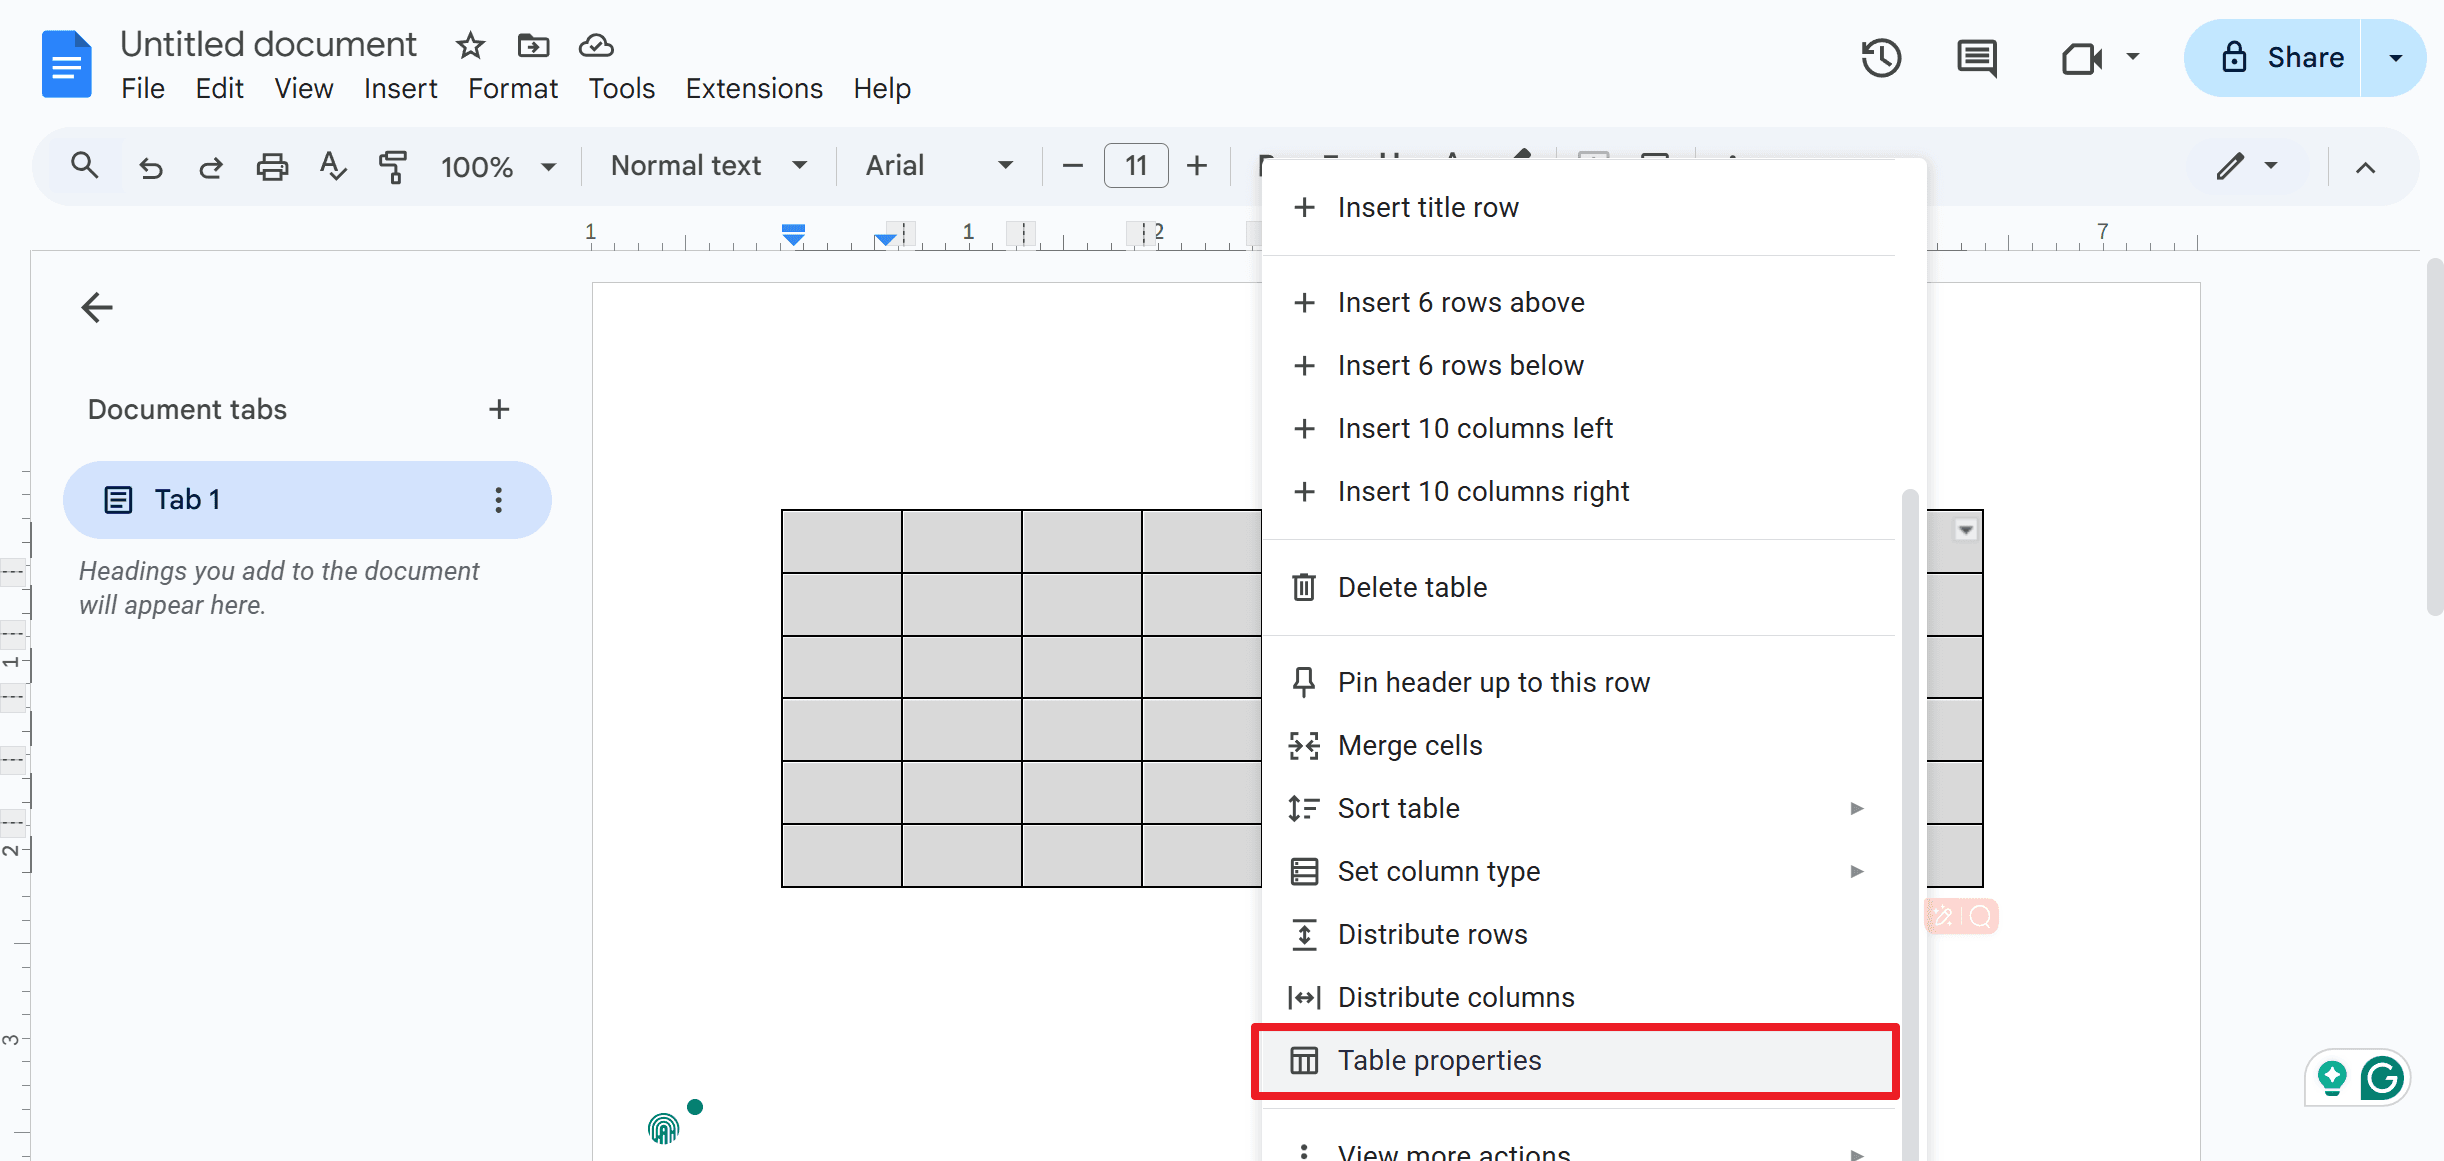
Step 4. Change Background Colors: Right-click inside the table, select "Table properties," and set the "Table border width" to 0. Use the "Cell background color" option to fill each cell with your desired colors.
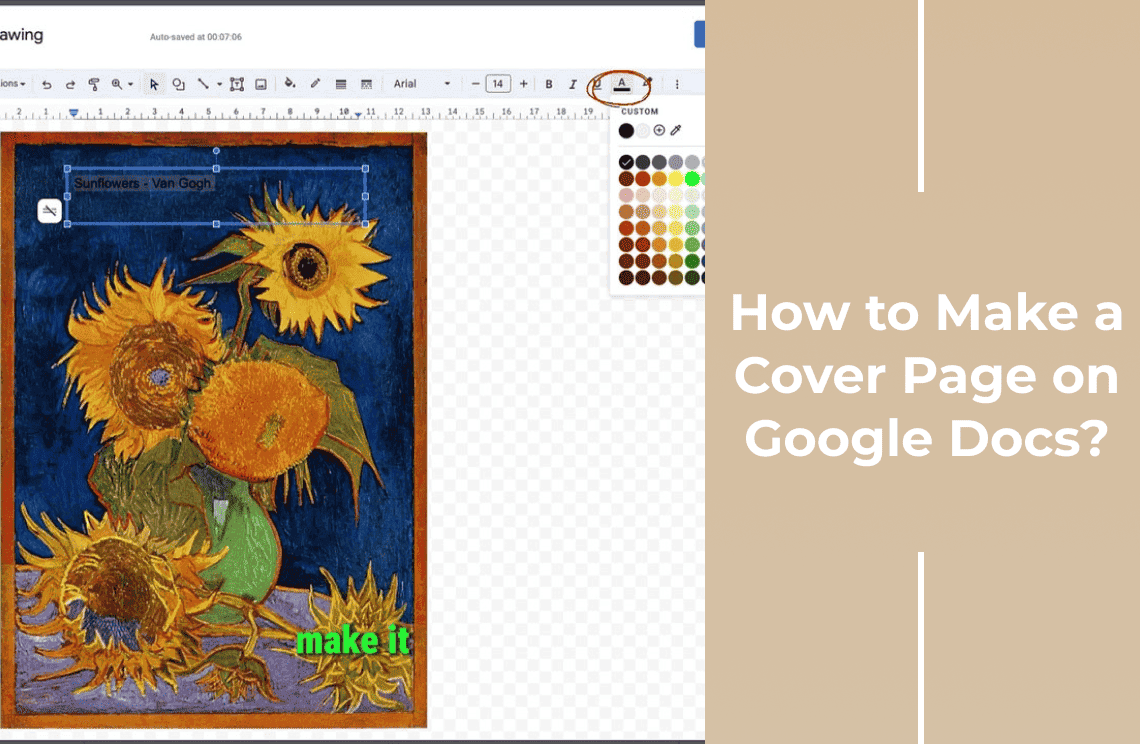
Step 5. Add and Format Title Text: Go to "Insert" > "Drawing" > “+ New.” Use the text box tool to enter your document title. Format the text (fonts, sizes, colors) as needed. Click "Save and Close" to add it to your cover page.
Step 6. Insert Images or Logos: Go to "Insert" > "Image" and select your image source. Resize and position the image on your cover page. Use the image options to wrap text, and set the image alignment.
Step 7. Include Additional Text Boxes: Go to "Insert" > "Drawing" > "+ New" to add more text boxes for author name, date, etc.
Format and position these text boxes as desired.
How to Create a Custom Cover Page Using Google Docs Templates?
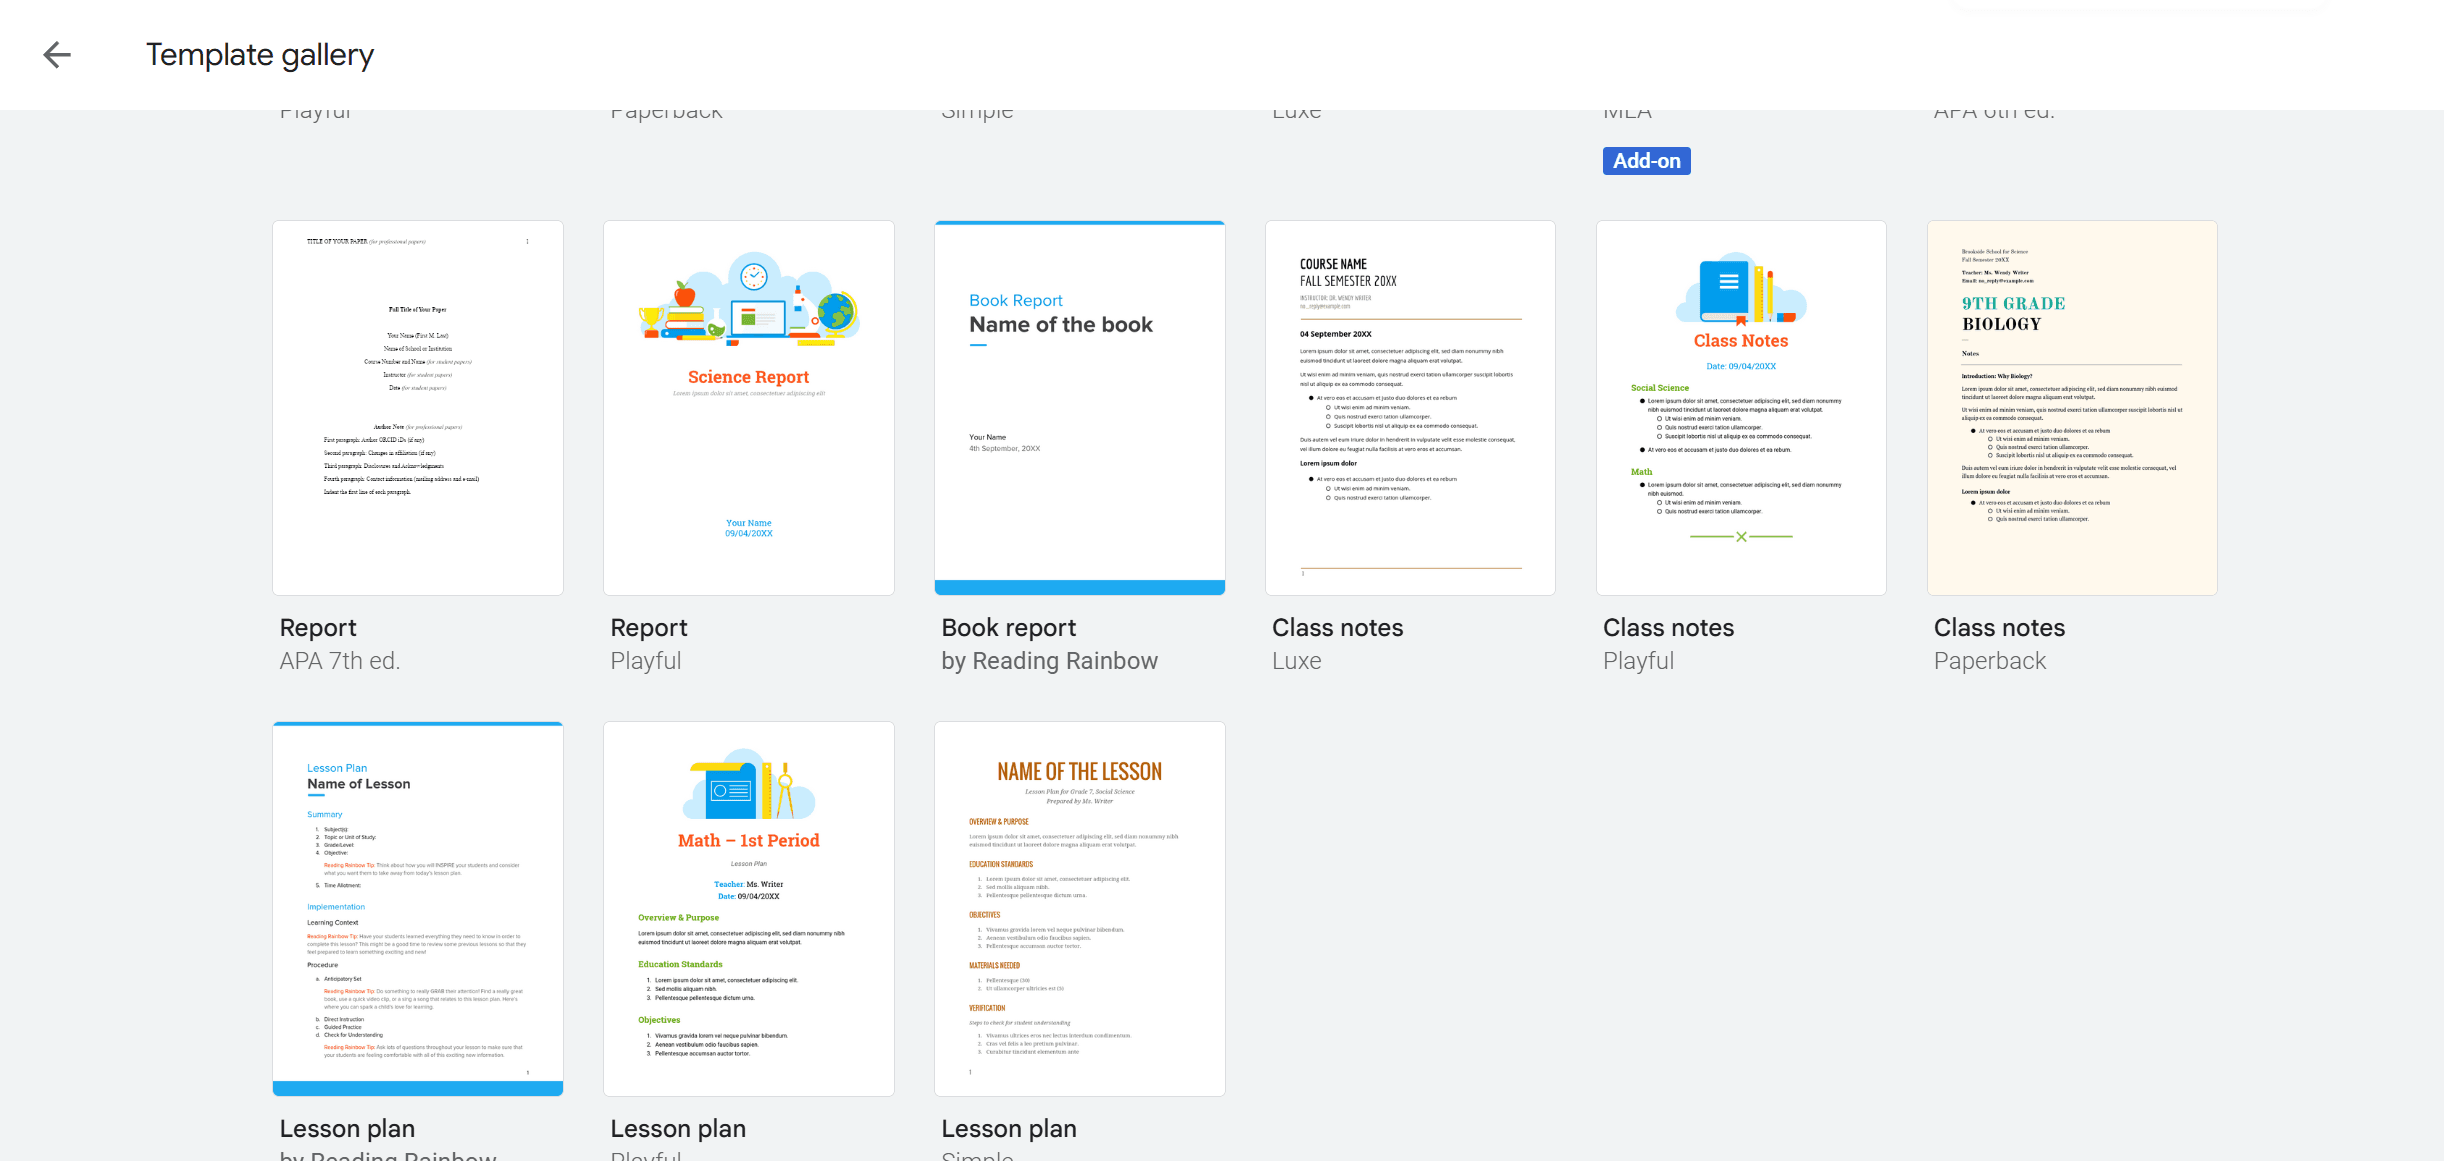
Step 1. Open Template Gallery: In Google Docs, access the Template gallery.
Step 2. Choose a Template: Select a cover page template that suits your needs.
Step 3. Replace Placeholder Text: Click on the template's text fields and replace them with your title, author, date, etc.
Step 4. Adjust Formatting: Customize fonts, sizes, and colors to match your style.
Step 5. Add Images: Insert your images or logos and adjust their placement.
Tips
1. Keep it Simple: Focus on essentials, avoid clutter.
2. Brand Consistency: Use your organization's colors, fonts, and logos.
3. Readable Fonts: Choose professional and easy-to-read fonts.
4. Clear Hierarchy: Use font sizes and weights to create visual hierarchy.
5. Quality Visuals: Include relevant, high-quality images.
6. Use White Space: Utilize white space for a clean design.
7. Alignment & Balance: Ensure elements are aligned and balanced.
8. Limited Palette: Stick to a complementary color palette.
9. Match Tone: Align the design with the document's content.
10. Proofread: Check for errors before finalizing.
Troubleshooting Issues
1. Text isn't centered? Highlight the text, click the center align icon, and verify even margins in Page setup.
2. Image is misplaced? Click the image, choose a text wrapping option, and drag or use arrow keys to reposition.
3. Shapes or lines are misaligned? Click the drawing, use the Align and Arrange tools, and save.
4. Font is wrong? Check font support in the dropdown menu, and select a similar Google Docs font.
5. Sharing isn't working? Click Share, adjust permissions, and copy the correct link.
6. Images won't insert or format? Refresh the page, ensure correct image format and size, or clear browser cache.
7. Text or elements vanish? Use Ctrl+Z (Cmd+Z), check for accidental deletions, and use version history.
8. Page number appears on cover? Go to Headers & footers, select Options, and choose "Different first page."
Conclusion
Mastering Google Docs can transform your documents from ordinary to extraordinary. You can effortlessly tackle any issues by leveraging these troubleshooting tips and phases. You will create professional and visually appealing cover pages. Also, streamline your workflow. Take time to explore these solutions. Your skills and confidence will grow with repetition. Embrace the power of Google Docs and make every document you create a polished piece of art. Happy creating!
Moreover, for those seeking to optimize their document management and processing skills, it is highly recommended to consult How-to & Tips Articles | PDF Agile and Google Docs Tips and Tricks | PDF Agile.