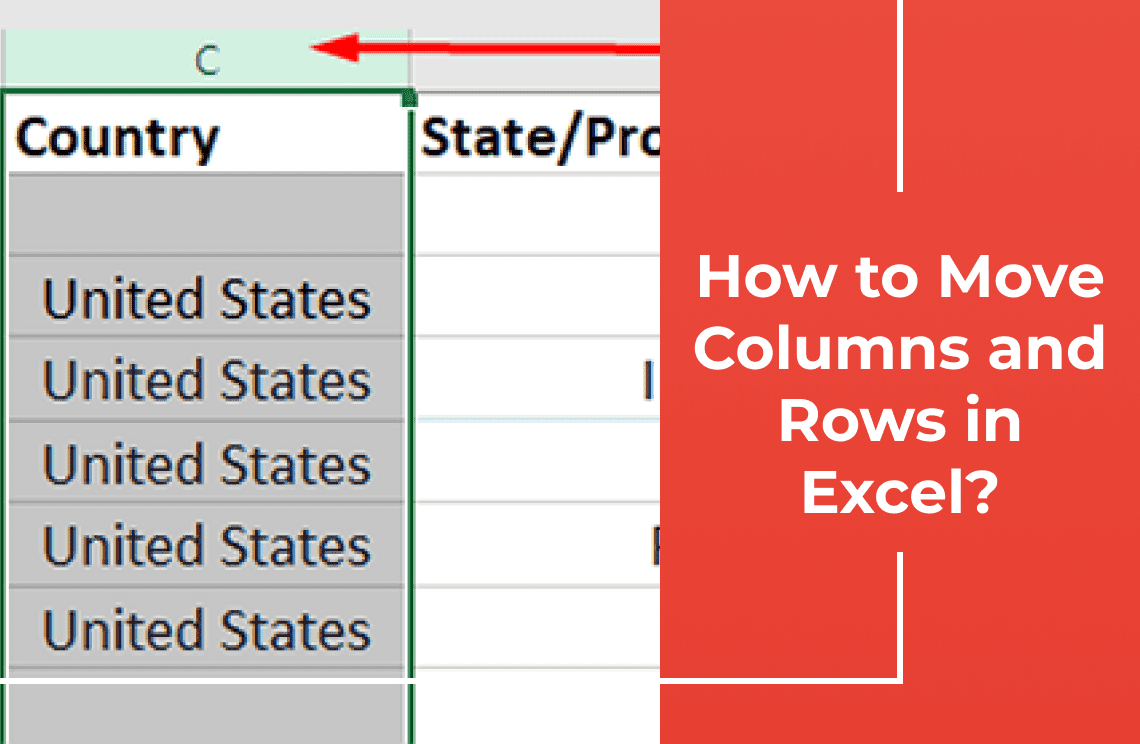
Rearranging columns and rows in Excel is a fundamental skill that significantly boosts data management and analysis efficiency. Whether you need to organize extensive datasets, refine reports, or simply enhance spreadsheet readability, mastering these techniques saves time and minimizes errors. Common applications include reordering columns for improved visualization, grouping related data by moving rows, correcting data entry mistakes, and structuring information for effective presentations or reports. By learning to quickly and effectively adjust your data layout, you can maintain data integrity throughout your workflow.
Understanding the Basics
In Excel, columns and rows are fundamental components:
- Columns: The vertical ranges labeled with letters A, B.
- Rows: The horizontal ranges labeled with numbers 1, 2.
- Cells: Known by the combination of column letter and number of row. For example A1, B2.
Significance of Maintaining Data Integrity
It is essential to maintain data integrity while moving columns and rows from place. Improperly moved data can result in:
- Misaligned information.
- Broken formulas.
- Inaccurate analysis.
To ensure accuracy, always:
- Double-check data before and after rearranging.
- Confirm that all related information remains correct and connected.
This practice preserves the spreadsheet's overall accuracy and utility.
Method 1 – How to Move Rows and Columns Using the Shift Key?
Move Rows Using the Shift Key
1. First select the row by clicking the row number on the left side bar.
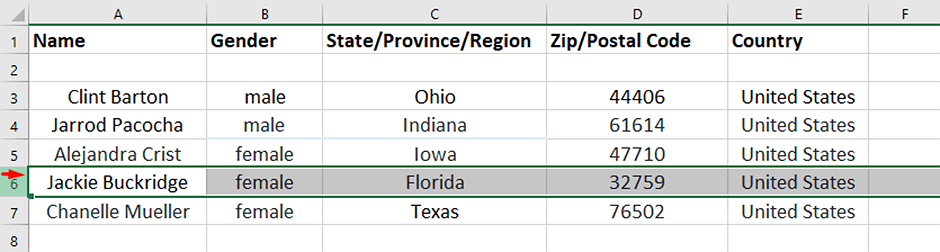
2. Now press and hold the Shift key at the same time.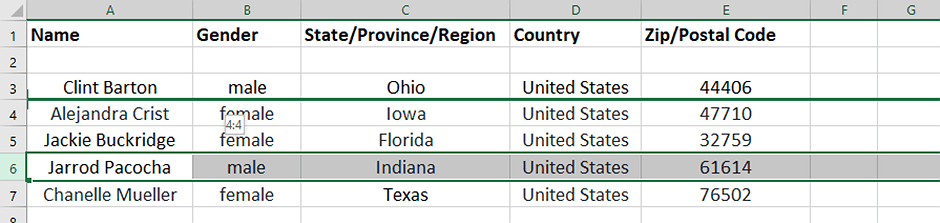
3. Keep moving your cursor to the edge of the selected row until it turns into a four sided arrow.
4. Hold and drag the row to the new location desired.
5. Free the mouse button first and then let go of the Shift key.
Pro Advices
- You should be careful to hold the Shift key during the dragging process to prevent overwriting figures.
- Verify that the row has correctly moved to the target location.
- Use the undo function if the row is misplaced.
How to Move Columns Using the Shift Key?
1. Choose the column by clicking the letter at the top of column.

2. Now press and hold the Shift button.
3. Keep moving your cursor to the edge of the selected column until it changes to arrow with four sides.
4. Hold and drag the column to the new desired place.
5. Free the mouse button first and then let go of the Shift key.
Tips for Avoiding Common Mistakes
- Press down the Shift key to avoid replacing existing data in column.
- Double-check the column's new position to confirm it has moved correctly.
- Utilize the undo button if the column is not correctly placed.
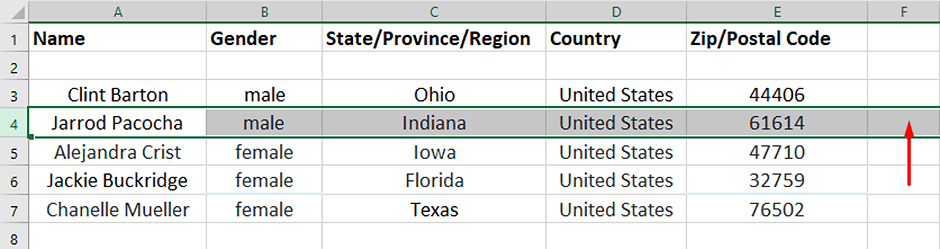
Method 2: How to Drag and Drop Rows and Columns in Excel?
Instructions for Rows
1. Choose the row by clicking the row number on the left side of row.
2. Now hover your mouse over the edge of the selected row until the cursor changes to arrow with four sides.
3. Tap and hold the mouse key.
4. Drag the row to the desired new location.
5. Allow Permission.
6. Release the mouse button to drop the row.
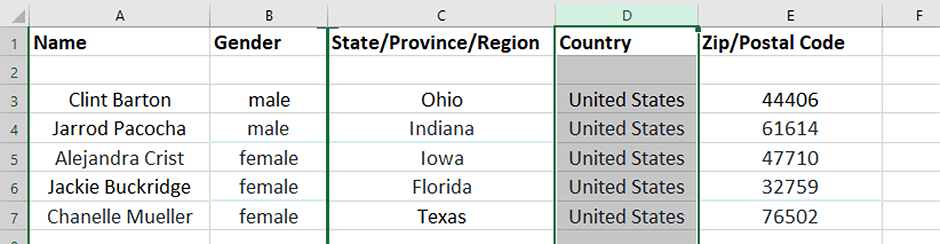
Instructions for Columns
1. Select the column by clicking the letter at the top of column.
2. Then hover your mouse over the edge of the selected column until the cursor changes to arrow with four sides.
3. Tap and hold the mouse key.
4. Drag the column to the desired new position.
5. Release the mouse button to drop the column.
Method 3: How to Move Rows and Columns in Excel Using Insert, Cut and Delete?
The Insert, Cut and Delete Method for Rows.
1. Select the Row: Click on the number of the row you want to move. It will highlight the entire row.
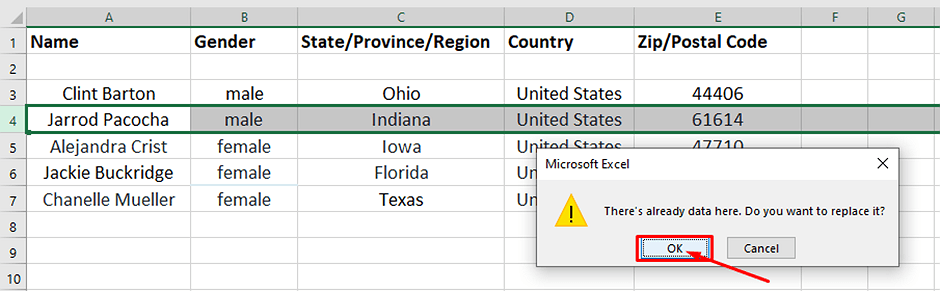
2. Cut the Row: Right-click on the highlighted row. Then, select Cut from the context menu or use the shortcut Ctrl + X.
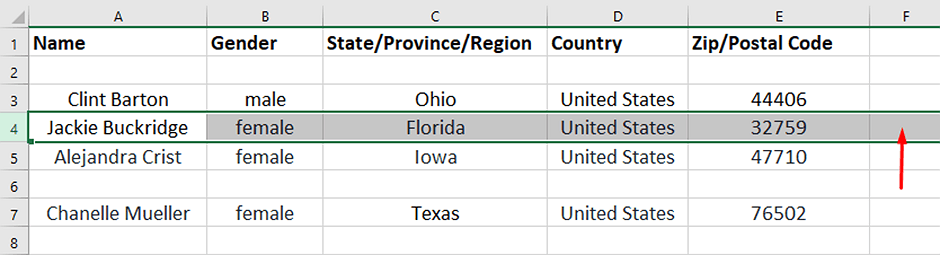
3. Insert a New Row: Click on the row number below the location where you want to move the selected row. Right-click and choose Insert Cut Cells from the context menu. It will insert the cut row above the selected row.
4. Delete the Original Row: Go back to the original location of the moved row. Right-click on the now-empty row. Select Delete to remove the empty row and clean up your spreadsheet.
Tips for Accuracy
- Ensure you're cutting the correct row to avoid losing data.
- Double-check the destination before inserting the cut cells.
- Always use the undo button that is Ctrl + Z key to revert the changes if made a mistake.
You can easily move rows in Excel using the Insert, Cut and Delete methods by following these steps.
The Insert, Cut and Delete Method for Columns
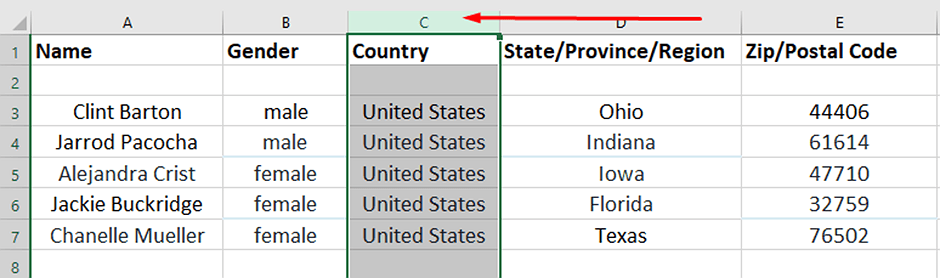
1. Select the Column: Click on the letter of the column you wish to move. It will highlight the entire column.
2. Cut the Column: Now right click the highlighted column. Select Cut from the menu or press Ctrl + X key. A cut line will appear.
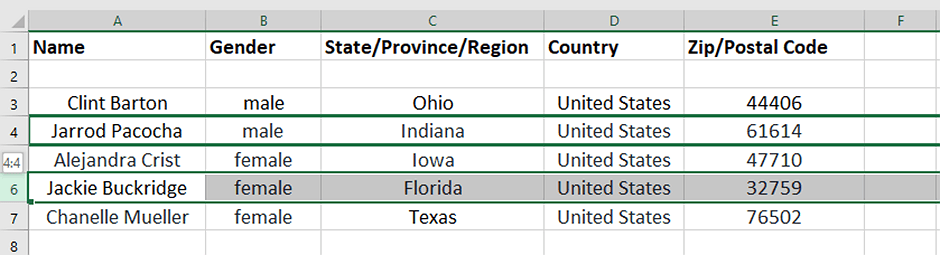
3. Insert a New Column: Click on the column's letter to the right of where you want to place the moved column. Right-click and choose Insert Cut Cells from the menu. It will insert the cut column to the left of the selected column.
4. Delete the Original Column: Return to the column's original location, which is now empty. Then, right-click on this empty column and select Delete to remove it and tidy up your sheet.
Tips for Accuracy
- Confirm that you've selected the correct column to cut, to prevent data loss.
- Carefully choose the target column before inserting the cut cells.
- Use Ctrl + Z to undo and correct the mistake if an error occurs.
It allows you to efficiently rearrange columns using Excel's Insert, Cut and Delete technique.
For Further Reading
Hey there, Excel warriors! Hanging with moving rows and columns can skyrocket your efficiency and make your spreadsheets sparkle. And don't worry if it feels clunky at first. Because practice makes perfect result. Yet soon enough, you will be whipping your data into shape smoothly. And hey, don't stop here! Dive into even more awesome tips at Excel Tips and discover a treasure trove of tricks at How-To and Tips. Keep on Excel-ing and happy spreadsheet adventures!