Managing emails effectively is crucial for maintaining organization and efficiency in today's digital era. It becomes essential to have a systematic approach to dealing with them to prevent overwhelm and ensure timely responses with the constant influx of emails. This guide provides a detailed step-by-step approach to saving emails in Notion and allow you to integrate your email management seamlessly into your broader productivity system.
Indulge in Notion's Experiences
What is Notion?
A versatile productivity tool that enhances workflow by combining many functionalities into one display place. Notion serves as a note-taking application, project management tool and database builder. It offers extensive customizability to meet individual and team needs. Users can create pages, databases, calendars and Kanban boards while seamlessly integrating tasks, documents and data with its drag-and-drop interface. However, Notion also supports real-time collaboration and become an excellent choice for personal and professional use.
Why Use Notion for Email Storage?
Using Notion for email storage brings several benefits:
- Notion centralizes organization. So, you store and manage emails alongside other documents, notes, and projects. This integration facilitates a more streamlined workflow and reduces the need to switch between multiple applications.
- It enhances collaboration and enable teams to share and discuss emails directly within the platform. So, everyone is on the same page and fosters better communication.
- Its easy accessibility across devices means you can access your stored emails anytime, anywhere. It can be useful when working remotely or on the go.
Preparing to Save Emails in Notion
Setting Up Notion for Email Saving
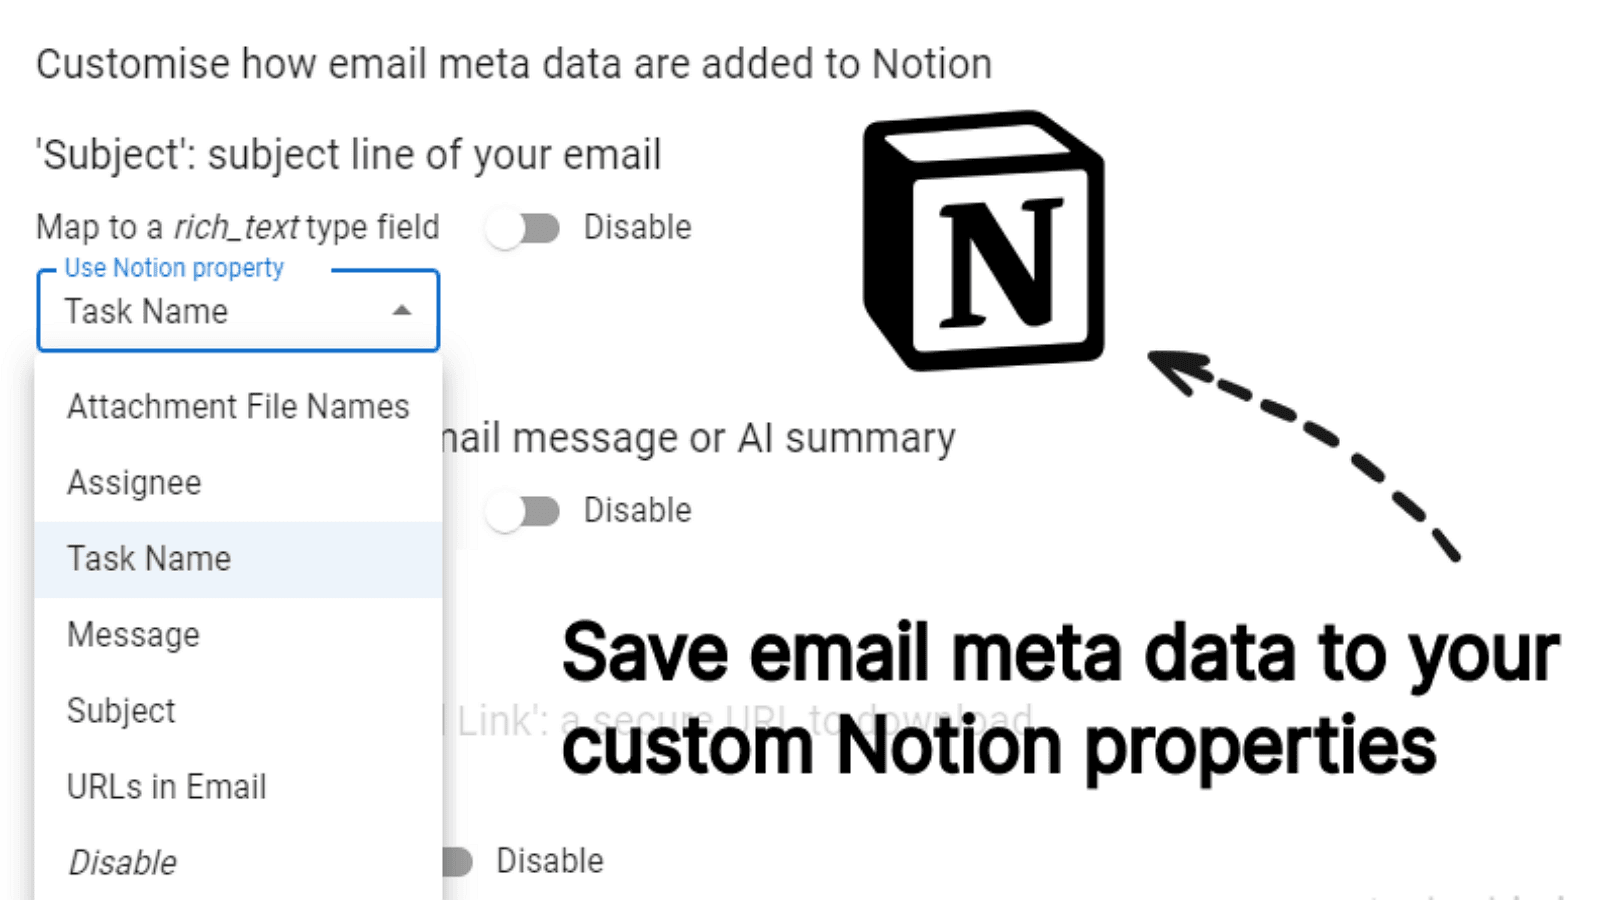
Before saving emails in Notion, ensure your account is properly set up. You can start by creating a dedicated workspace or designating an existing one for email management. You can create specific pages or databases for different categories of emails within this workspace. For example, Important Emails, Client Communications or "Project Updates. This structure will keep you organized and easily locate emails when needed.
Tools and Integrations
You'll need a few essential tools and integrations to save emails to Notion. The Notion Web Clipper extension lets you quickly capture and save content from your email directly into Notion. Consider using third-party integrations such as Zapier or Integromat. It can automate forwarding emails to Notion. These integrations can connect your email service such as Gmail or Outlook to Notion's API. It enables automatic parsing and saving of emails.
Manual Methods for Saving Emails
Copy and Paste Method
- Open your email client and select the email you wish to save.
- Highlight the text of the email, right-click, and select "Copy."
- Open Notion and navigate to the designated workspace or page where you want to store the email.
- Create a new page or entry, right-click inside the Notion page, and then select "Paste."
Tips for Organizing Pasted Content
- Use headers to distinguish between different sections of the email, such as "Subject," "Sender," "Date," and "Body."
- Utilize Notion's toggle lists to collapse lengthy emails and tidy your workspace.
- Add relevant tags or categories to sort and search for emails later easily.
Using Web Clipper/Extensions
- Install the Notion Web Clipper extension in your browser.
- Open your email in your web client.
- Click on the Notion Web Clipper icon in your browser toolbar.
- Select the workspace and page where you want the email to be saved.
- Click "Save Clip."
Automating the Process
Using Automations and Integrations
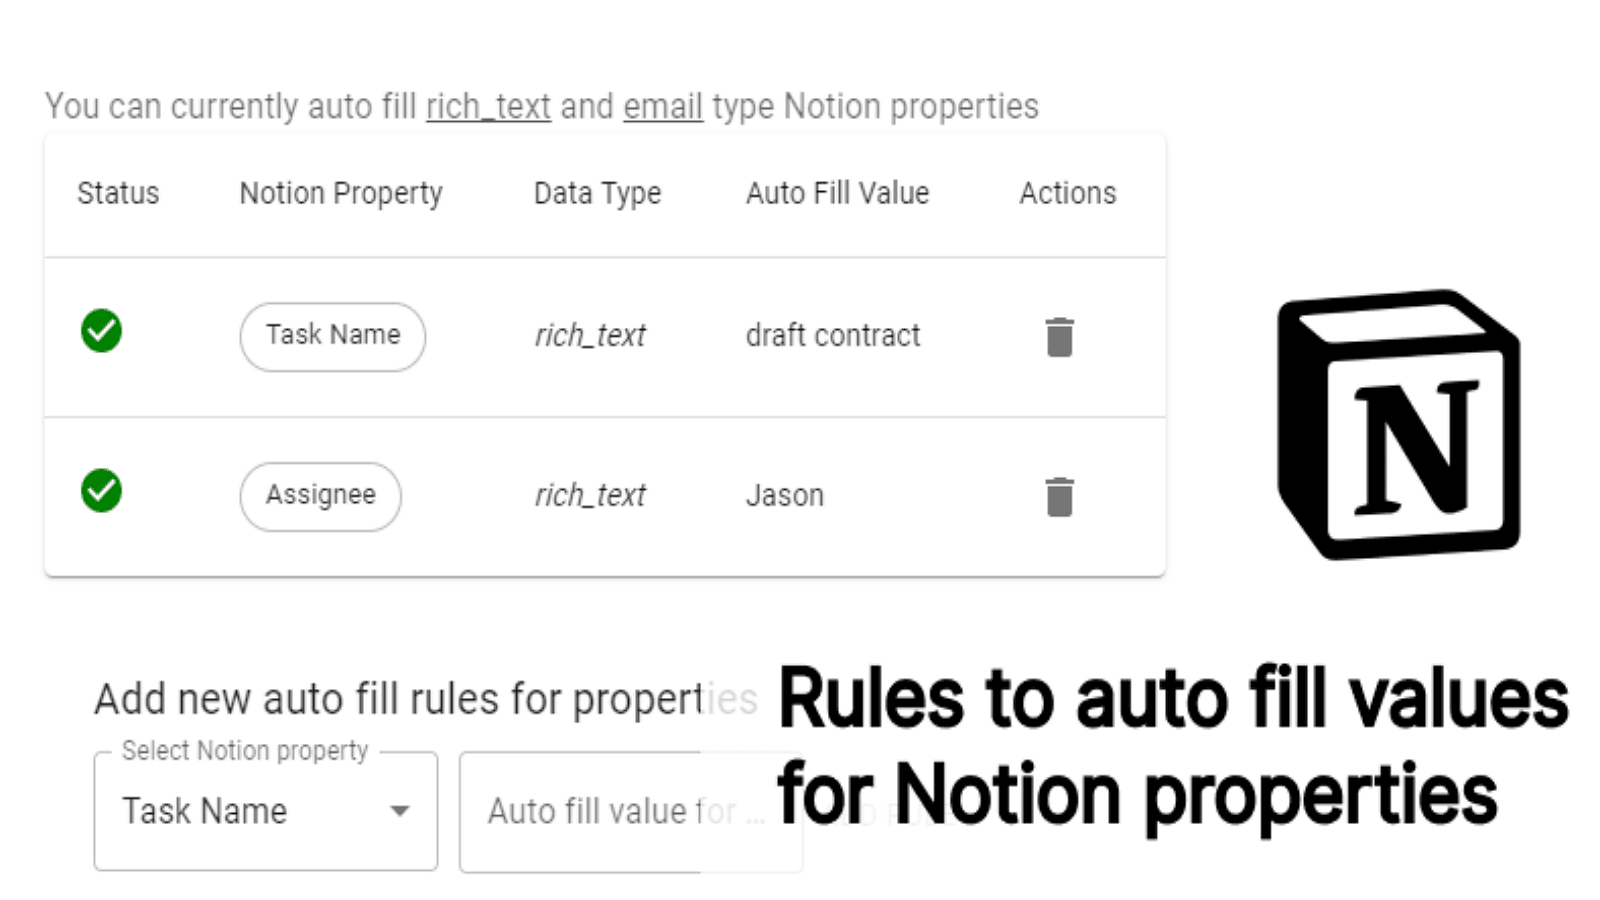
Automation tools like Zapier and IFTTT can revolutionize your email management in Notion. However, these platforms enable you to create workflows. They are known as zaps (Zapier) or applets (IFTTT) to automate repetitive tasks. You can set up an automation that triggers whenever you receive an email with a specific label or from a particular sender that automatically saving it into a designated Notion page or folder.
Example Workflow
- Connect your email service (e.g., Gmail) to Zapier.
- Please create a new zap: When an email arrives, extract its content.
- Add an action: Save the email content to a specific page or database in Notion.
Email Forwarding Techniques
You can also forward emails directly to Notion to streamline the process. Here's how:
- Obtain the unique email address provided by Notion's email integration service.
- Set up a forwarding rule in your email client: Choose specific criteria for emails you want forwarding.
- Forward emails to the Notion-provided email address.
Setting up an Email-to-Notion Pipeline:
- Use tools like "Mail to Notion" or "Integromat" to create a pipeline.
- Configure your email rules to forward messages to a designated Notion email address.
- Ensure your Notion page/database is set up to receive and organize these forwarded emails effectively.
Organizing Saved Emails in Notion
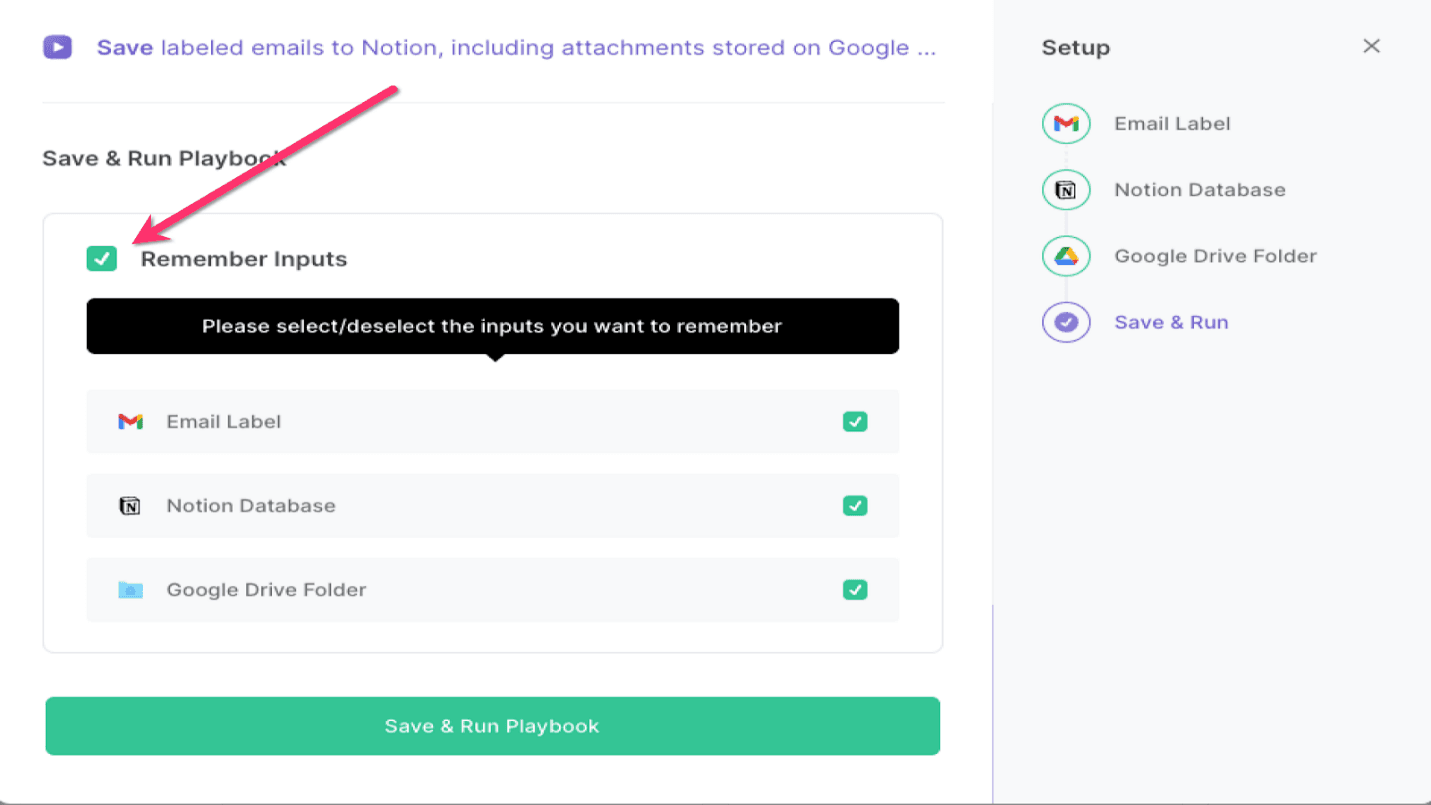
Creating an Efficient Storage System
Organizing your saved emails in Notion is crucial for efficient retrieval and reference. Start by categorizing your emails into broad categories such as "Projects," "Clients," or "Events." Use tags to classify emails based on priority, status, or topic within these categories. Implement these tips to structure your Notion space effectively:
- Categories: Create separate databases or pages for broad email categories.
- Tags: Use Notion's tagging system to label emails with specific keywords.
- Sections: Divide each category page into sections like "To Do," "In Progress," and "Completed" for better organization.
- Filters: Leverage Notion's filter and sort functionalities to find relevant emails quickly.
Custom Templates for Email Saving
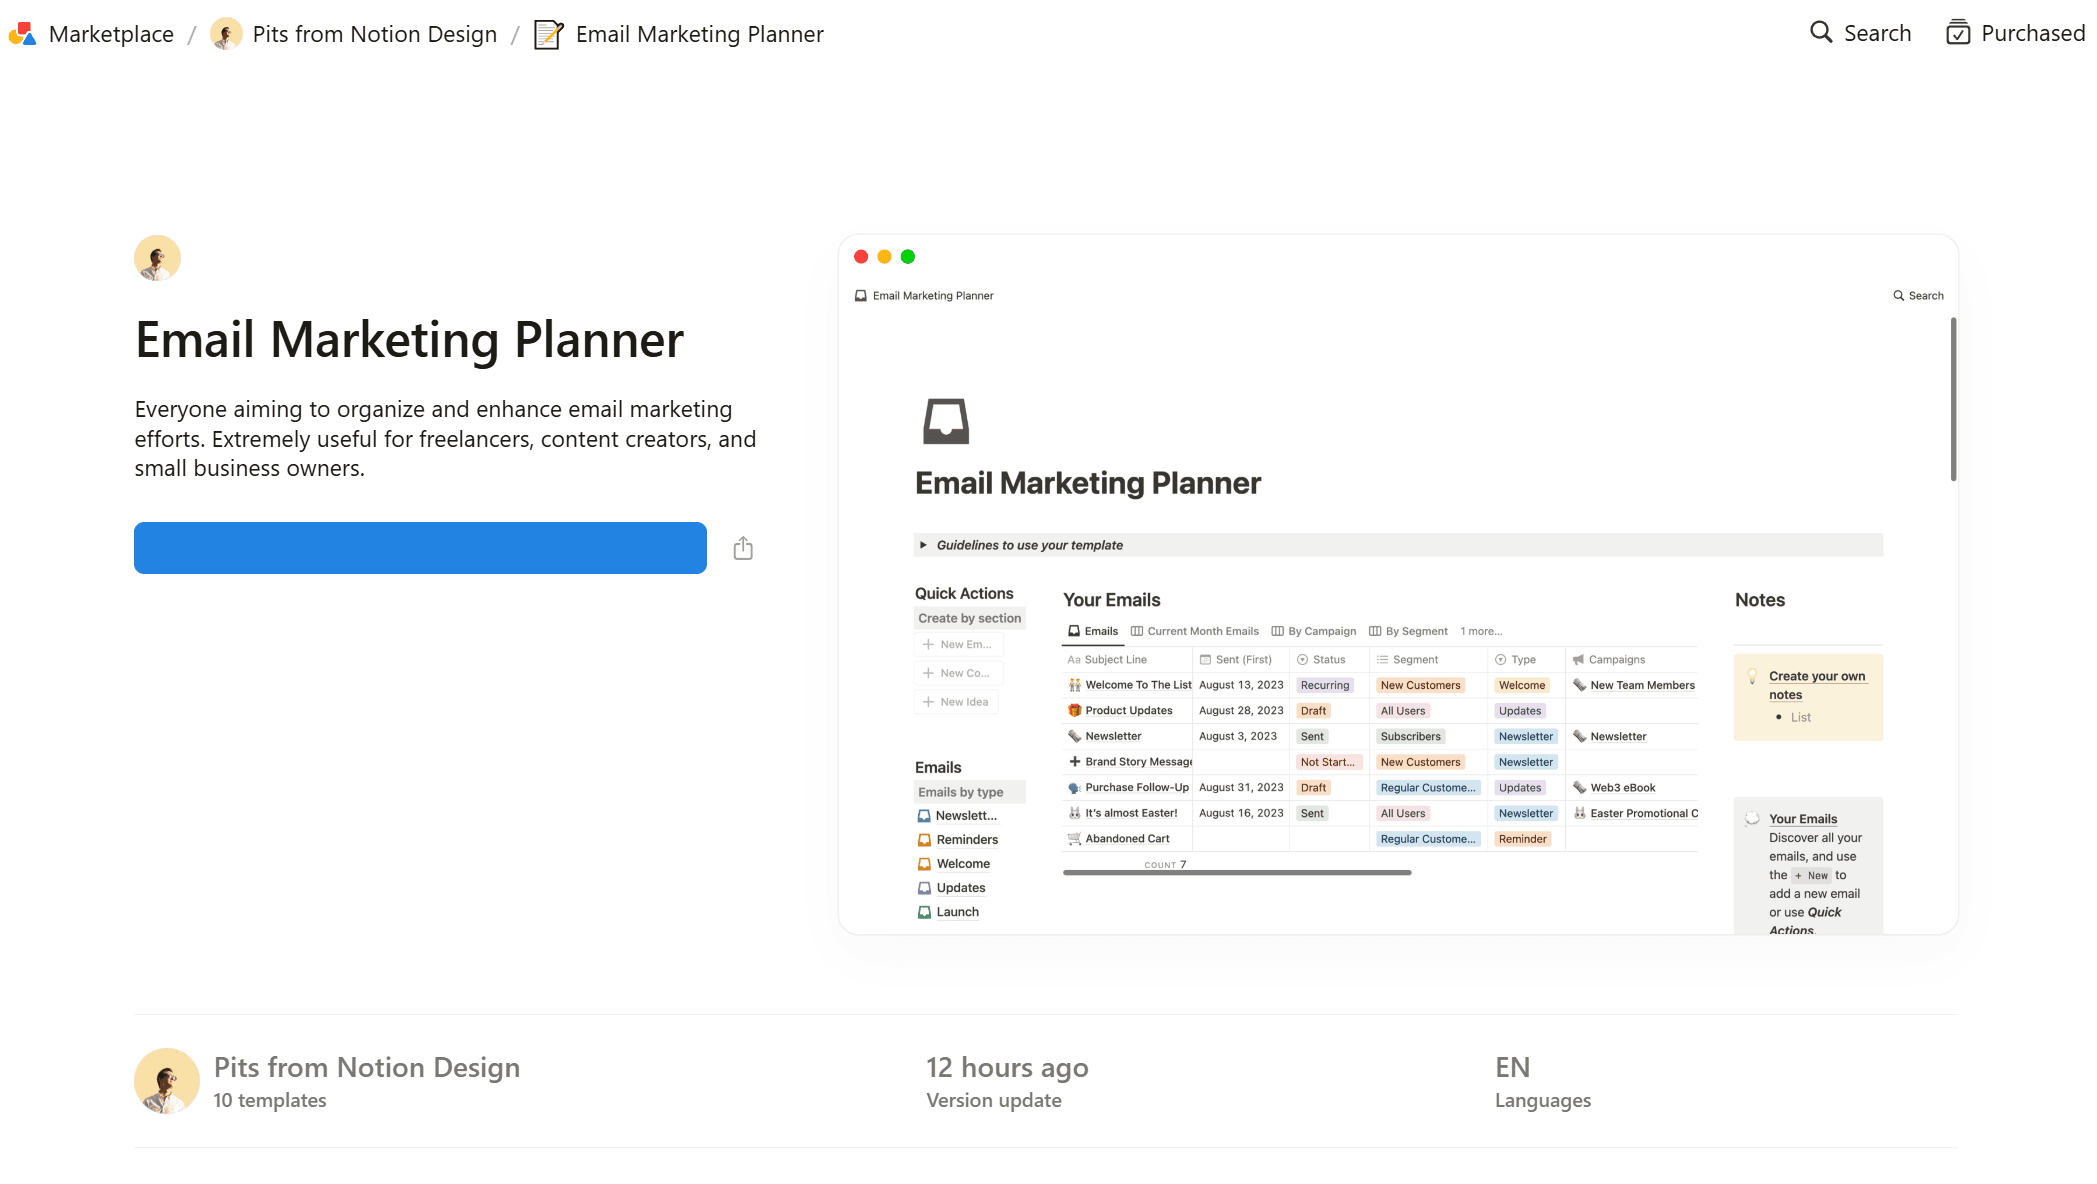
Custom templates can streamline your email saving process and ensure consistency. Consider creating templates for different types of emails like:
- Client Communications: Include sections for client name, project details, and follow-up actions.
- Project Updates: Have predefined fields for the project phase, critical updates, and next steps.
- Event Invites: Template with fields for event name, date, time, and RSVP details.
Here's how to create and use a template in Notion:
Create a New Template:
- Open your email database page.
- Click on the "Templates" button and create a new template.
Design the Template:
- Add sections and fields relevant to the email type.
- Save the template for future use.
Apply the Template:
- Click the "New" button and select the appropriate template when saving a new email.
Maintaining and Updating Your Notion Workspace
Regular Updates and Maintenance
It is essential to keep your Notion workspace current for maximizing productivity and ensuring you can rely on the information stored there. However, regular updates prevent clutter and ensure your data remains relevant and actionable. Implement routine cleanup strategies such as:
- Weekly Reviews: Dedicate weekly time to review and update your Notion pages and databases. Archive completed tasks and projects to keep your workspace tidy.
- Data Verification: Regularly check for outdated or redundant information and remove it. Update records with the latest data to ensure accuracy.
- Tag Refinement: Re-evaluate your tagging system to ensure it aligns with your current needs and removes unnecessary tags.
Review and Optimize
To maintain an efficient Notion workspace, periodically review your system's overall performance and flow. Evaluate whether it still meets your needs and is user-friendly, and consider the following for optimization:
- Efficiency Checks: Analyze how you navigate through your workspace. Identify bottlenecks or cumbersome workflows and streamline them.
- User Feedback: If you share your workspace with team members, gather their feedback to identify areas for improvement.
- Tool Integration: Stay updated with new features or integrations Notion offers that could enhance your workflow.
Apply these steps for optimization
Identify Inefficiencies
- Look for repetitive tasks or manual processes that could be automated or simplified.
Implement Improvements
- Use Notion's features, such as links, mentions and relational databases to create a more interconnected and intuitive workspace.
Monitor Changes
- After updates or optimizations, monitor how changes impact your productivity and make further adjustments as needed.
FAQs
Q: How Can I Save Emails into Notion Efficiently?
Use email forwarding to a dedicated Notion-linked address, the Notion Web Clipper browser extension to clip and save emails directly, or manually copy and paste important email content into relevant Notion sections or templates for quick entries.
Q: How Do I Organize Saved Emails in Notion?
Create structured databases or pages for different email types, use tags for easier filtering and searching, and implement custom templates with predefined fields and sections to ensure consistency and completeness in organizing your saved emails.
Q: How Often Should I Review and Update my Email Storage in Notion?
Conduct weekly reviews to archive obsolete emails and update information. Perform monthly optimizations to enhance storage efficiency and periodically seek team feedback to make necessary adjustments, ensuring ongoing productivity and effectiveness in managing your email storage.
Conclusion
Maintaining an organized and updated Notion workspace is essential for maximizing productivity and efficiency. You can ensure your workspace remains relevant and functional by implementing strategies for categorizing and tagging emails, creating custom templates, and performing regular maintenance and reviews. Regular updates prevent clutter, and periodic optimizations help streamline workflows, making finding and managing information easier. By dedicating time to these practices, you're not just organizing your workspace but also enhancing your ability to focus on what truly matters, thereby achieving your goals more effectively.

