Let's face it, plain text is boring. Images add life, personality, and pizzazz to your web pages. They're like the visual spice that makes your content more interesting. But how do you get those pretty pictures from your computer screen into your HTML code? That's where image-to-HTML conversion comes in. It's like a magic trick that turns your images into interactive elements that your visitors can see, click, and even zoom in on. In this guide, we'll show you the ropes of image-to-HTML conversion. Whether you're a web design whiz or just starting your journey, we'll break it down step-by-step so you can add some visual flair to your projects.
3 Methods for Converting Images to HTML
Method 1: Using a Code Editor
If you prefer a hands-on approach and have a basic understanding of HTML, manually creating the HTML code for your image is a viable option. Here's a step-by-step guide:
Step 1: Create a New HTML File
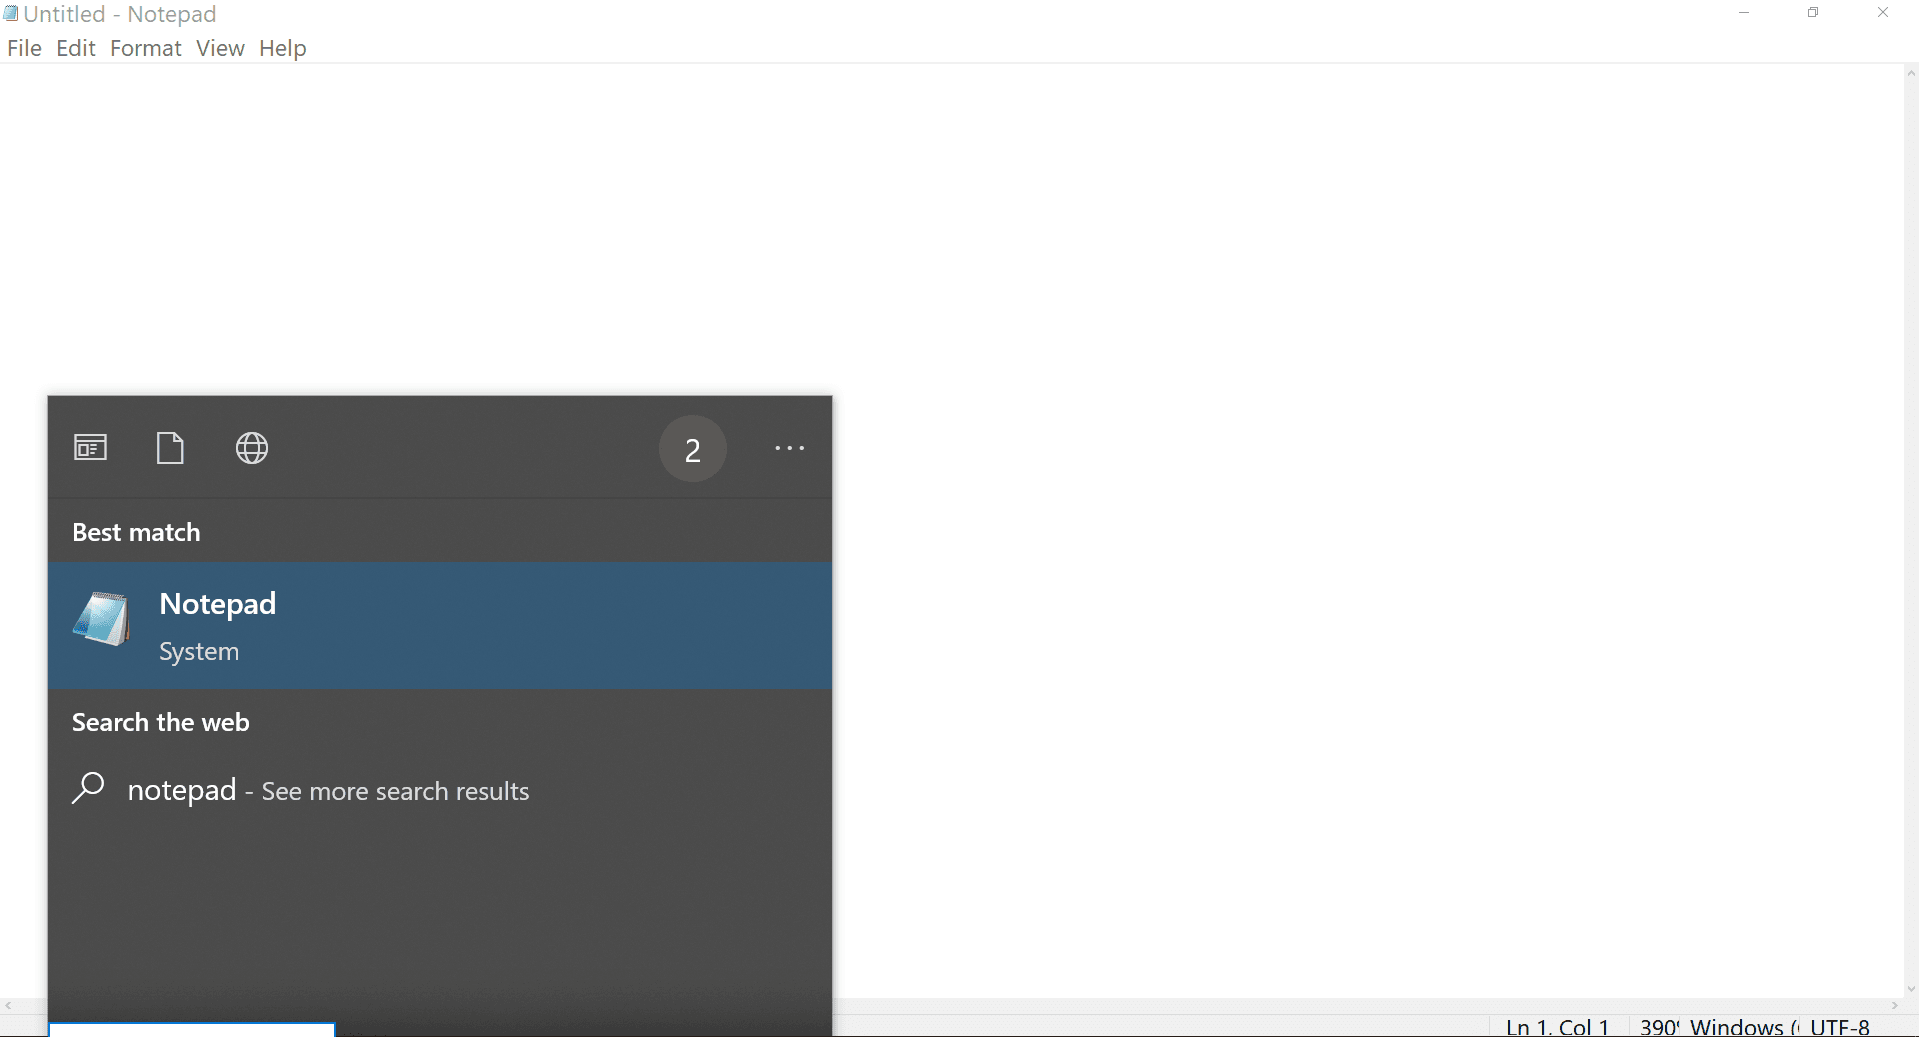
Choose a plain text editor like Notepad (Windows), TextEdit (macOS), or a dedicated code editor like Visual Studio Code or Sublime Text. And then, save a new file with a .html extension (e.g., image.html). Thereafter, begin by adding the essential HTML structure, including the <html>, <head>, and <body> tags.
Step 2: Add the <img> Tag
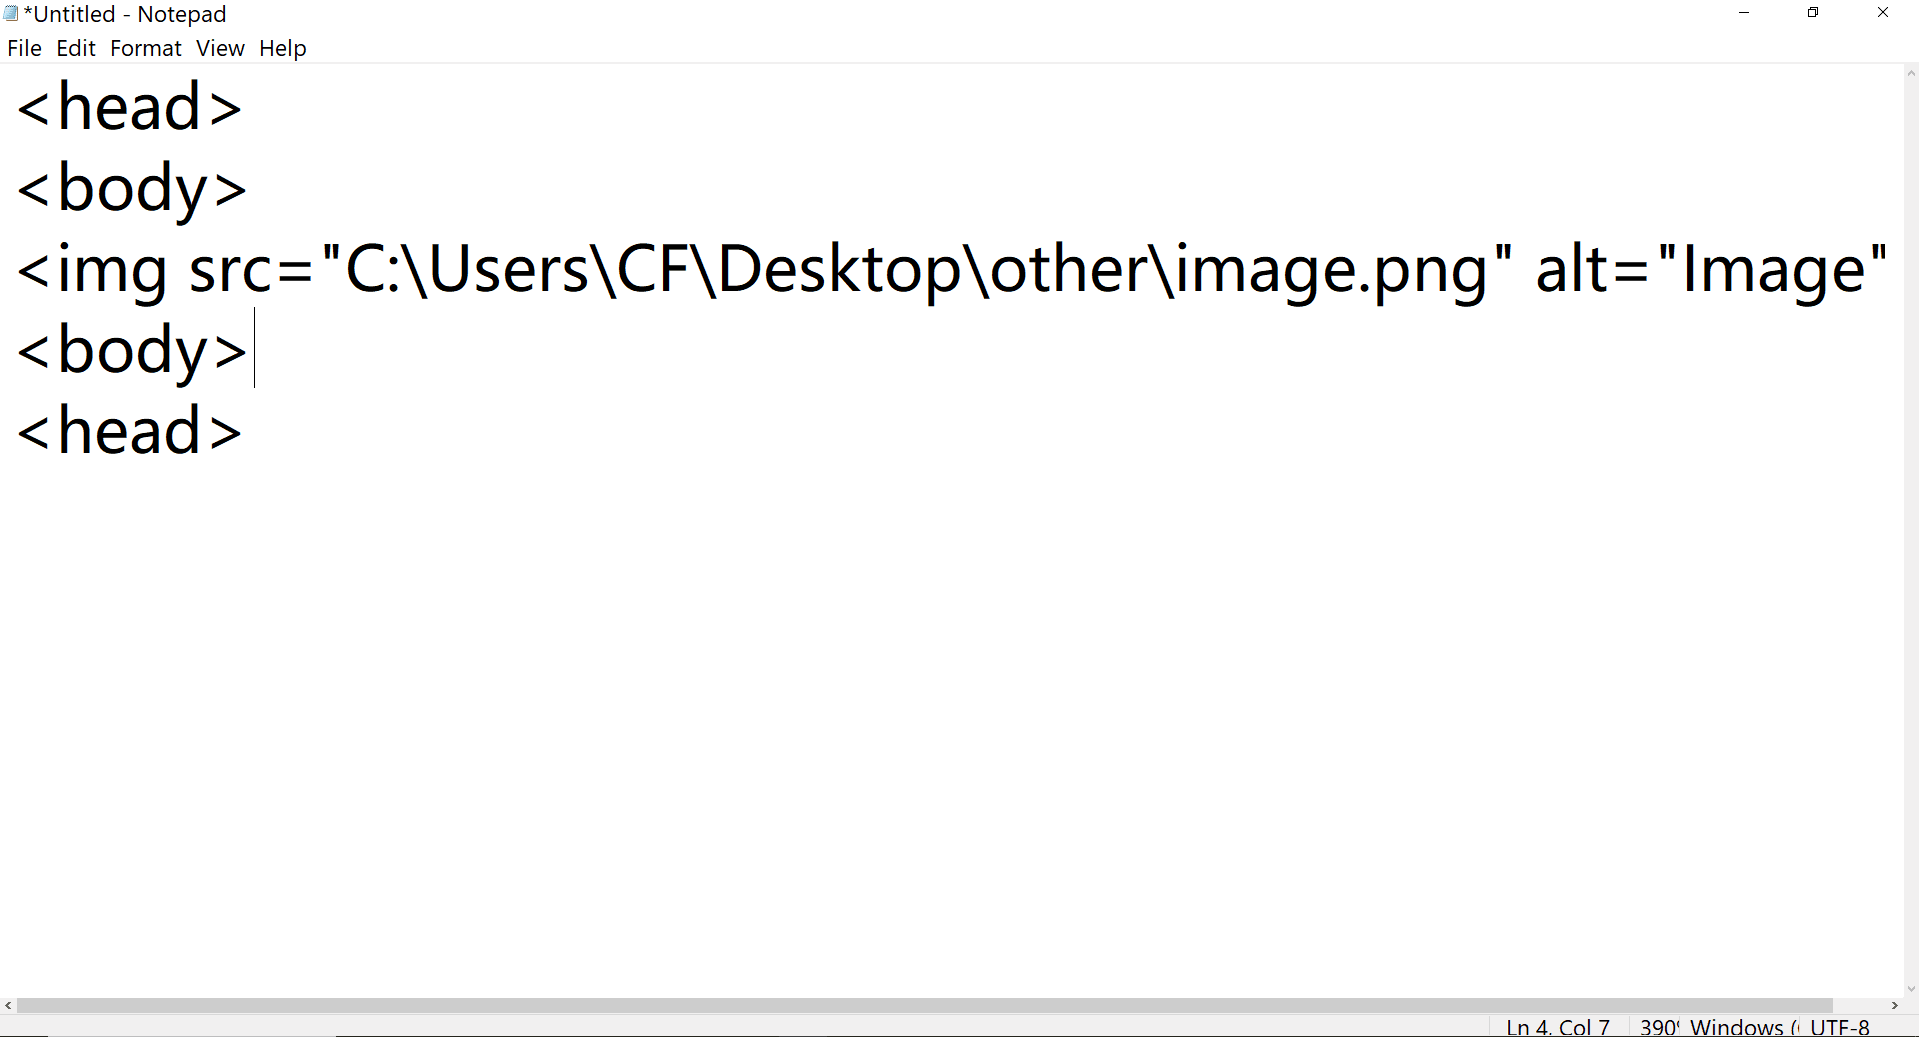
Inside the <body> section, insert the <img> tag with the appropriate attributes. Replace "image.jpg" with the actual path to your image file and provide a descriptive alt text if possible.
Step 3: Save and View
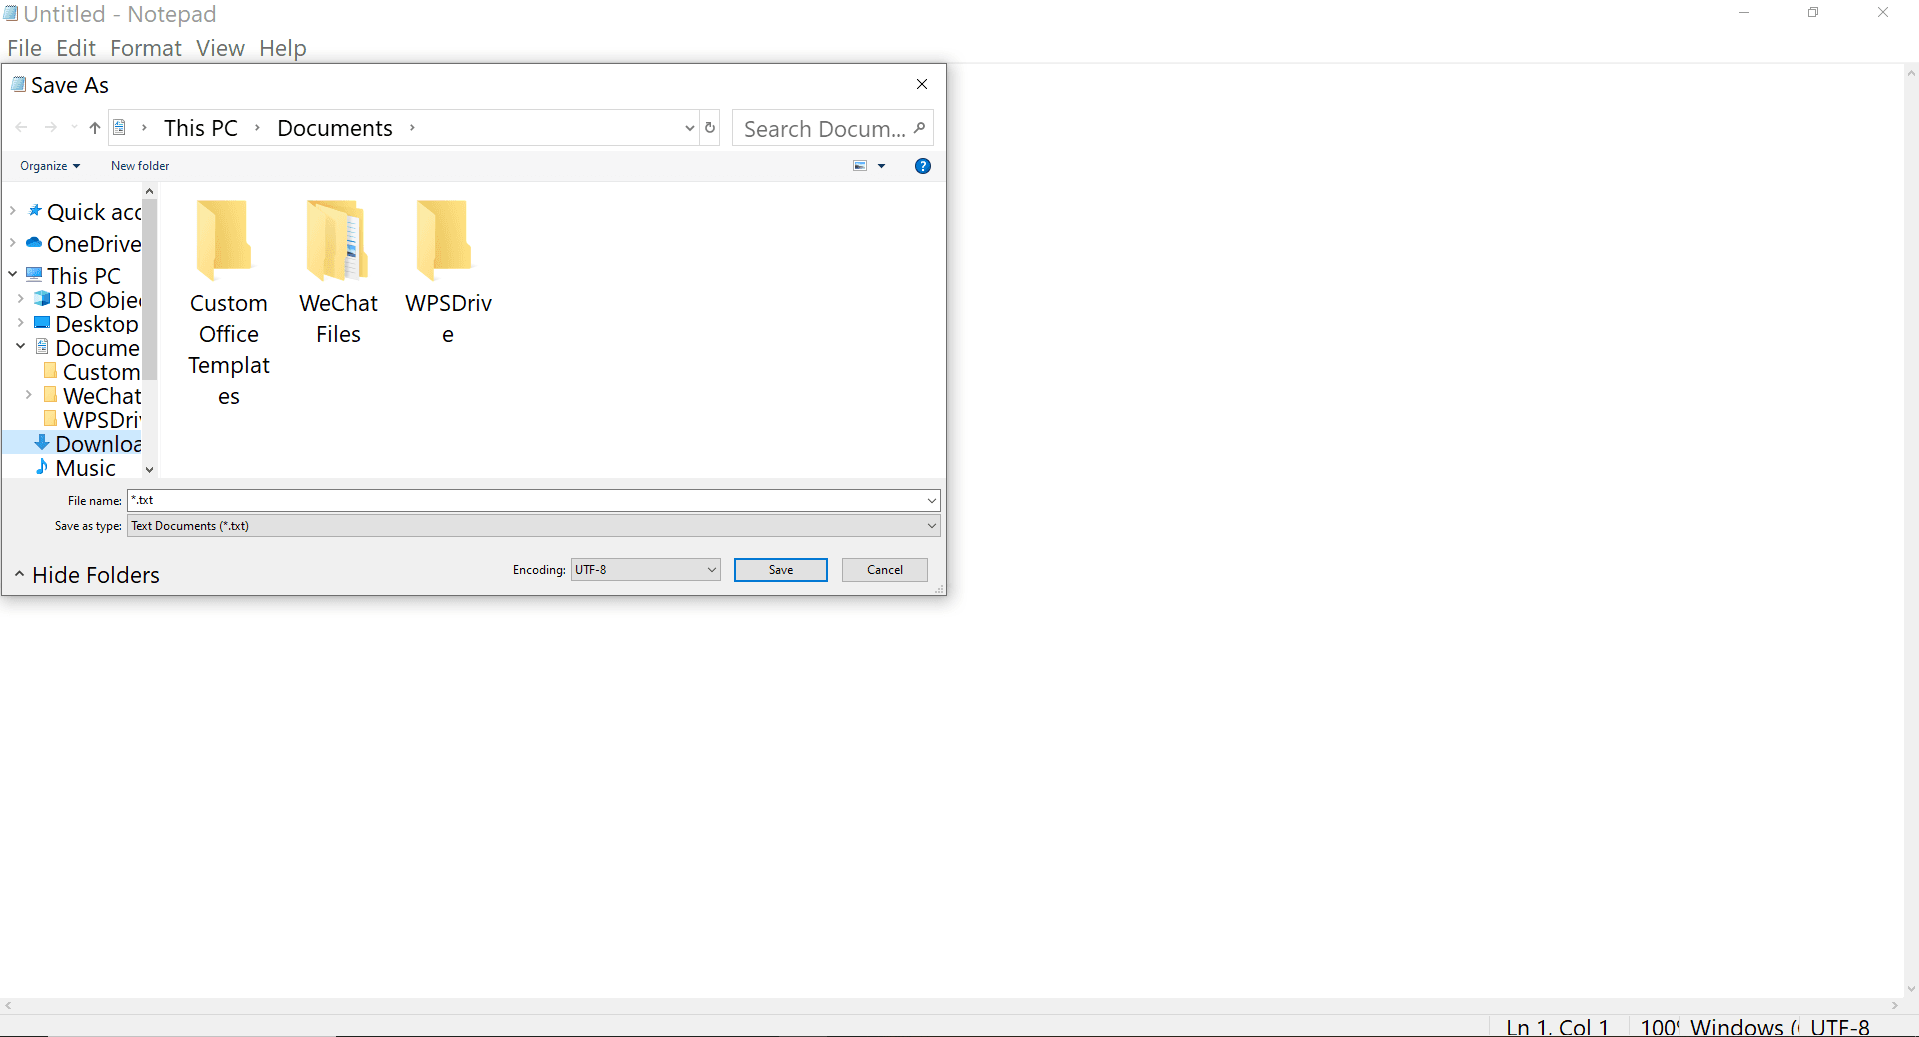
Save the HTML file and open it in a web browser to see the image displayed on the page. By manually coding the HTML for your image, you have complete control over its attributes and can customize its appearance to your exact specifications.
Method 2: Using an Online Image Converter
Online image converters offer a convenient and often free way to convert images to HTML code. These tools typically require you to upload your image, select the desired output format (HTML), and then download the generated code.
Step 1: Find a reputable online image converter
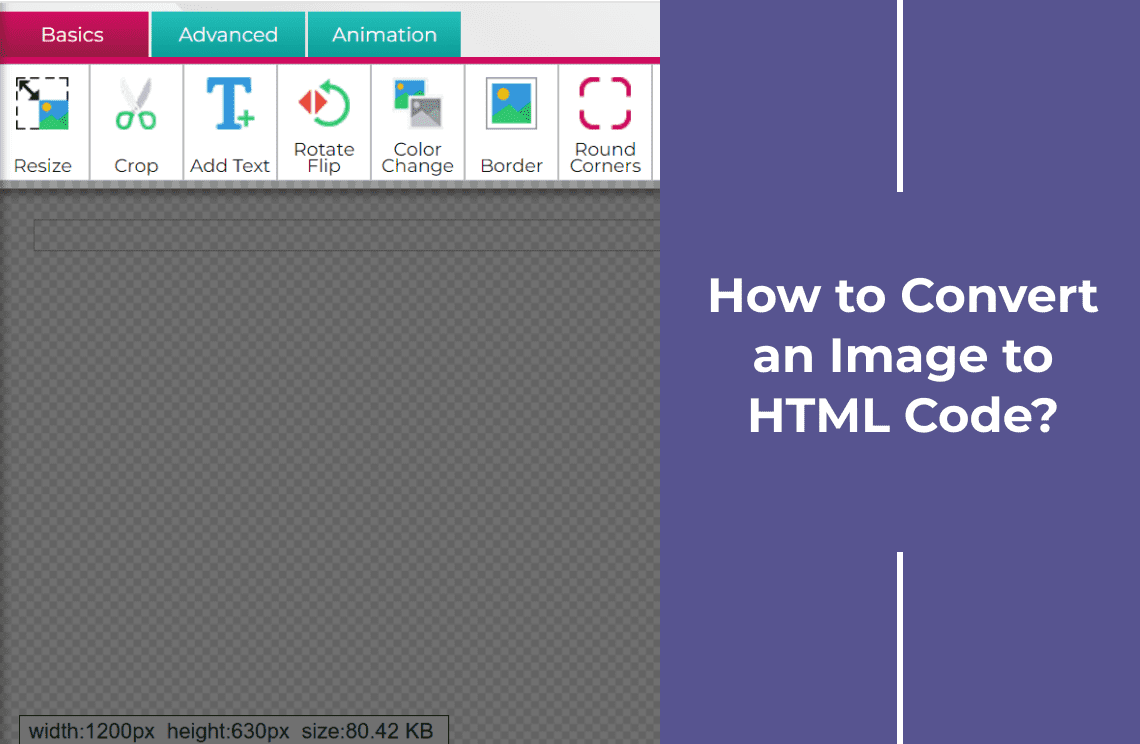
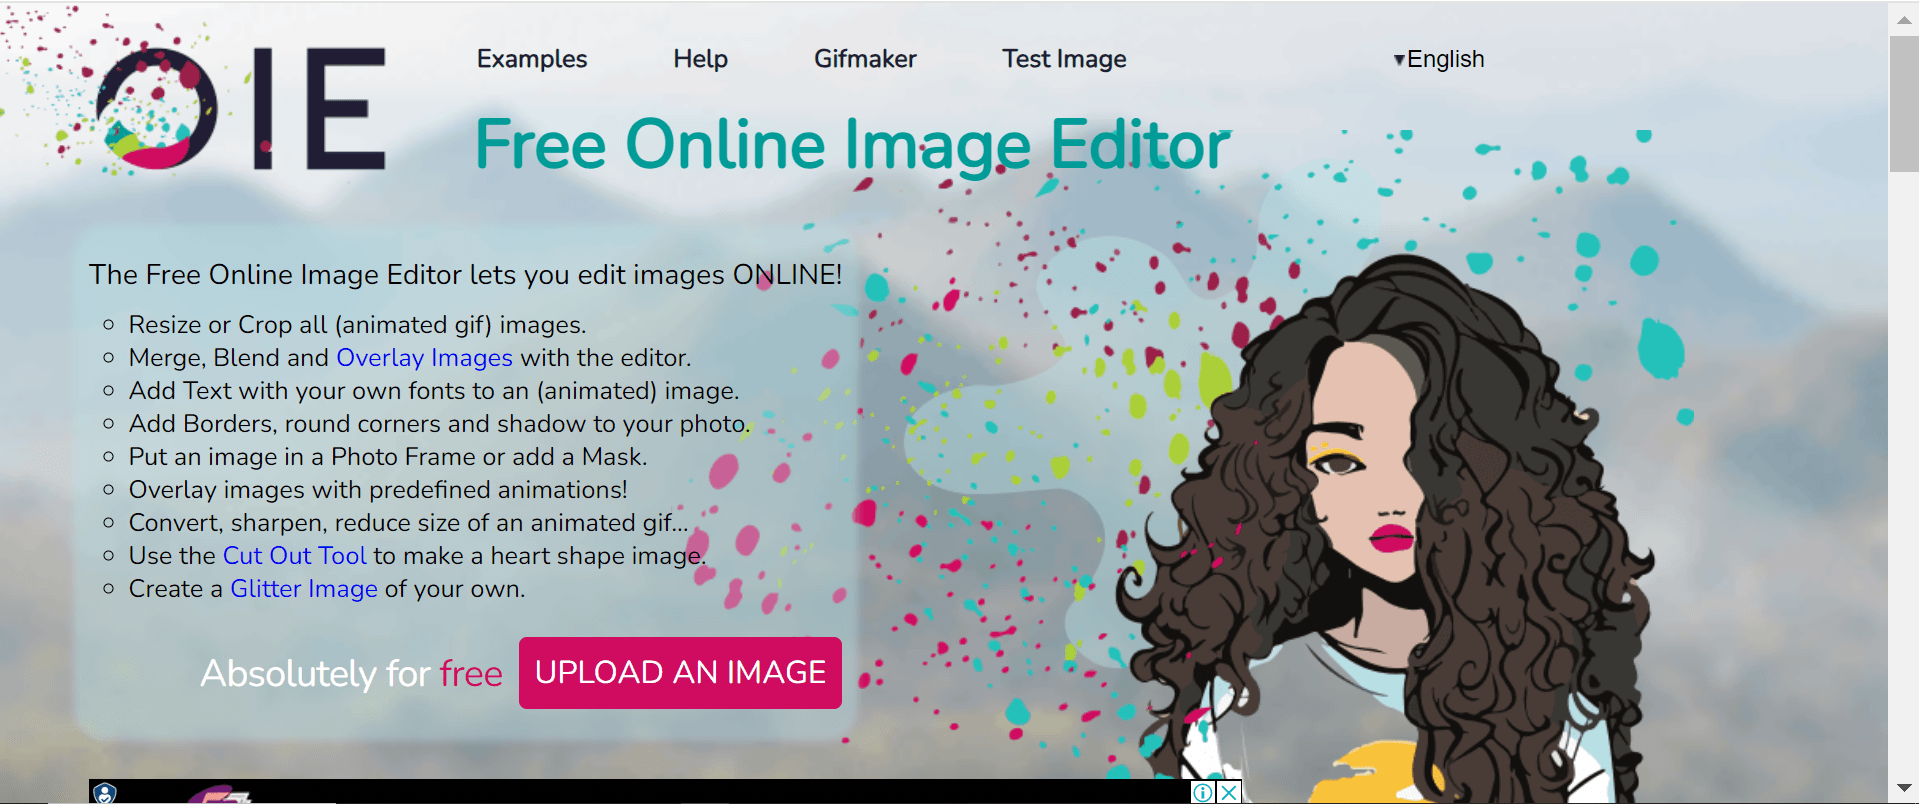
There are many options available, so choose a tool that suits your needs and preferences. Some popular choices include Online-Image-Editor, ConvertImage, and ImageMagick Online. Here I'd like to take Online-Image-Editor as an example. Locate the upload button on the converter's website and select your image file.
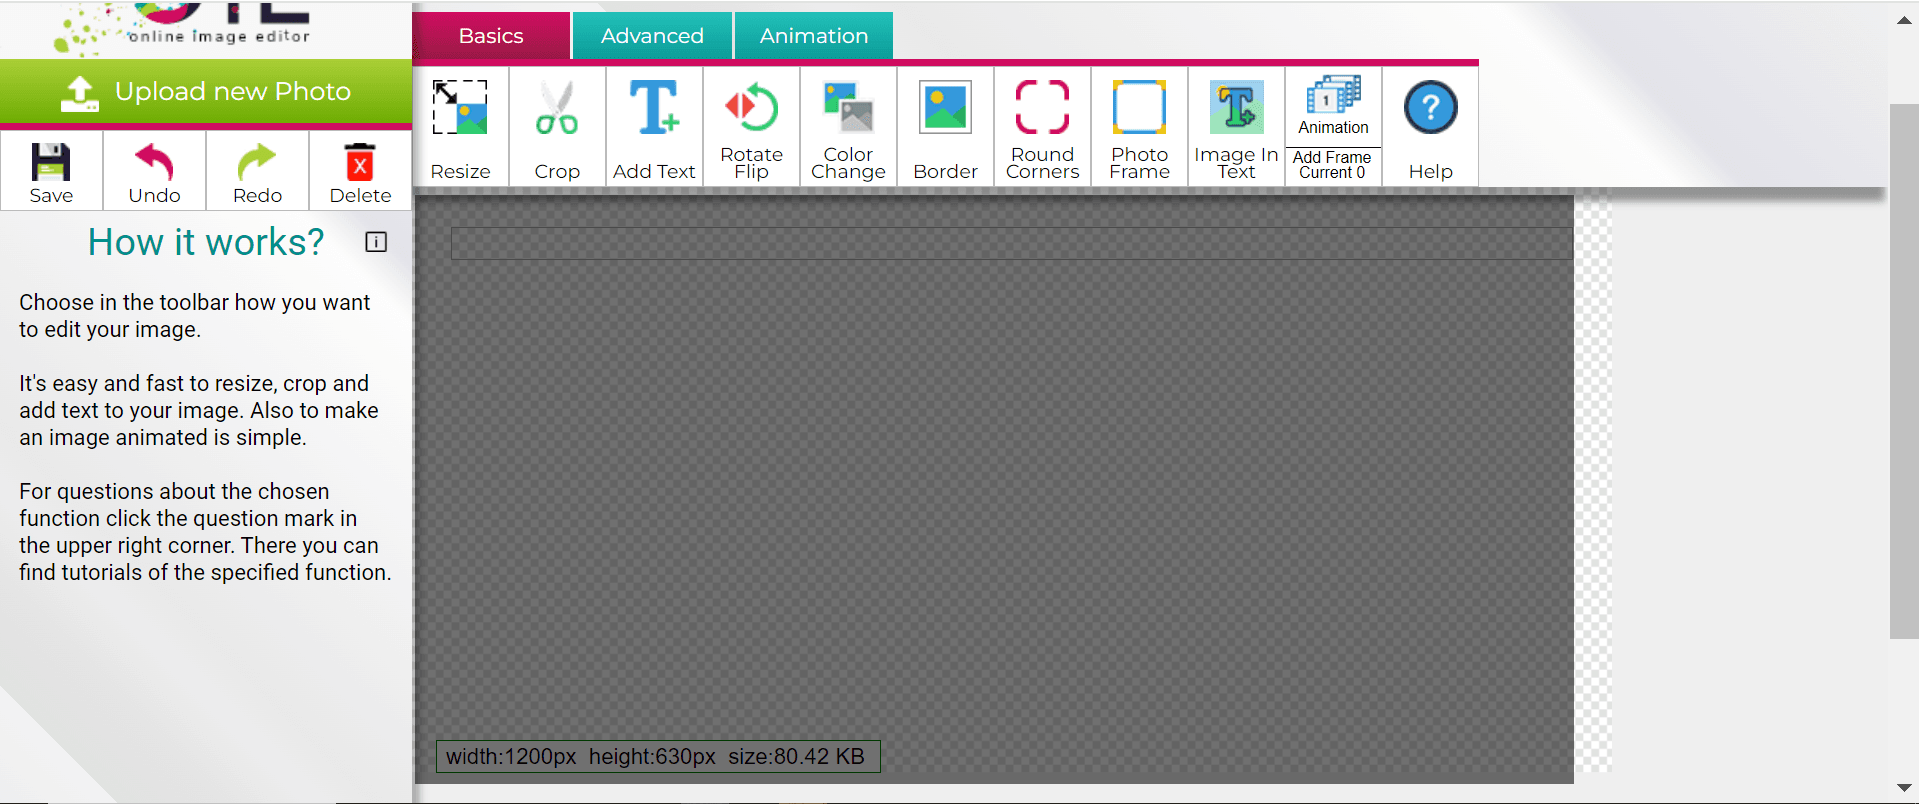
Step 2: Choose HTML as the output format
Look for the option to select HTML as the desired format for the converted image. Some converters may allow you to adjust settings like image size, quality, or additional HTML attributes. Click the "Convert" or "Generate" button to initiate the conversion process.
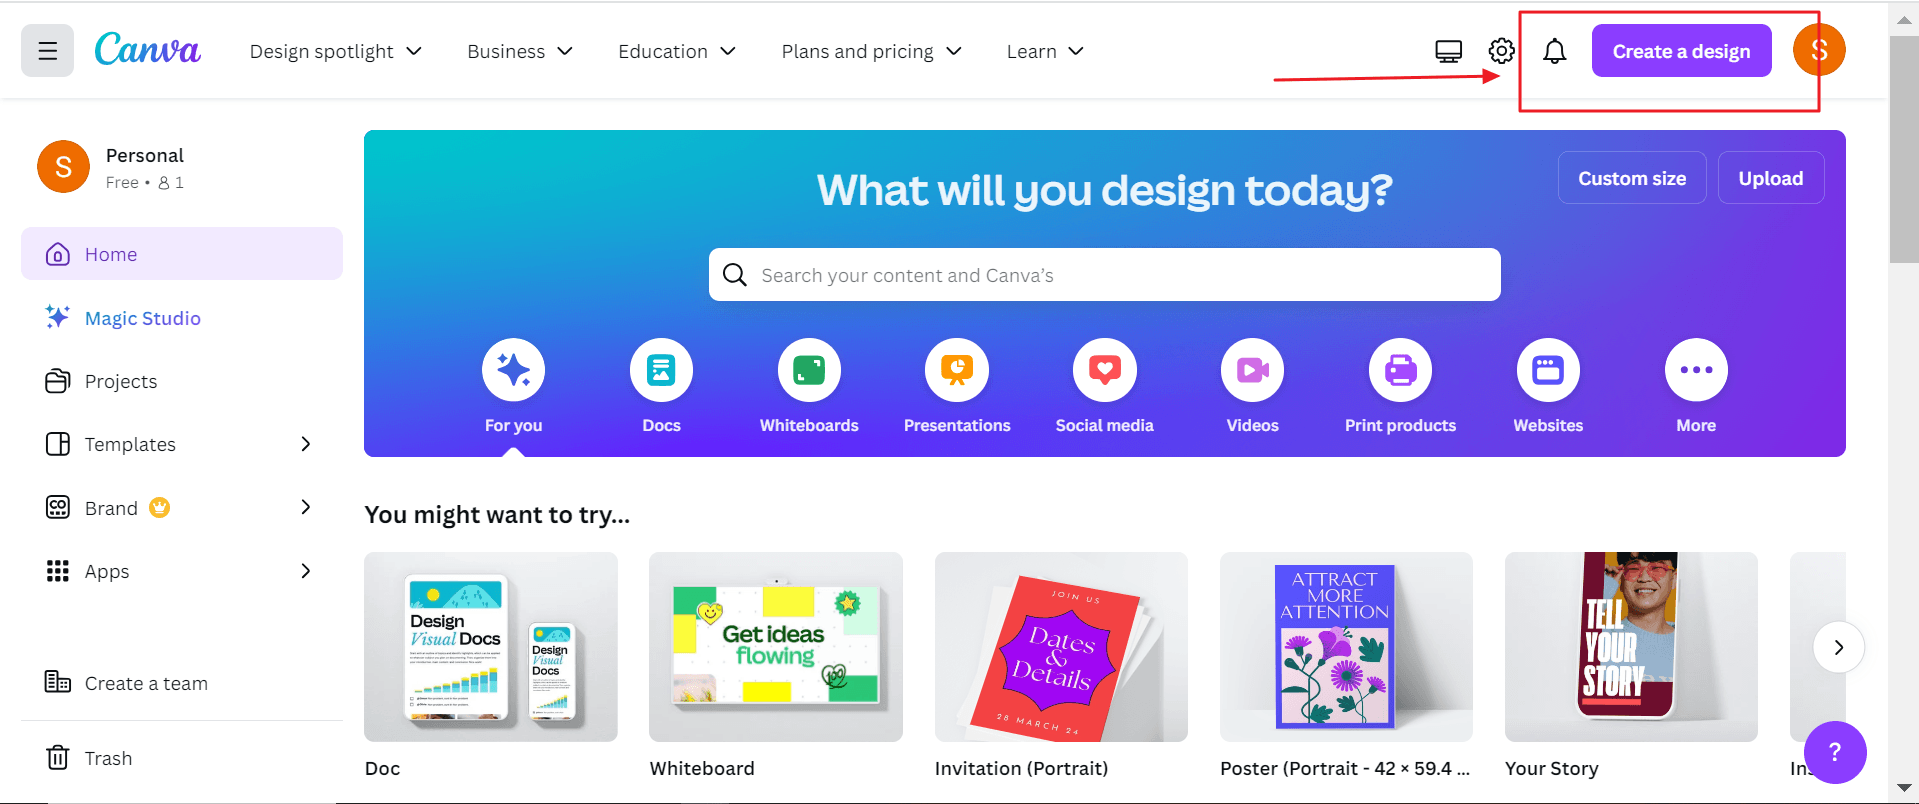
Method 3: Using a Design Software: Canva
Canva is a popular online design tool that offers a user-friendly interface for creating various types of visuals, including graphics, presentations, and social media posts. It also provides a convenient way to export your designs as HTML code.
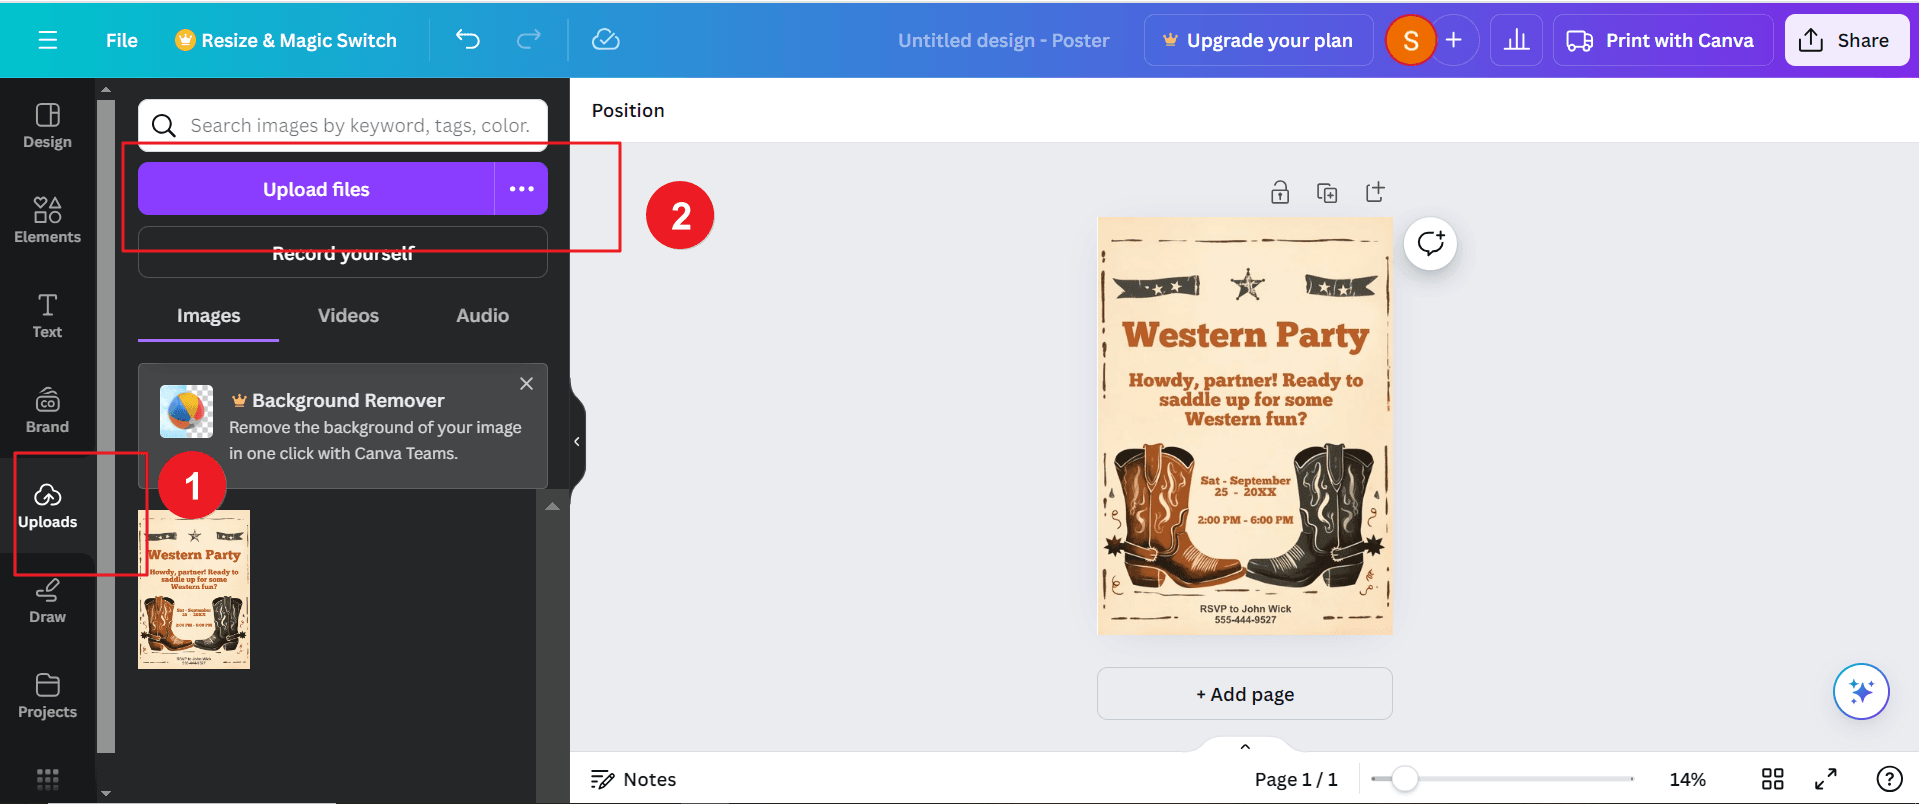
Step 1: Upload Your Image
Begin by uploading the image you want to convert to your Canva design.
Step 2: Design Your Image
Customize the image as needed using Canva's editing tools. You can resize, crop, add filters, or apply other design elements.
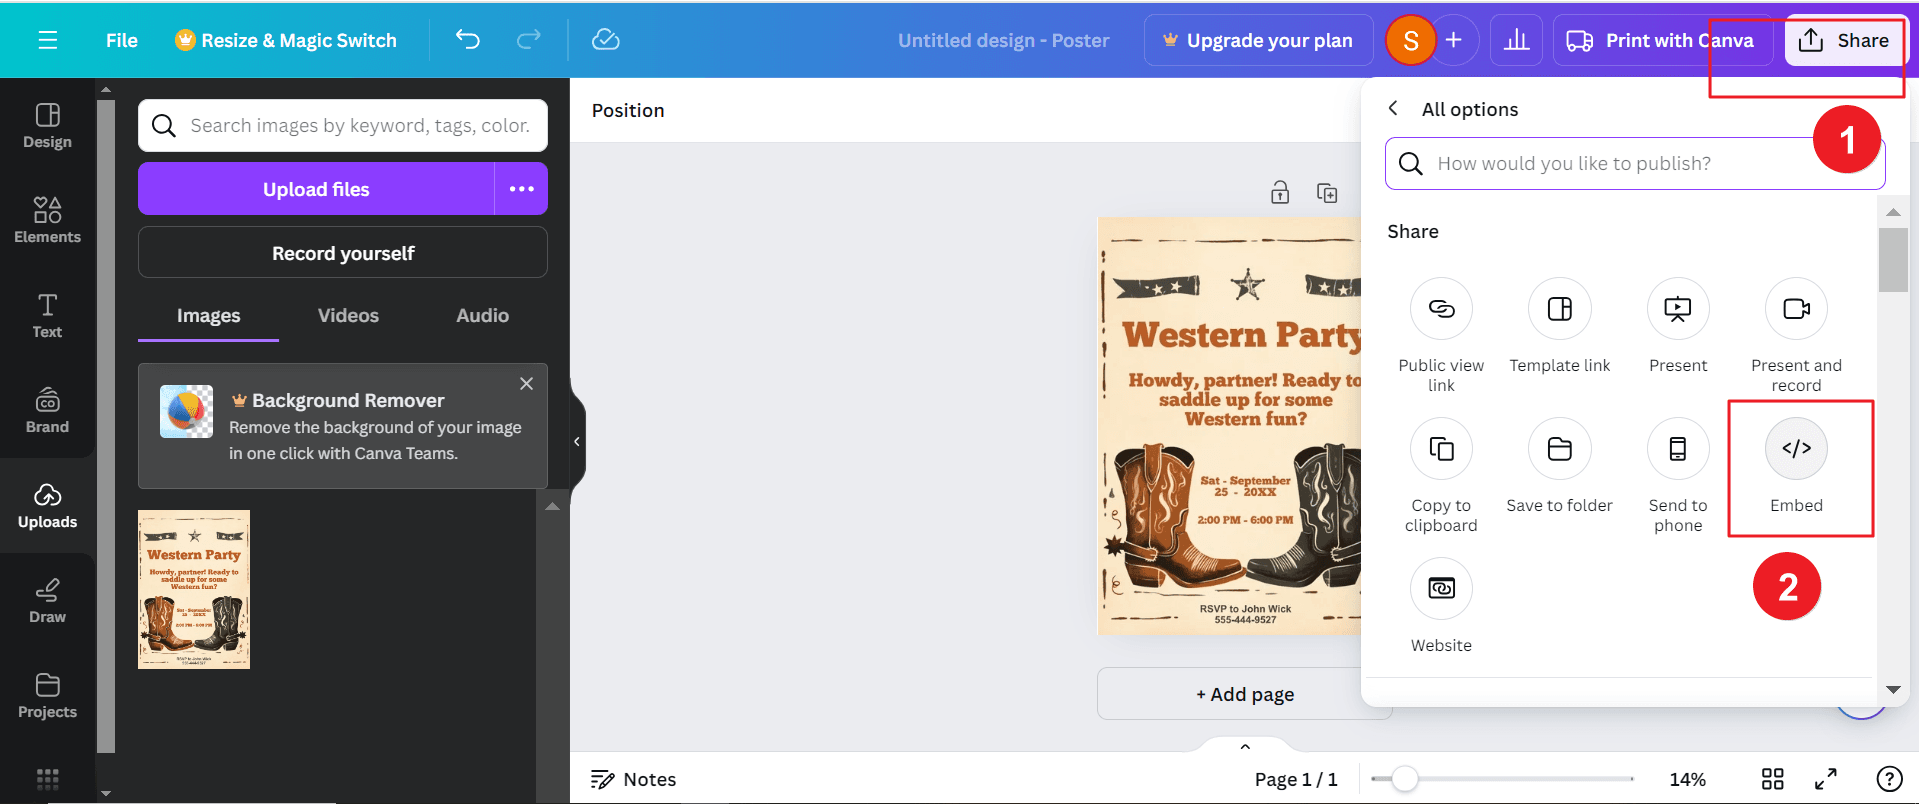
Step 3: Export as HTML
Once you're satisfied with the design, navigate to the "Share" or "Download" options. Look for the option to export the design as HTML code. Copy the generated HTML code and paste it into your web page's HTML structure where you want the image to appear.
Understanding HTML Image Tags
At the core of embedding images in HTML is the <img> tag. This tag is used to define an image to be inserted into an HTML document. Here's a basic structure of the <img> tag:
HTML
<img src="image.jpg" alt="Alternative text">Key attributes. By understanding these attributes, you can customize the appearance and behavior of images within your HTML pages:
- src: Specifies the URL of the image file.
- alt: Provides an alternative text description for the image, which is important for accessibility and search engine optimization.
- width: Sets the width of the image in pixels.
- height: Sets the height of the image in pixels.
Conclusion
By mastering the art of converting images to HTML, you can enhance the visual appeal and engagement of your web pages. Whether you prefer manual coding, online tools, or design software, there's a method that suits your needs and skill level. Remember to optimize your images for web use, use descriptive alt text, and consider responsive design to ensure your content looks great on all devices.
Still have questions about Document Editing? Explore our website for additional how-to articles covering a wide range of document-related topics. From editing document elements to converting formats, we've prepared various solutions for you.