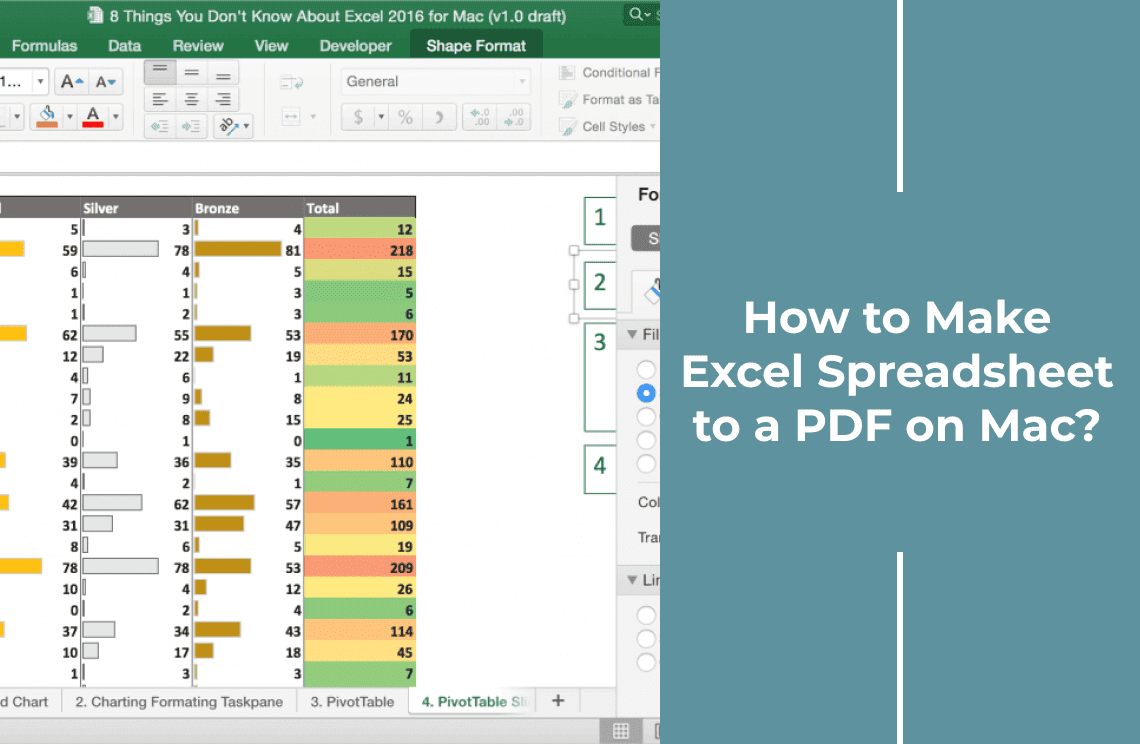
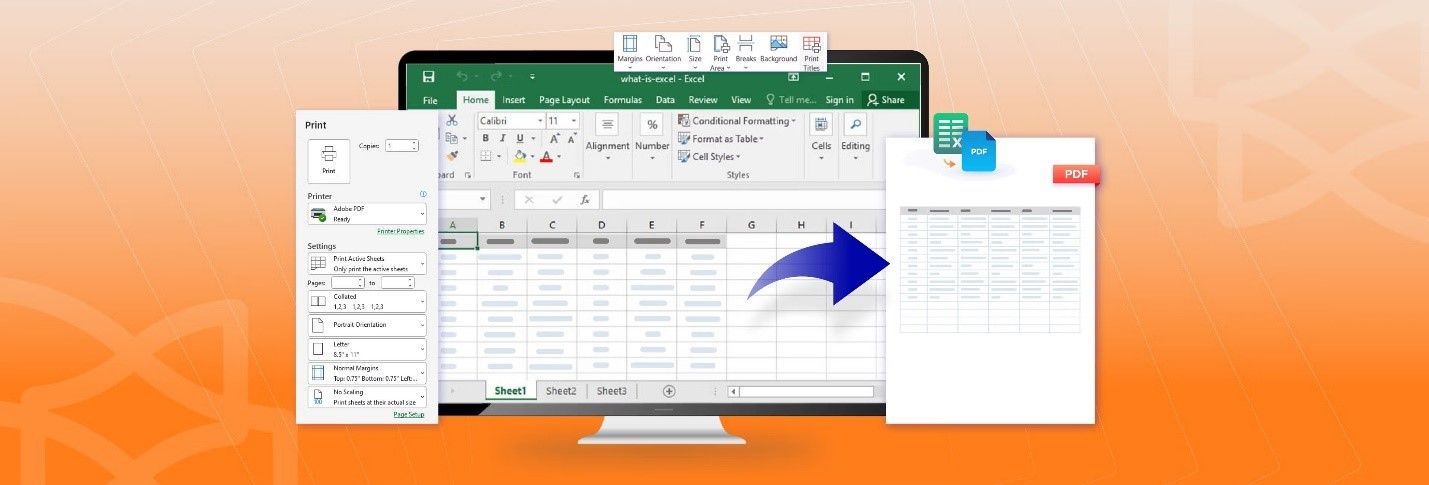
To convert an Excel spreadsheet to a PDF on a Mac using Excel's built-in features, start by opening your spreadsheet in Excel for Mac. Navigate to the "File" menu and select either "Save As" or "Export.” In the dialog box that appears, choose PDF from the list of file formats. You can adjust settings like page range, orientation, and paper size to ensure your document looks perfect. Once your preferences are set, click "Save" to complete the process. The PDF will be saved in your chosen location, preserving your Excel data as a PDF for easy sharing and printing. This built-in functionality ensures a straightforward and efficient way to convert Excel spreadsheets to PDFs directly within Excel on a Mac.
Understanding the Basics
Different File Formats: Excel (.xlsx) vs. PDF
Excel files, typically saved with the .xlsx extension, allow users to create, edit, and manage data through spreadsheets. These files are interactive and ideal for performing calculations, data analysis, and visualizations, offering features like pivot tables and charts. However, their flexibility means they require the appropriate software, like Microsoft Excel or compatible programs, to access and edit.
In contrast, PDF (Portable Document Format) provides a snapshot of your document that preserves layout and formatting across all devices and platforms.
Benefits of Converting Excel Spreadsheets to PDF Format
Converting Excel spreadsheets to PDF offers several benefits:
- Portability: PDFs are highly portable and can be viewed on almost any device without needing specific software, making them perfect for sharing.
- Ease of Sharing: PDFs maintain the integrity of your data, preventing accidental edits and ensuring your document looks the same on all devices.
- Consistency: This format aids in printing documents professionally, ensuring your work is presented consistently each time.
Preparing Your Excel Spreadsheet
Organizing and Formatting for Optimal PDF Conversion
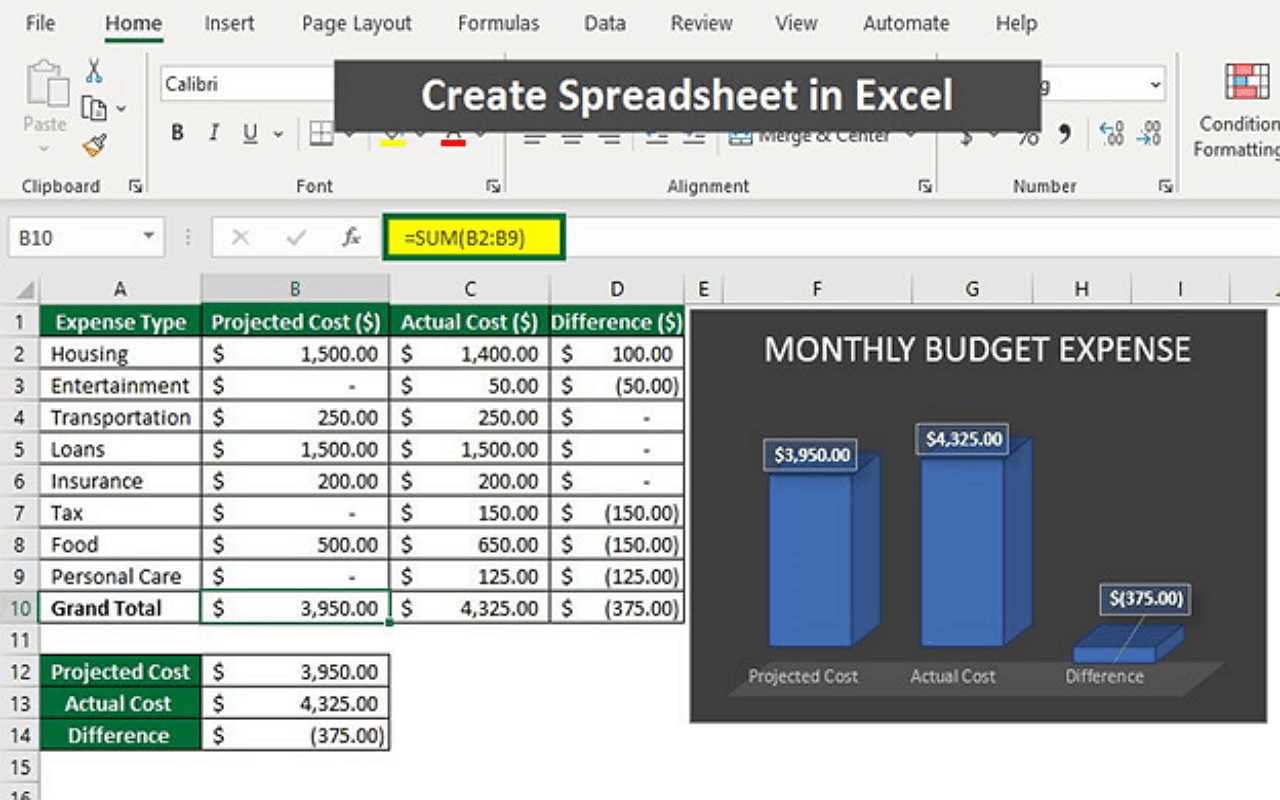
Before converting your Excel spreadsheet to a PDF, it's crucial to ensure that your document is well-organized and properly formatted. Begin by reviewing your data layout, using consistent fonts and styles to enhance readability. Ensure headings are clear and cell content is correctly aligned, avoiding overcrowding.
Ensuring Correct Page Layout and Size
Set up your page layout by navigating to the “Page Layout” tab in Excel. Adjust the orientation (portrait or landscape) that best suits your content. Select an appropriate paper size and set margins to ensure everything fits without being cut off. Using “Fit to One Page” or “Fit to Width” can help prevent data from being awkwardly split.
Checking for Print Areas and Page Breaks
Define specific print areas if your spreadsheet contains multiple sections, ensuring only necessary content is included in the final PDF. Check for unintended page breaks by using the “Page Break Preview” feature to adjust them as needed, creating a seamless and professional final document.
Using Excel for Mac to Convert to PDF
Step-by-Step Guide
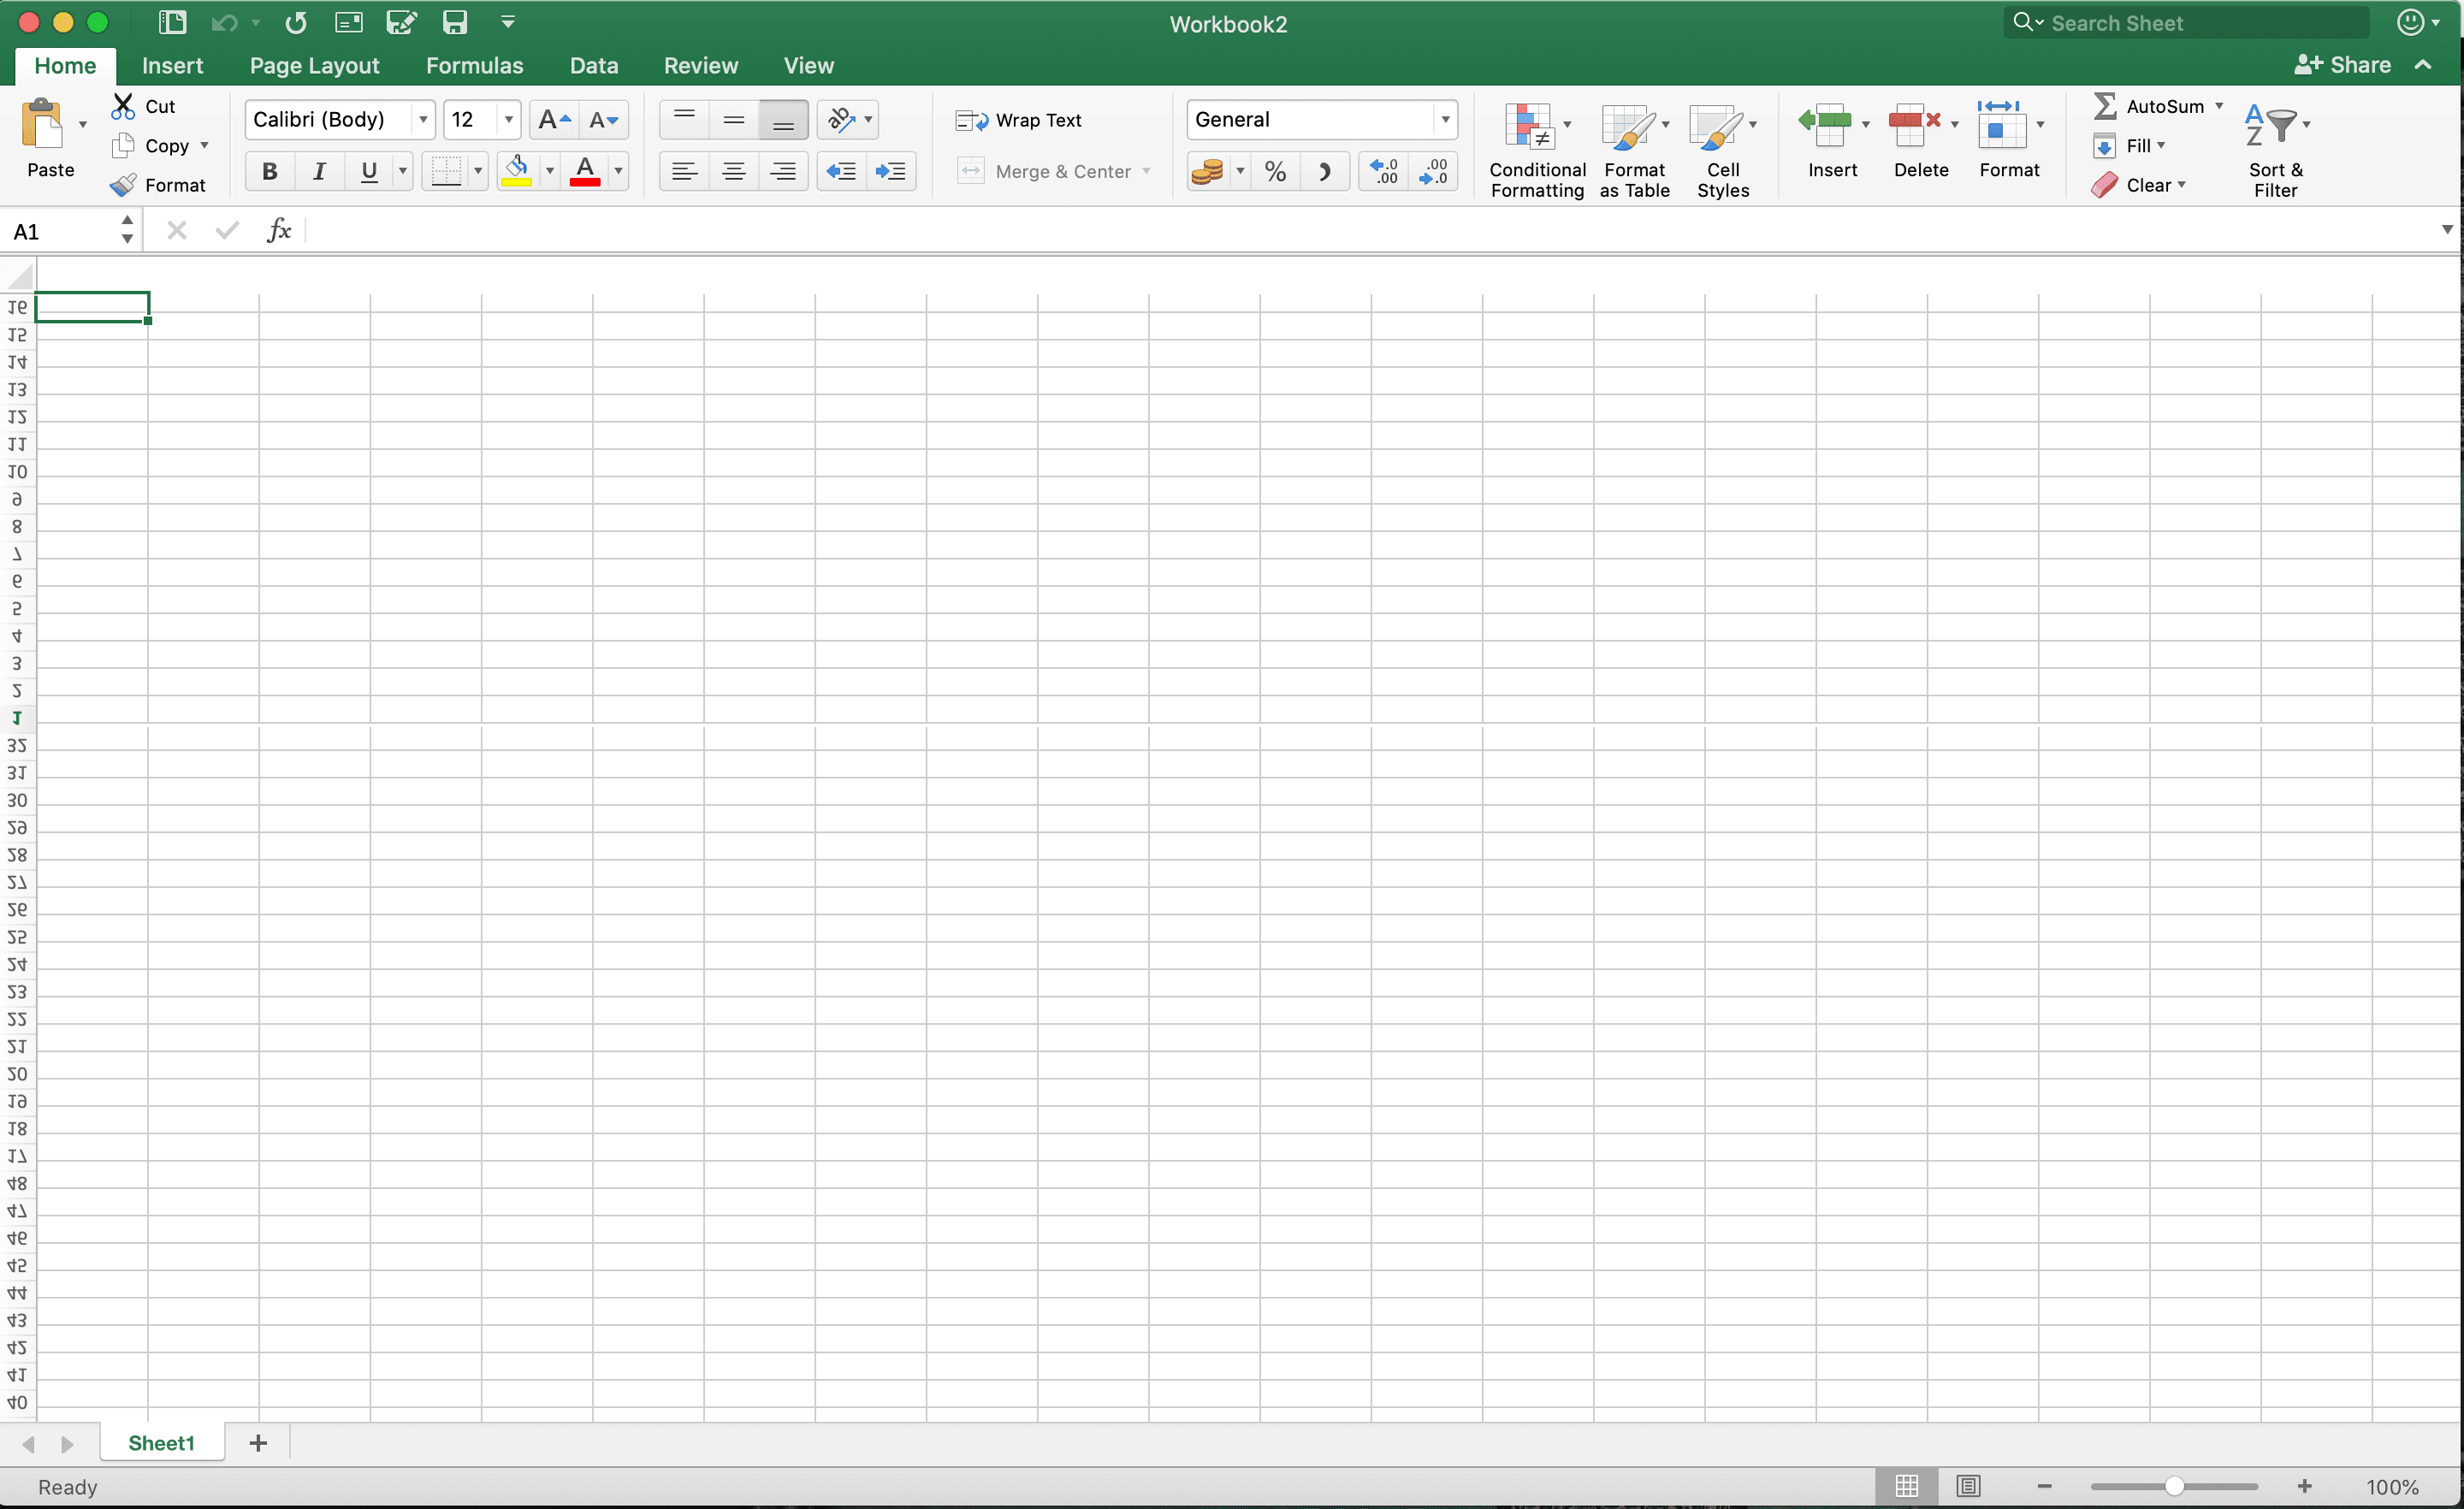
1. Opening Your Excel Spreadsheet
Open your Excel spreadsheet in Excel for Mac by double-clicking the file or opening it from within the Excel application.
2. Navigating to the "File" Menu
Once your spreadsheet is open, navigate to the "File" menu at the top left corner of the screen.
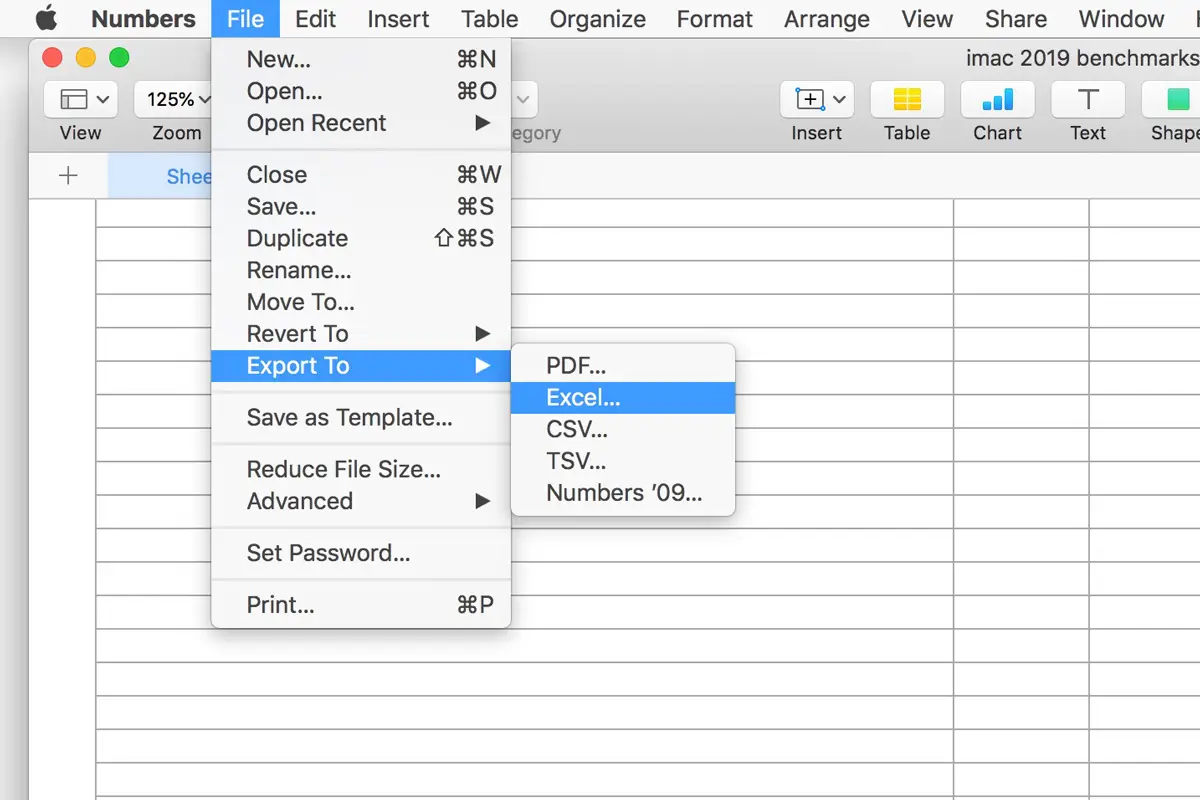
3. Selecting "Save As" or "Export"
From the "File" menu, choose either "Save As" or "Export." Both options will allow you to convert your document to a PDF.
4. Choosing PDF as the File Format
In the dialog box that appears, select PDF from the list of available file formats. This option may be found under the "File Format" dropdown menu.
5. Adjusting Settings
Adjust any necessary settings such as page range, orientation, and paper size to ensure your document appears correctly in PDF format. Options for these settings can usually be found within the same dialog box.
6. Saving the PDF File
Once you have configured your settings, click "Save" or "Export" to convert your Excel spreadsheet to a PDF. Choose a location on your computer to save the new PDF file, then click "Save" again. Your Excel data is now preserved as a PDF, ready for easy sharing and printing.
Alternative Methods
Using the "Print" Function
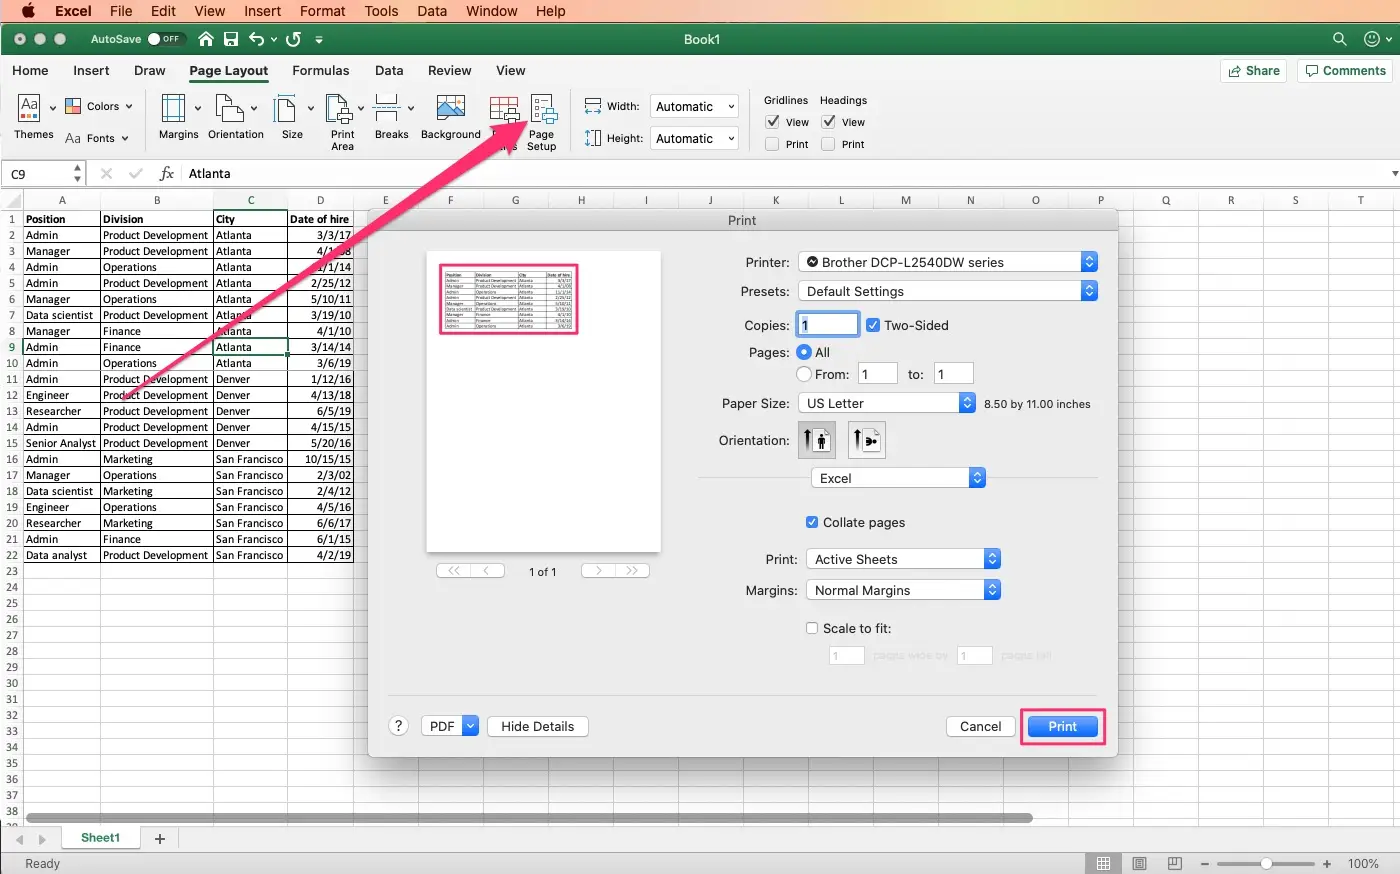
An alternative method to convert your Excel spreadsheet to a PDF on a Mac is by using the "Print" function. Here’s how:
1. Open your Excel spreadsheet in Excel for Mac.
2. Navigate to the "File" menu and select "Print" or press Command + P.
3. In the Print dialog box, click the "PDF" button located at the bottom-left corner.
4. Select "Save as PDF" from the dropdown menu.
5. Adjust settings if necessary, then choose a location to save your PDF and click “Save.”
Third-Party Software and Online Tools
Several third-party software options and online tools can also assist in converting Excel files to PDF on a Mac. Tools like Adobe Acrobat and online services such as FileZigZag offer easy-to-use interfaces for conversion. Simply upload your Excel file to these platforms, choose PDF as the output format, and download the converted file. These tools often provide additional features, such as file compression and editing, enhancing your document management capabilities.
Common Issues and Solutions
1. Formatting Errors: One common issue is formatting errors in the converted PDF. These can include misaligned text, distorted images, or improper scaling:
Solution: Before conversion, use Excel's “Page Layout” view to adjust margins, scaling, and orientation. Ensure that all cell contents fit within the designated print area.
2. Missing Data: Sometimes, important data may be missing in the converted PDF:
Solution: Check for Defined Print Areas in Excel. Ensure no cells are inadvertently excluded. Use the “Print Preview” feature to verify that all critical information is included.
3. Page Breaks and Overlaps: Incorrect page breaks can result in awkward page splits and overlaps:
Solution: Review and adjust page breaks using the “Page Break Preview” function in Excel, ensuring logical and continuous flow in the final PDF.
Conclusion
Converting Excel spreadsheets to PDF on a Mac can be easily achieved through several methods. Whether using Excel's built-in features, the "Print" function, or third-party software and online tools, the choice depends on individual needs and preferences. Built-in features are often sufficient for basic conversions, while third-party tools can offer additional functionalities. Understanding common issues and their solutions ensures a smooth conversion process. Ultimately, the best method is the one that aligns with your workflow and provides the desired results efficiently.

