OCR or Optical Character Recognition quickly became an essential tool for those who encountered extracting text from images challenge. It is a technology designed to recognize text within digital pictures. It makes it invaluable for digitizing documents and making data editable and easy to search. It is particularly useful when dealing with scanned documents or photos containing transcripts. Yet, there are many advantages of using Google Docs for document editing and teamwork. Still, there is a noticeable absence of a built-in OCR option. It means that we must get a bit creative when trying to perform OCR in Google Docs. Let us walk through how we can still utilize Google’s tools to achieve text extraction effectively.

What is OCR?
OCR is a technology that enables the conversion of different types of documents and text. For example, scanned paper documents, PDFs or images captured by a digital camera into editable and searchable statistics. The way OCR works is quite interesting. It analyzes the shapes of letters and numbers in the image and matches them to the corresponding characters in the program's file. It is like teaching a computer how to read by recognizing patterns and figures. And here are some common applications of OCR:
- Digitizing books and printed materials
- Converting handwritten notes into editable text
- Automating data entry processes
- Extracting text for translating documents
Method 1: Perform OCR in Google Docs
Steps to Perform OCR Using Google Drive
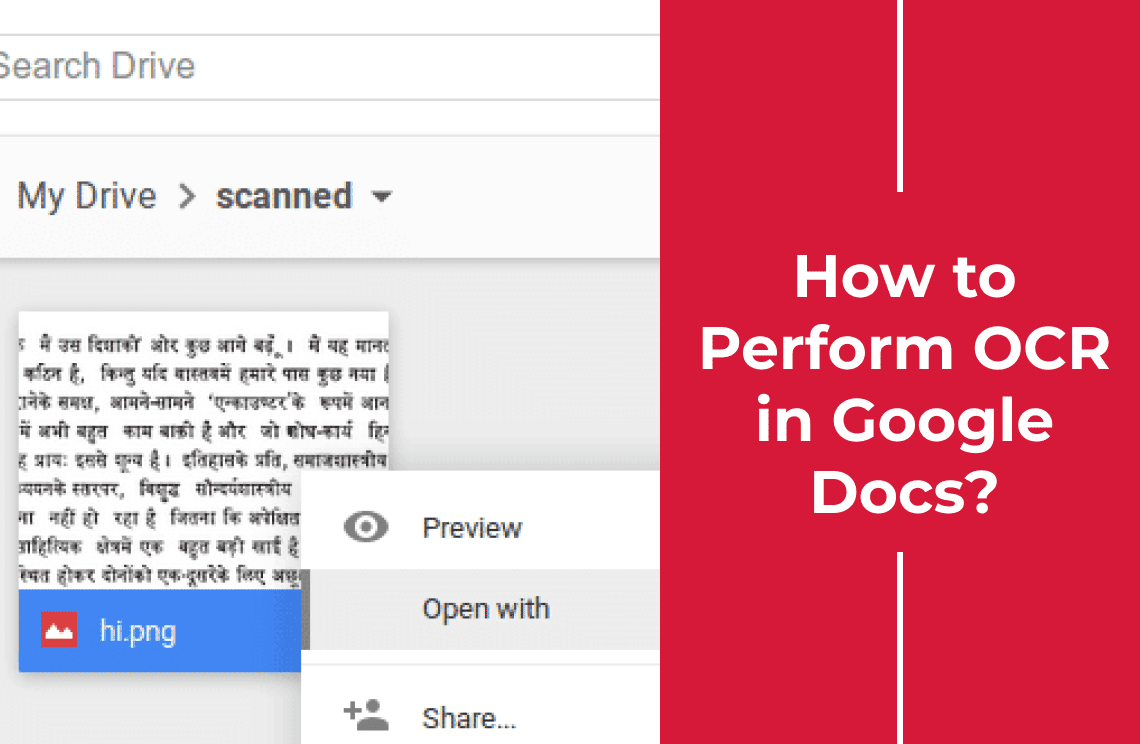
1. Sign in and upload your image or PDF via 'New' > 'File Upload'.
2. Right-click the uploaded file and select 'Open with' > 'Google Docs'.
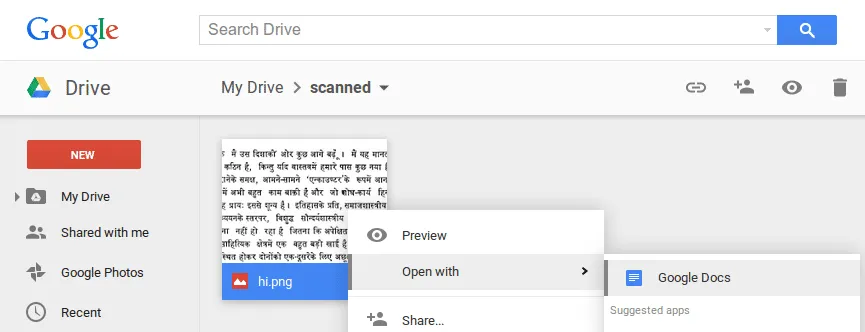
3. Google Docs will automatically perform OCR, displaying the extracted text alongside the image in a new document."
Notes: Ensure the image is correctly oriented and not larger than 2 MB. And, text within the image should be at least 10 pixels high for optimal conversion results.
Limitations: This may not yield optimal results with complex formatting. Lack of font recognition.
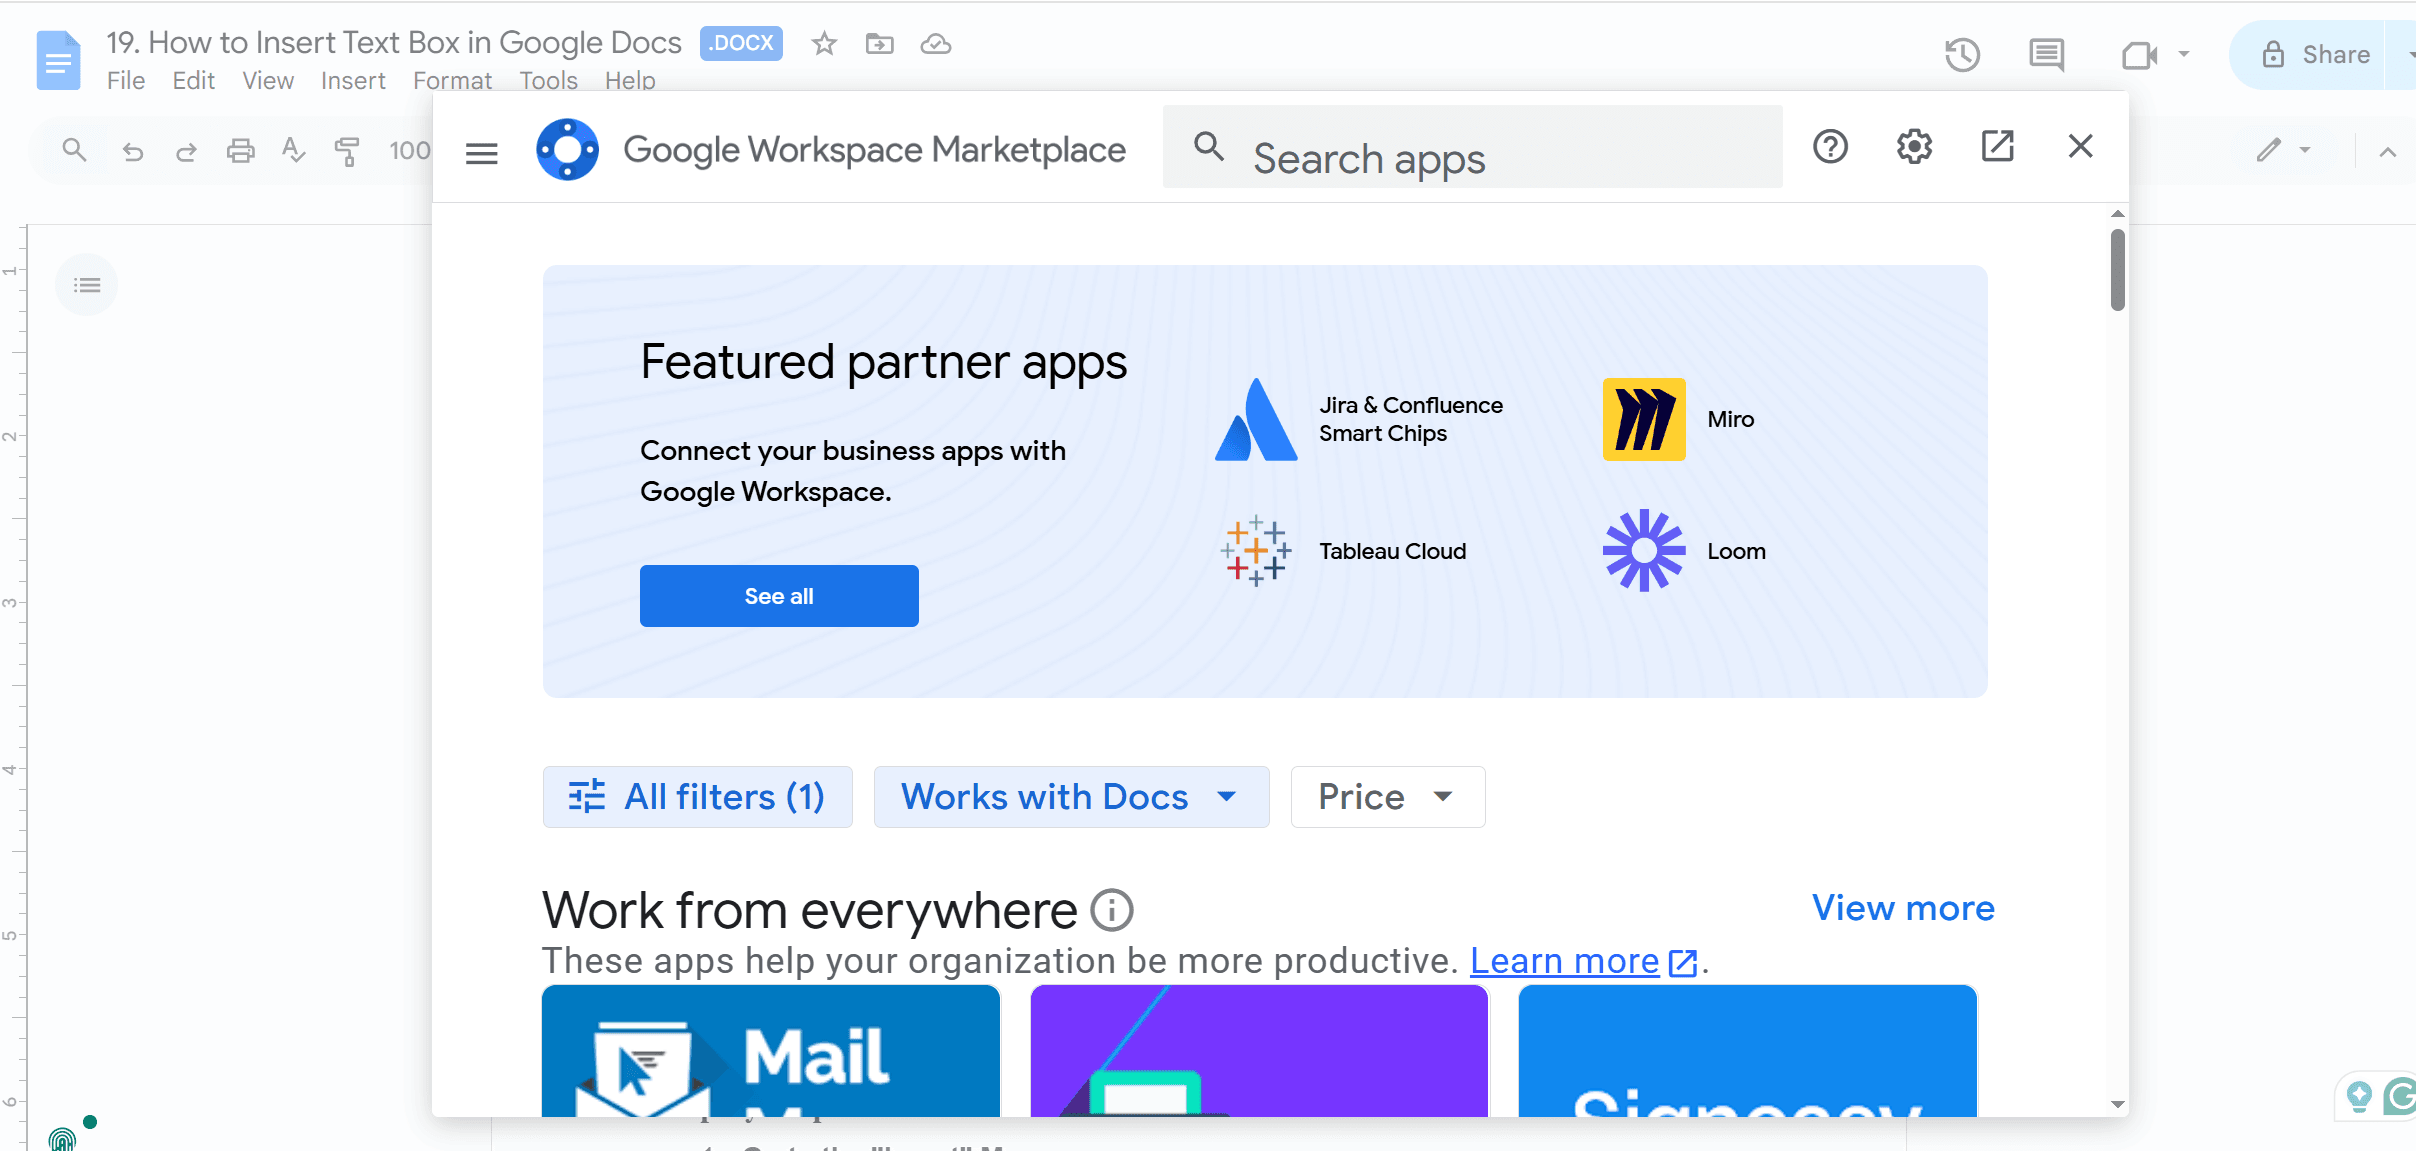
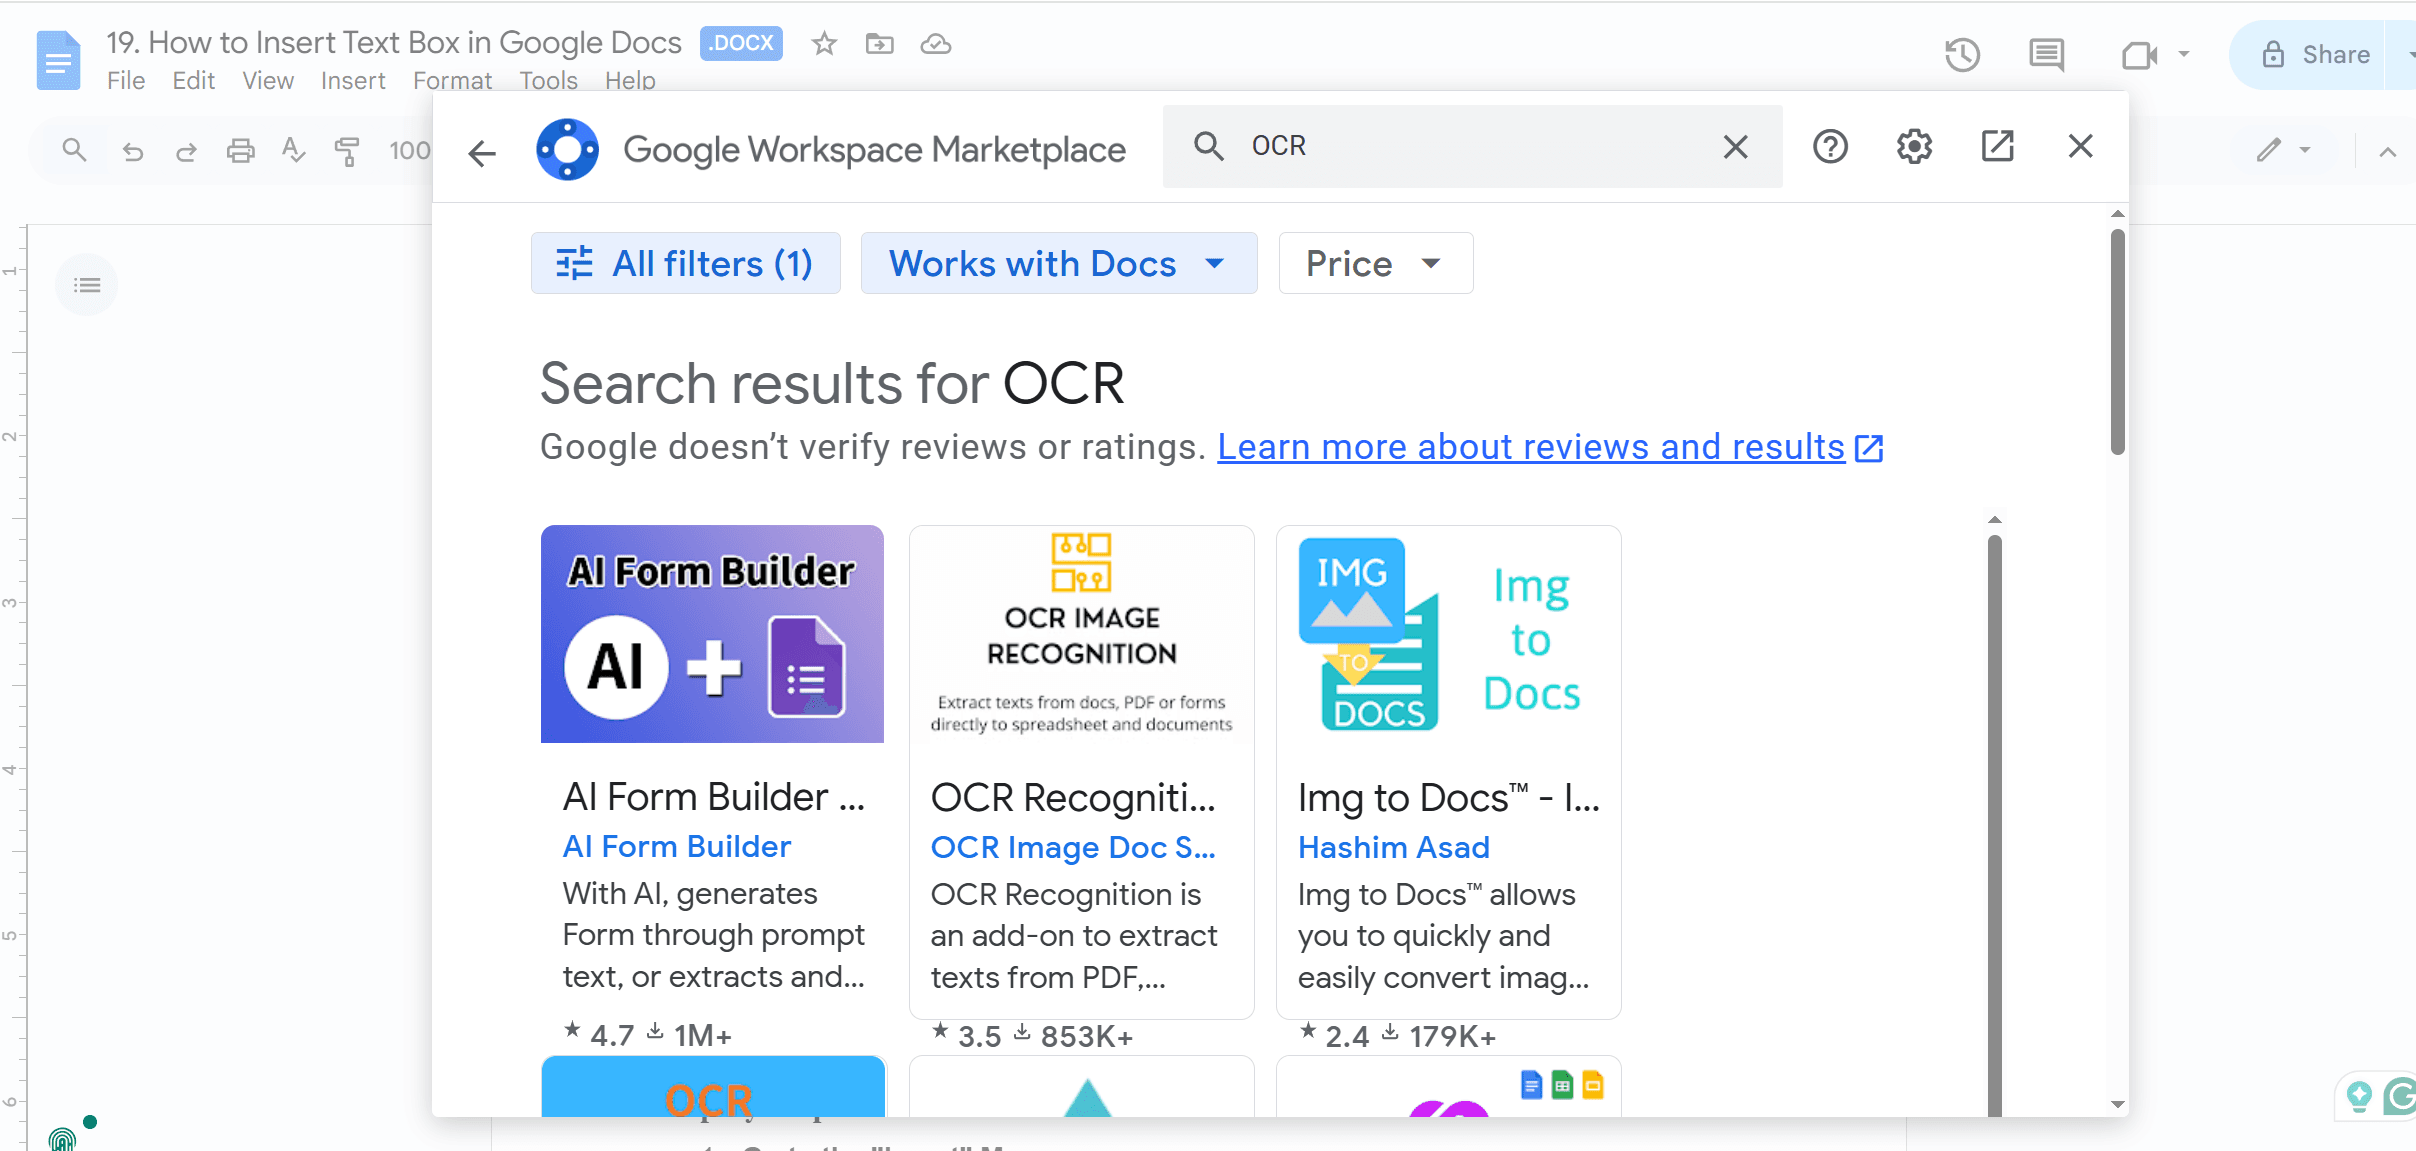
Method 2: Perform OCR Using Third-Party Add-ons
Steps to Install and Use Img to Docs Add-On
1. Open or create a Google Doc.
2. Go to 'Extensions' > 'Add-ons' > 'Get add-ons', and install 'Img to Docs - Image OCR'.
3. Launch it via 'Extensions' > 'Img to Docs - Image OCR' > 'Start'.
4. Drag your image into the add-on's sidebar.
5. Click 'Insert' to add the extracted text to your document."
Why Use Third-Party Add-ons
1. More accurate and polished results: Third-party add-ons can provide better OCR accuracy and polished text results compared to built-in tools.
2. Additional functionalities: These add-ons often come with extra features such as batch processing, support for multiple languages, and the ability to handle more complex documents.
Method 3: How to Convert Image to PDF and Perform OCR?
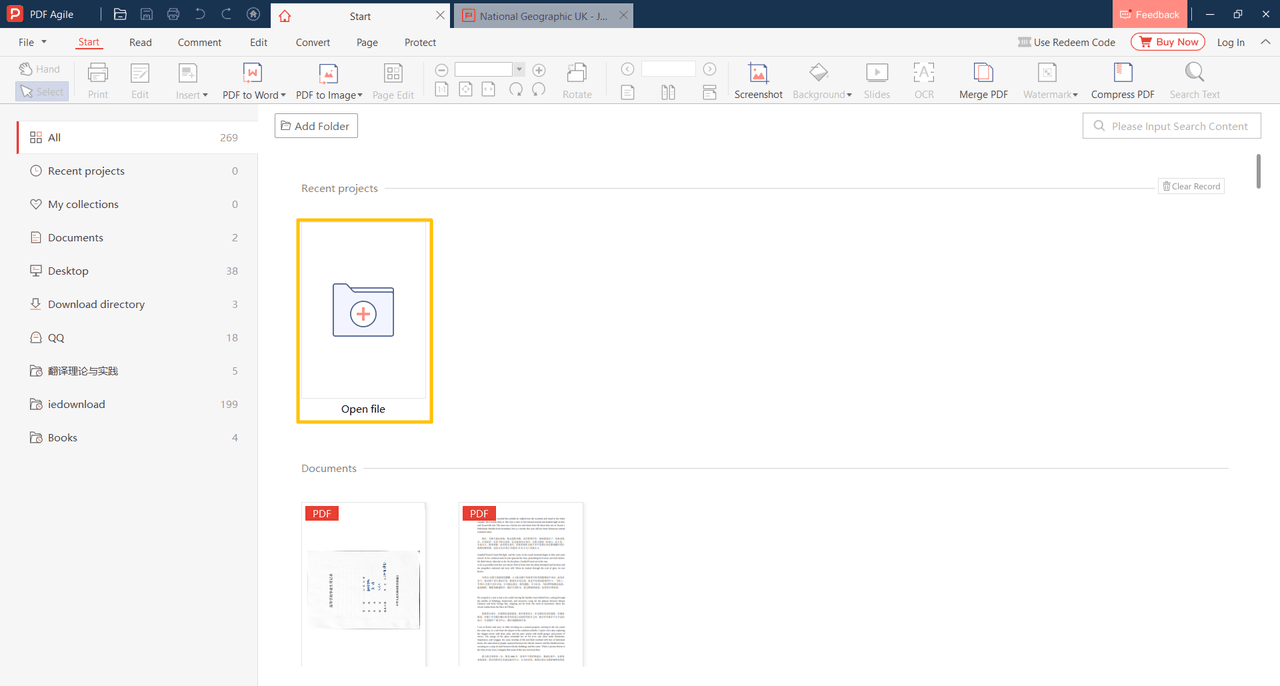
Steps to Convert Image to PDF and Perform OCR using PDF Agile:
1. Install and launch PDF Agile.
2. Open your image via 'Open File'.
3. Convert to PDF using 'Image to PDF' in the Home tab.
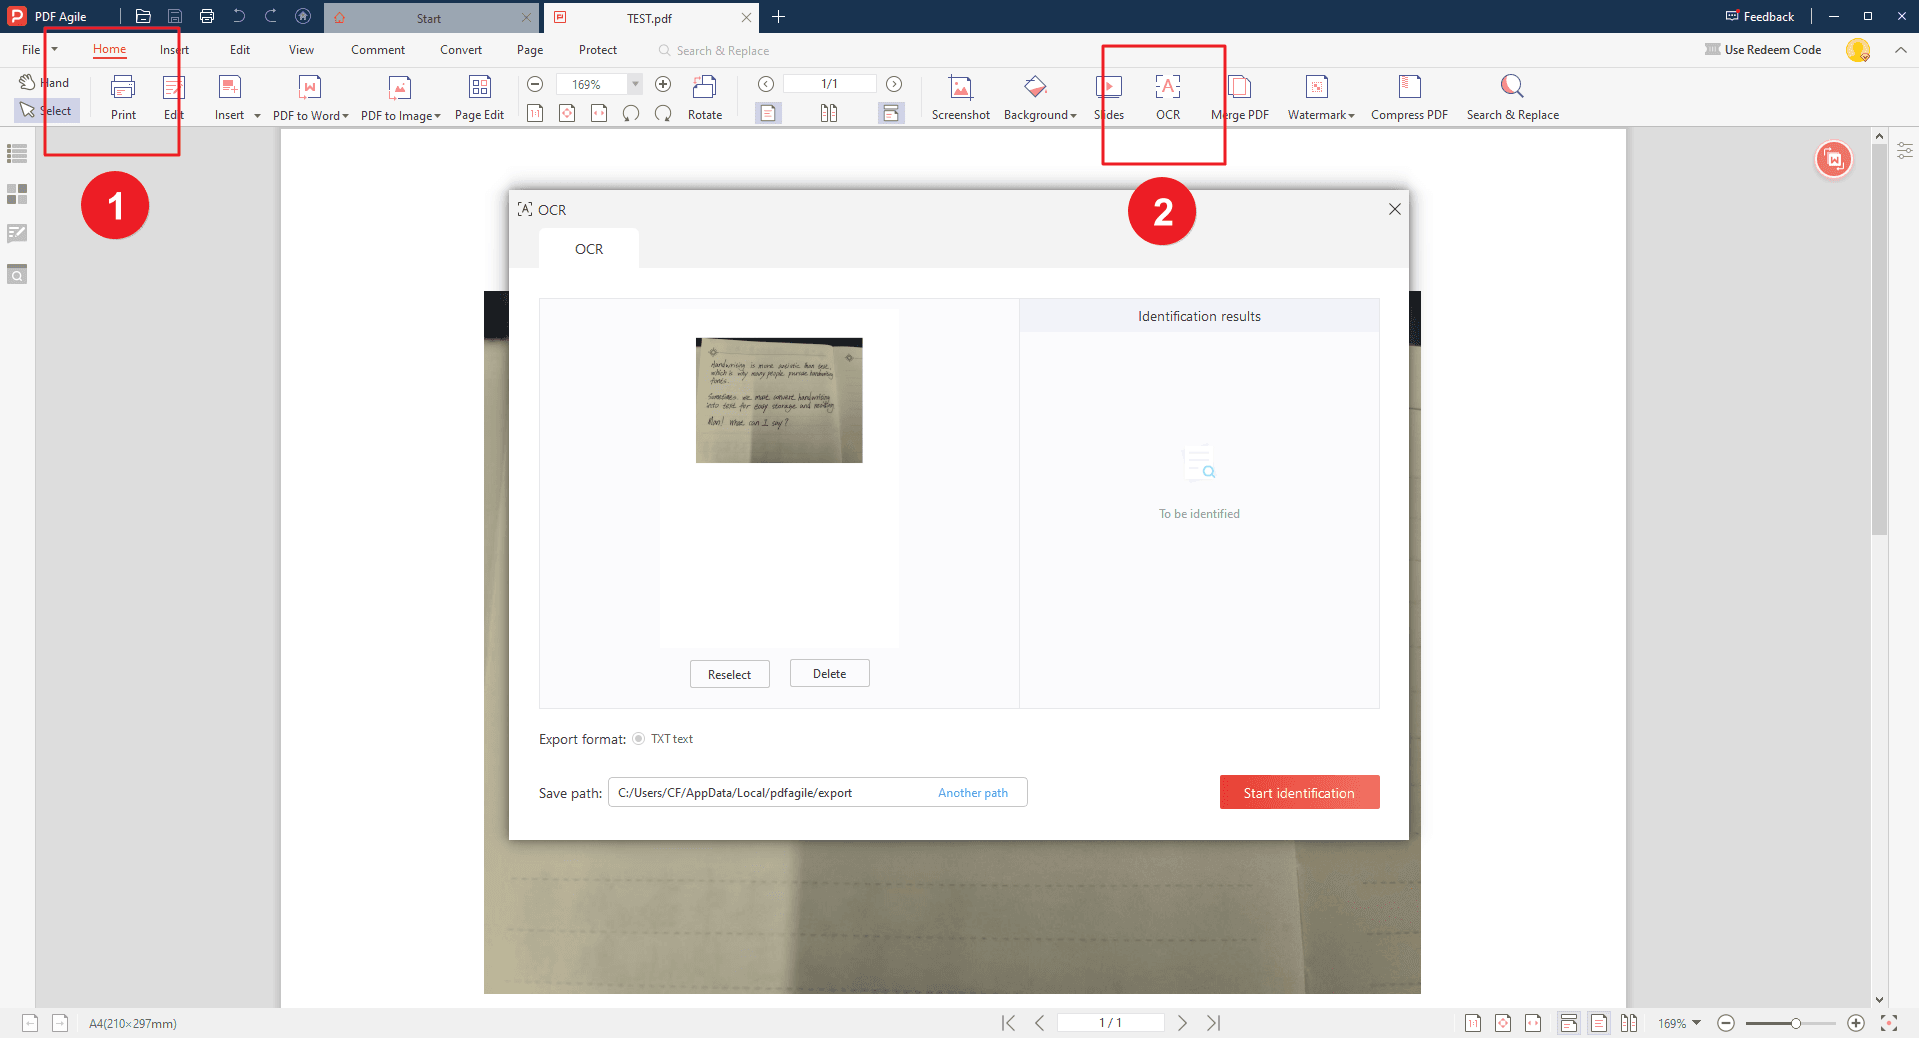
4. Open the new PDF, select the OCR feature, and configure settings.
5. Click 'Start Identification' to extract editable text."
Why Use PDF Agile
1. Comprehensive tool for handling PDFs and performing OCR: PDF Agile offers a wide range of functionalities for managing PDF files and extracting text through OCR making it a versatile solution.
2. User-friendly interface with robust features: The intuitive layout and powerful features of PDF Agile make it easy to use while providing effective performance for various PDF-related tasks.
Comparison Chart
Feature | Google Docs | Third Party Add-Ons | PDF Agile |
|---|---|---|---|
Ease of Use | Intuitive interface | Varies by developer | Clean, straightforward interface |
OCR Capability | Basic OCR included | Advanced OCR with some add-ons | Highly accurate OCR |
Annotation and Editing | Basic tools | Enhanced features available | Comprehensive tools |
Export Options | Limited formats | Flexible with some add-ons | Wide range of formats |
Integration | Google Workspace | Varies | Robust standalone |
Customization | Limited | Depends on add-on | Advanced customization |
Collaboration | Real-time editing | Varies | Basic collaboration tools |
Cost | Mostly free | Varies from free to premium | Subscription or one-time purchase |
Why Use Google Docs for OCR?
Using Google Docs for OCR offers several advantages:
- Accessibility: All you need is a Google account. You can convert images to text from any device with internet access. It is a great option for collaborative environments or remote workspace.
- Integration: Google Docs seamlessly integrates with other Google services like Google Drive. It makes storing, managing and sharing documents informal.
- Ease of Use: Google Docs provides an upfront process for converting images or PDFs to text without installing additional software.
Thus, Google Docs is a practical solution for those looking for a simple and convenient way to perform OCR errands. Even though it lacks a dedicated OCR tool. But, its connectivity and capabilities within the Google ecosystem make it a strong contender for basic OCR needs.
Tips for Better OCR Results
- Use high-resolution images.
- Ensure text is clear and legible.
- Avoid skewed or tilted text.
- Minimize background noise.
- Use appropriate lighting.
- Opt for high contrast between text and background.
- Choose sans-serif fonts.
- Ensure text is right-side up.
- Clean the document surface.
Final Thoughts
In conclusion, there are three primary methods to perform OCR using Google Docs: Direct Upload, Add-Ons, and Third-Party Software. Based on your needs, if simplicity is key, direct upload via Google Drive is recommended. For advanced features and customization, consider using add-ons. For comprehensive management, opt for third-party OCR software.
Moreover, for those seeking to optimize their document management and processing skills, it is highly recommended to consult How-to & Tips Articles | PDF Agile and Google Docs Tips and Tricks | PDF Agile.