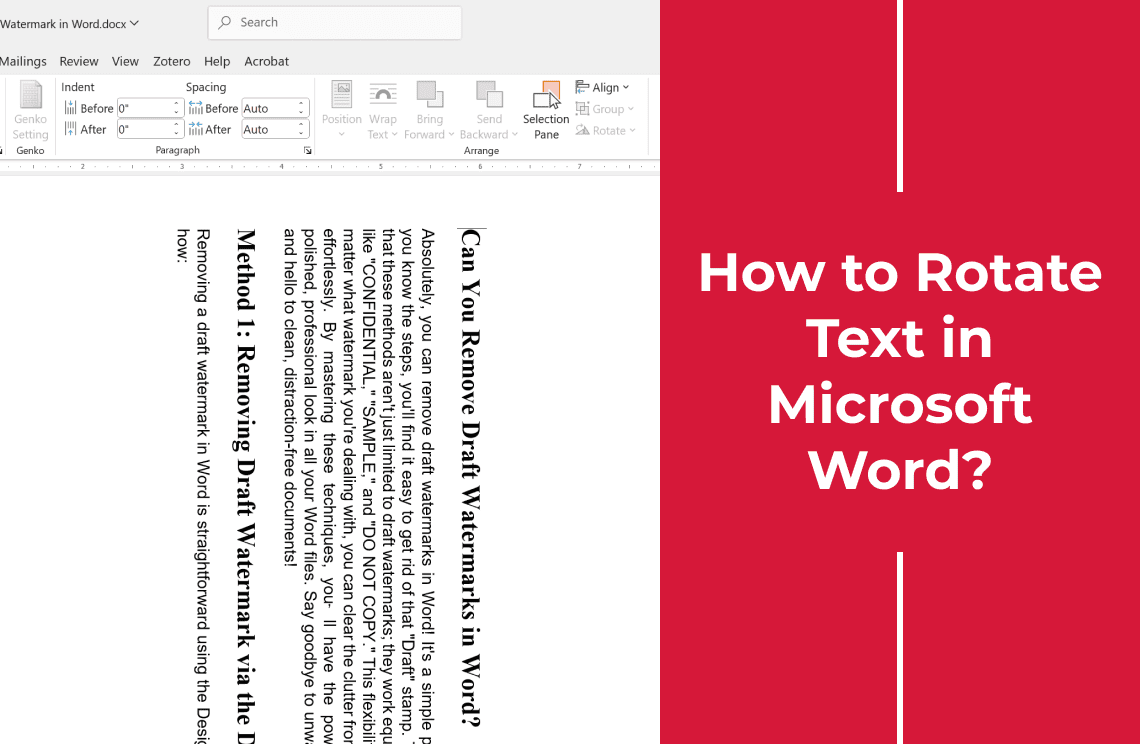
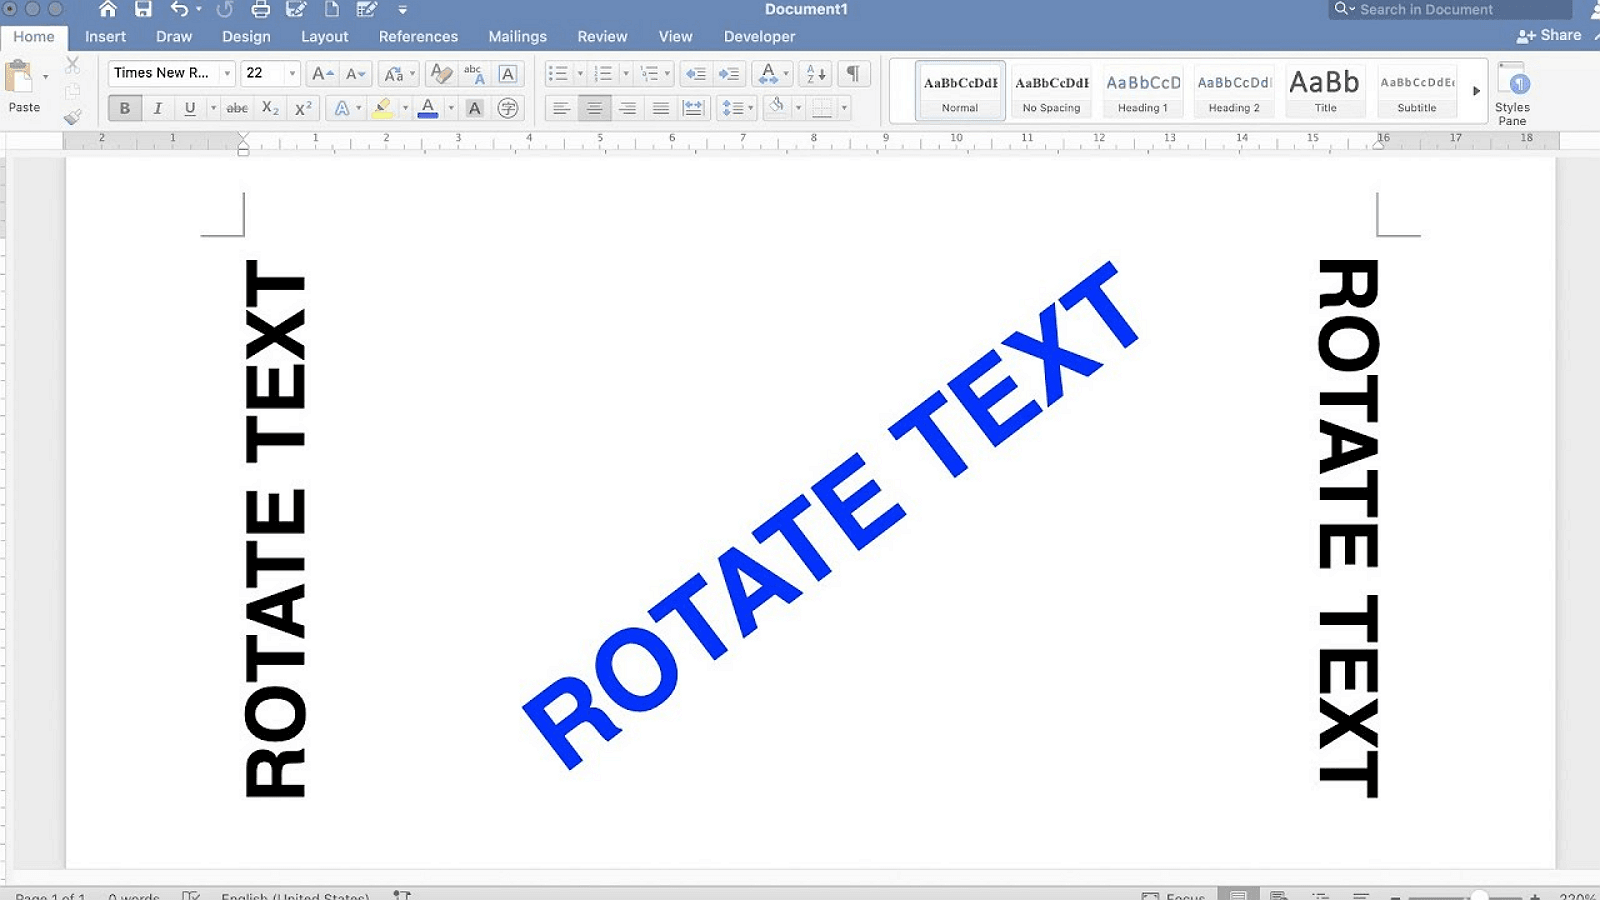
Ever found yourself bored by the mundane look of your documents? Font rotation is a simple yet powerful tool to spice things up and make your content stand out. Whether you're crafting a flyer, an innovative presentation, or a detailed report, effectively rotating and orienting your text can add that professional touch you're looking for. In this guide, I'll walk you through several exciting methods to rotate text in Microsoft Word—from using text boxes and table cells to experimenting with WordArt. Let's dive in and get those creative juices flowing!
Method 1: Rotating Text Using a Text Box
Rotating text is easy and effective with a text box. Here’s how:
Once you've created your text box, rotating it is straightforward:
1. Click on the text box to select it.
2. Locate the circular rotation handle at the top of the box.
3. Click and drag the rotation handle to rotate the entire text box.
4. For more precise rotation, hold the Shift key while dragging to rotate in fixed 15-degree increments.
This method ensures your rotated text looks polished and professional.
Quick 90-Degree Rotation
Need a hassle-free way to rotate your text box by 90 degrees? Follow these simple steps:
For PC Users
1. Select the text box.
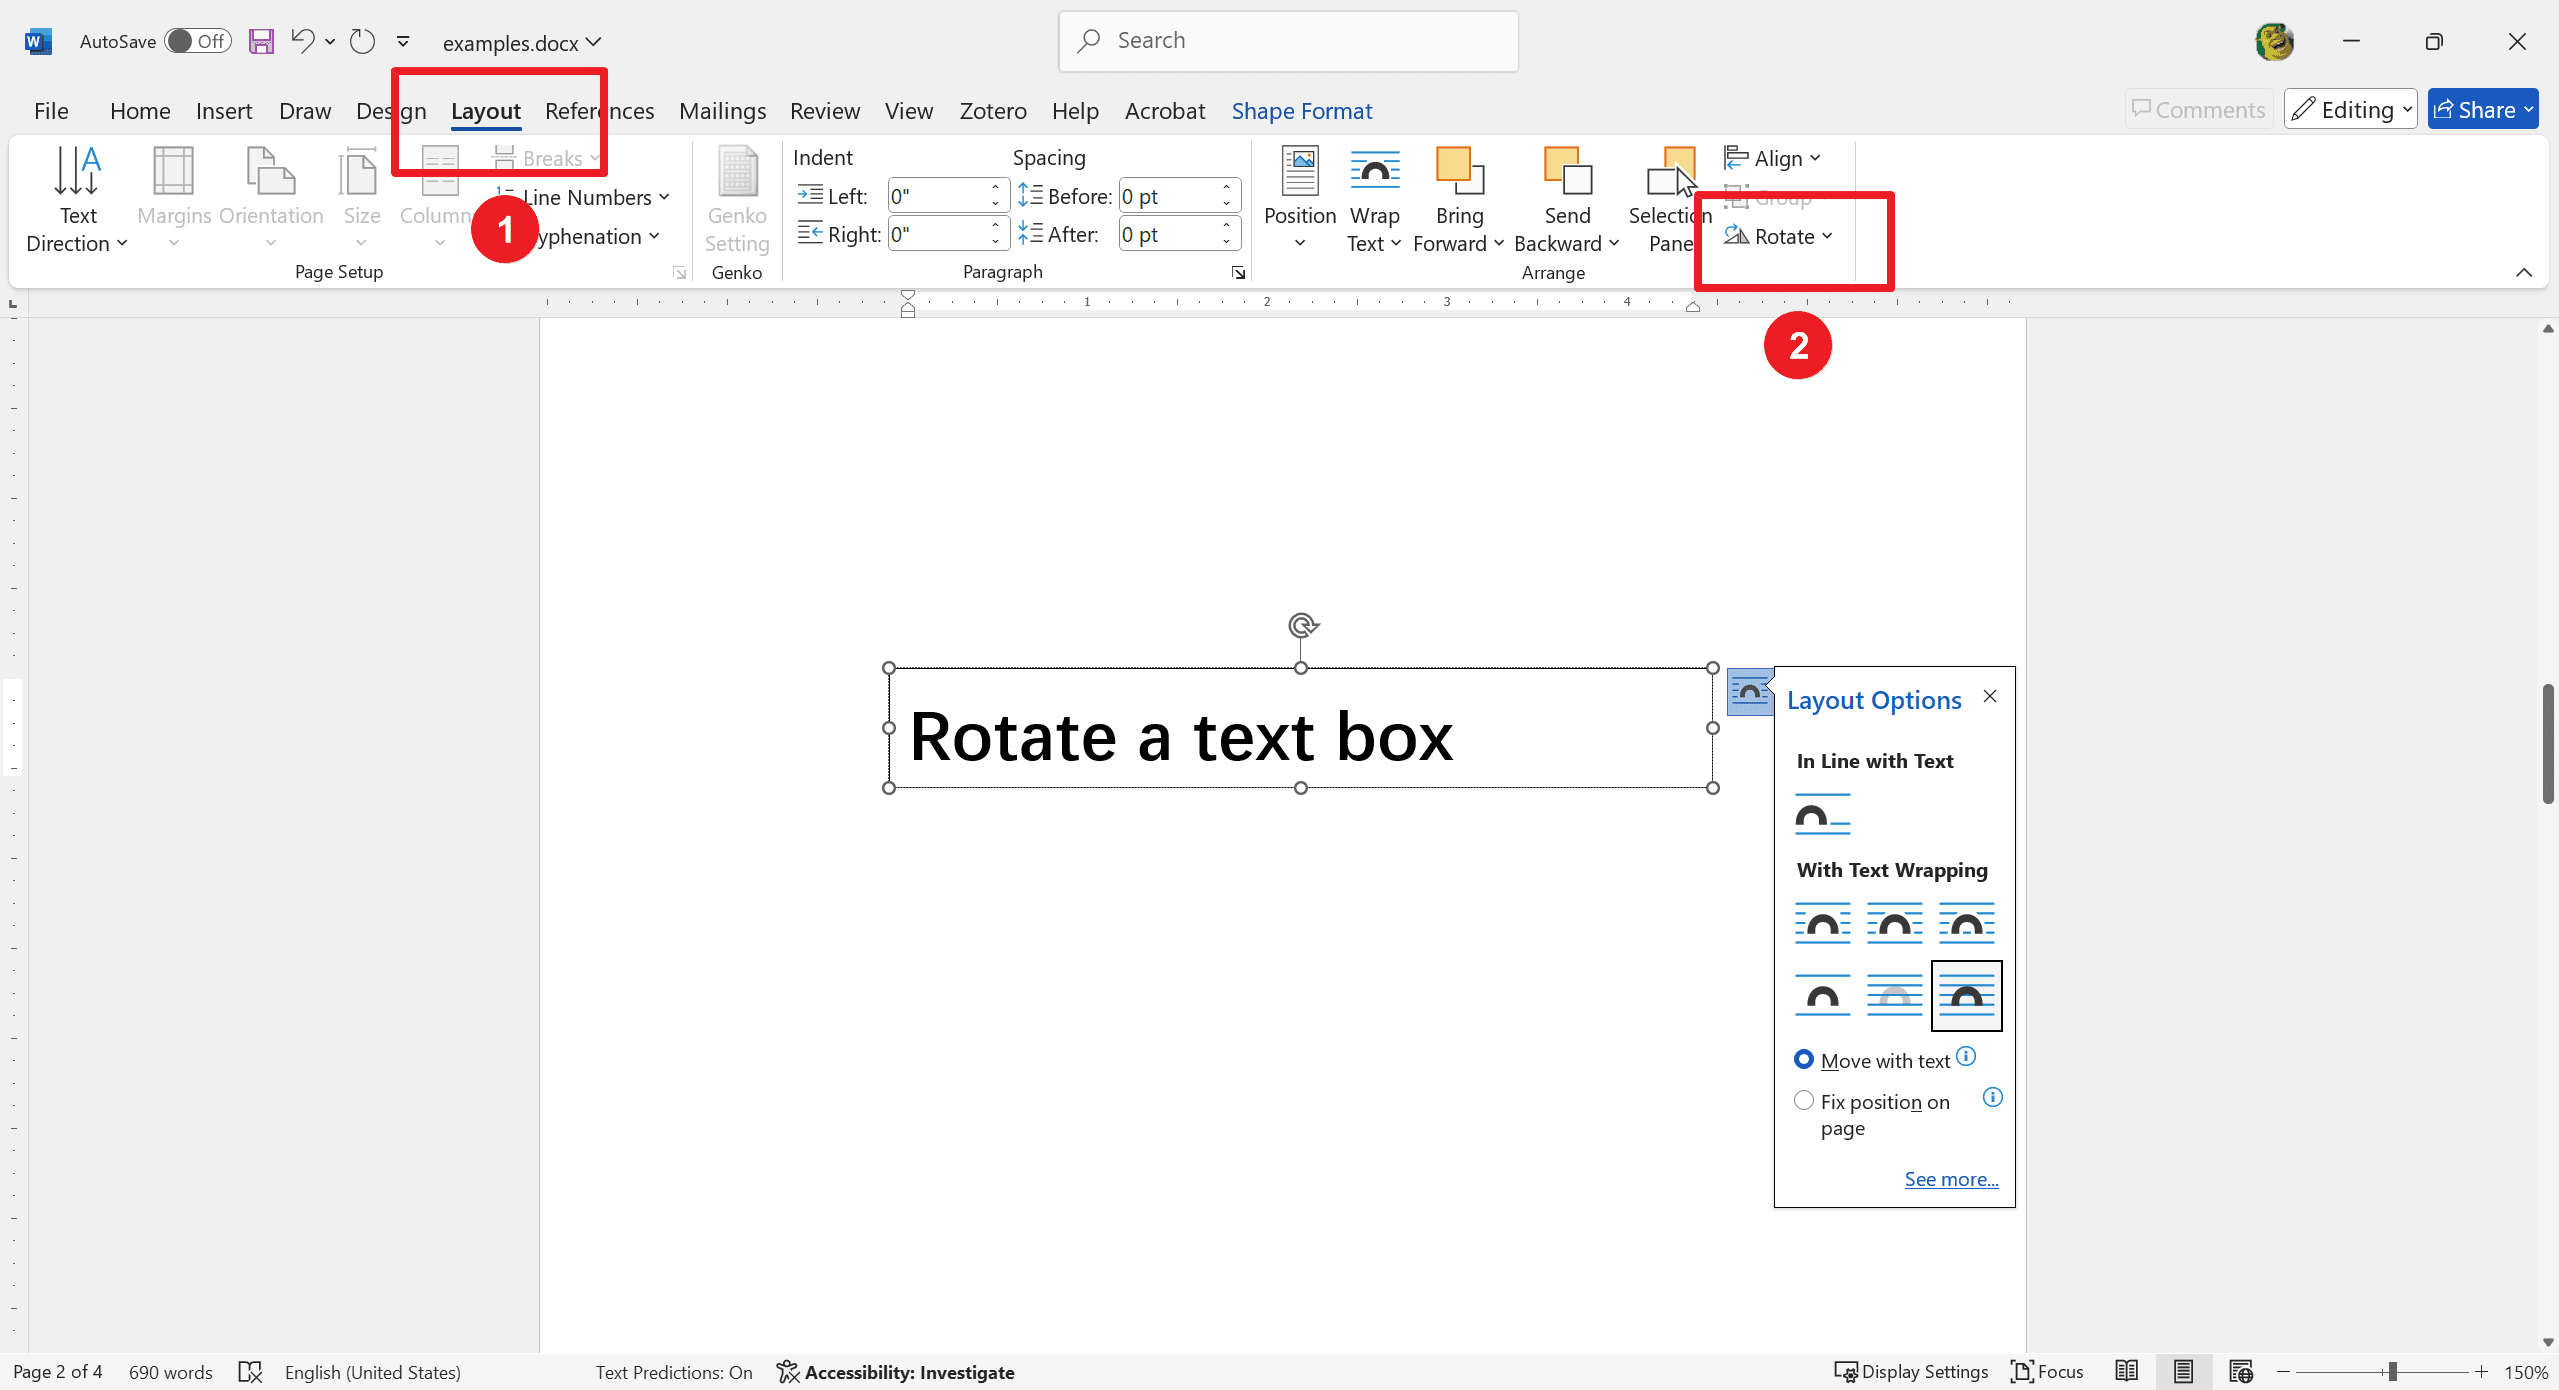
2. Go to Layout > Rotate > Rotate Right 90° or Rotate Left 90° to quickly align your text without fuss.
For Mac Users
1. Select the text box.
2. Navigate to Shape Format > Arrange > Rotate > Rotate Right 90° or Rotate Left 90° for a polished and professional look.
Using these straightforward methods makes rotating text easy and ensures your document maintains a clean appearance.
Custom Rotation Angle
For PC Users
- Select the text box.
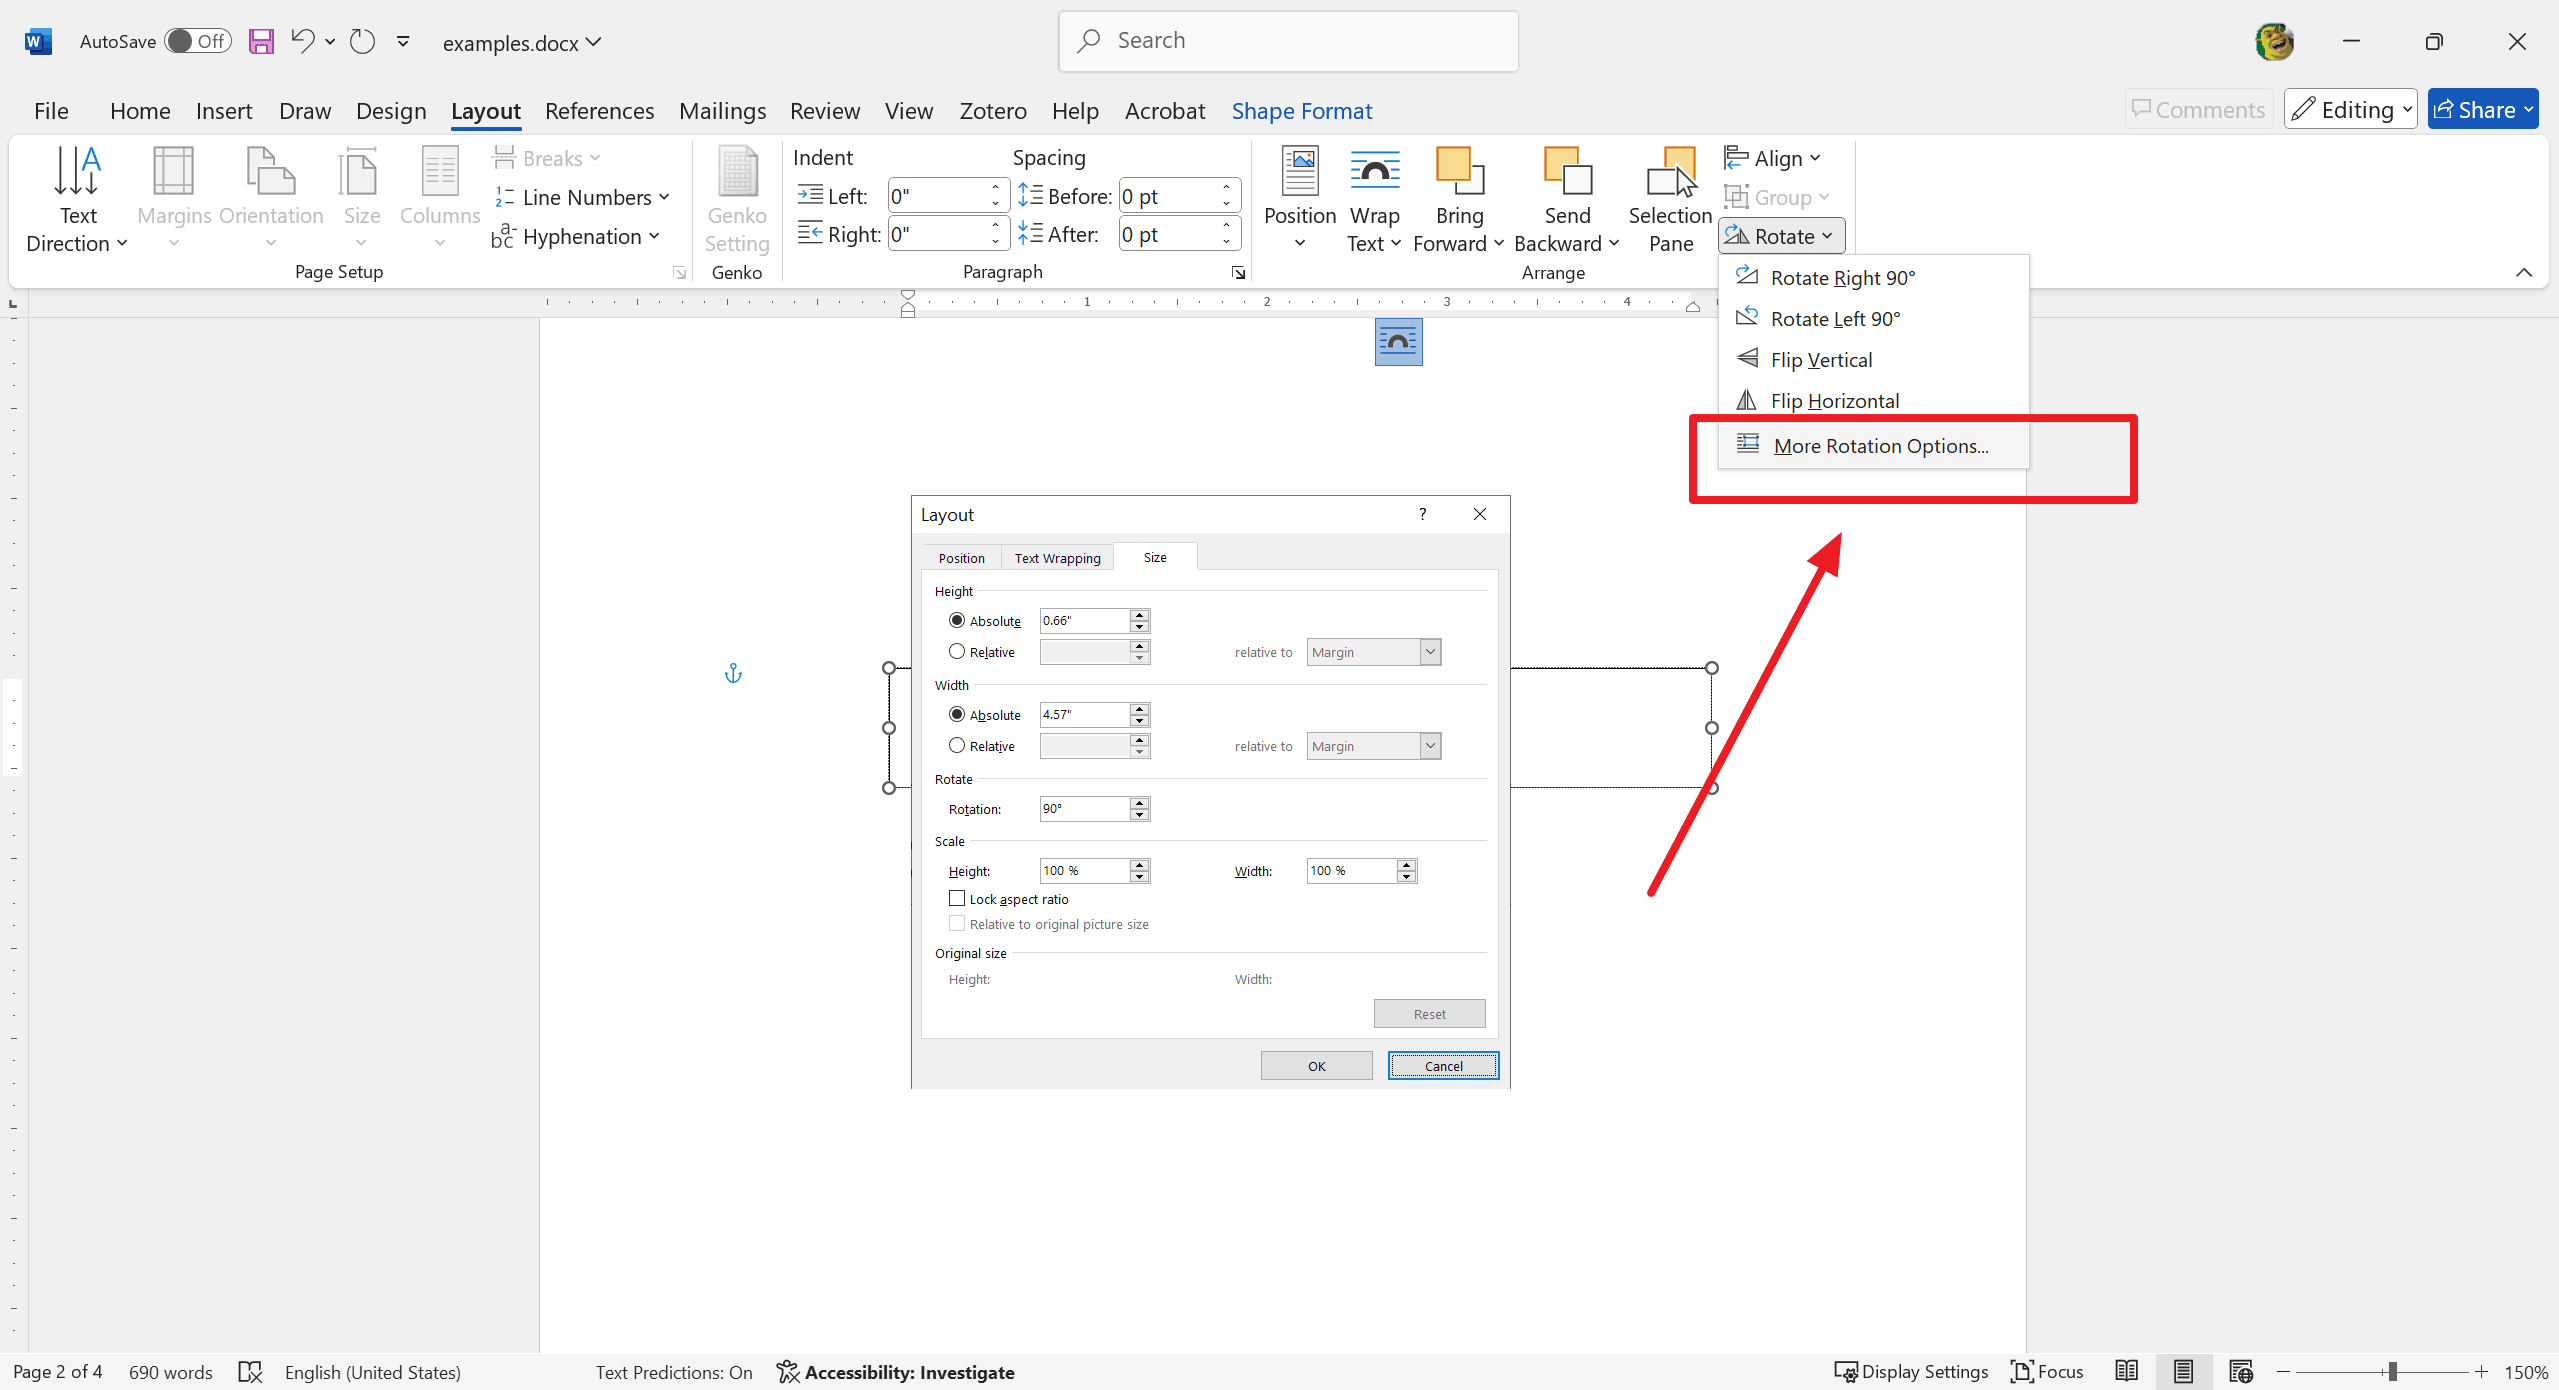
- Go to Layout > Rotate > More Rotation Options....
- In the Size tab, specify your desired angle.
For Mac Users
- Highlight the text box.
- Access Shape Format > Arrange > Rotate > More Rotation Options....
- In the Size tab, set a custom angle.
These steps allow you to precisely rotate text to any angle you need.
Method 2: Adjusting Text Direction within a Text Box
To rotate text inside a text box without rotating the whole box, follow these steps:
1. Choose the text box.
2. Go to Drawing Tools Format > Text Direction.
3. Select Rotate all text 90° or Rotate all text 270° for vertical orientation.
This method allows you to change the orientation of the text itself while keeping the text box in its original position.
Aligning Text within the Box
To align text within a text box:
1. Access Drawing Tools Format > Align Text:
- Select the text box you want to modify.
- Navigate to the Drawing Tools Format tab and find the Align Text option.
2. Adjust text alignment as required:
- Choose to align the text to the left, right, or center according to your needs.
These steps ensure your text is well-positioned within the box, improving the document's layout.
Modifying Text Direction in Table Cells
Rotating text in table cells enhances readability and organization, especially in compact or vertically-oriented layouts. This helps in presenting data clearly and efficiently.
Creating a Table
1. Use Insert > Table:
- Go to the Insert tab.
- Select Table and choose the desired size.
Changing Text Orientation
1. Highlight the Cell Containing the Text:
Click the cell where you want to change the text direction.
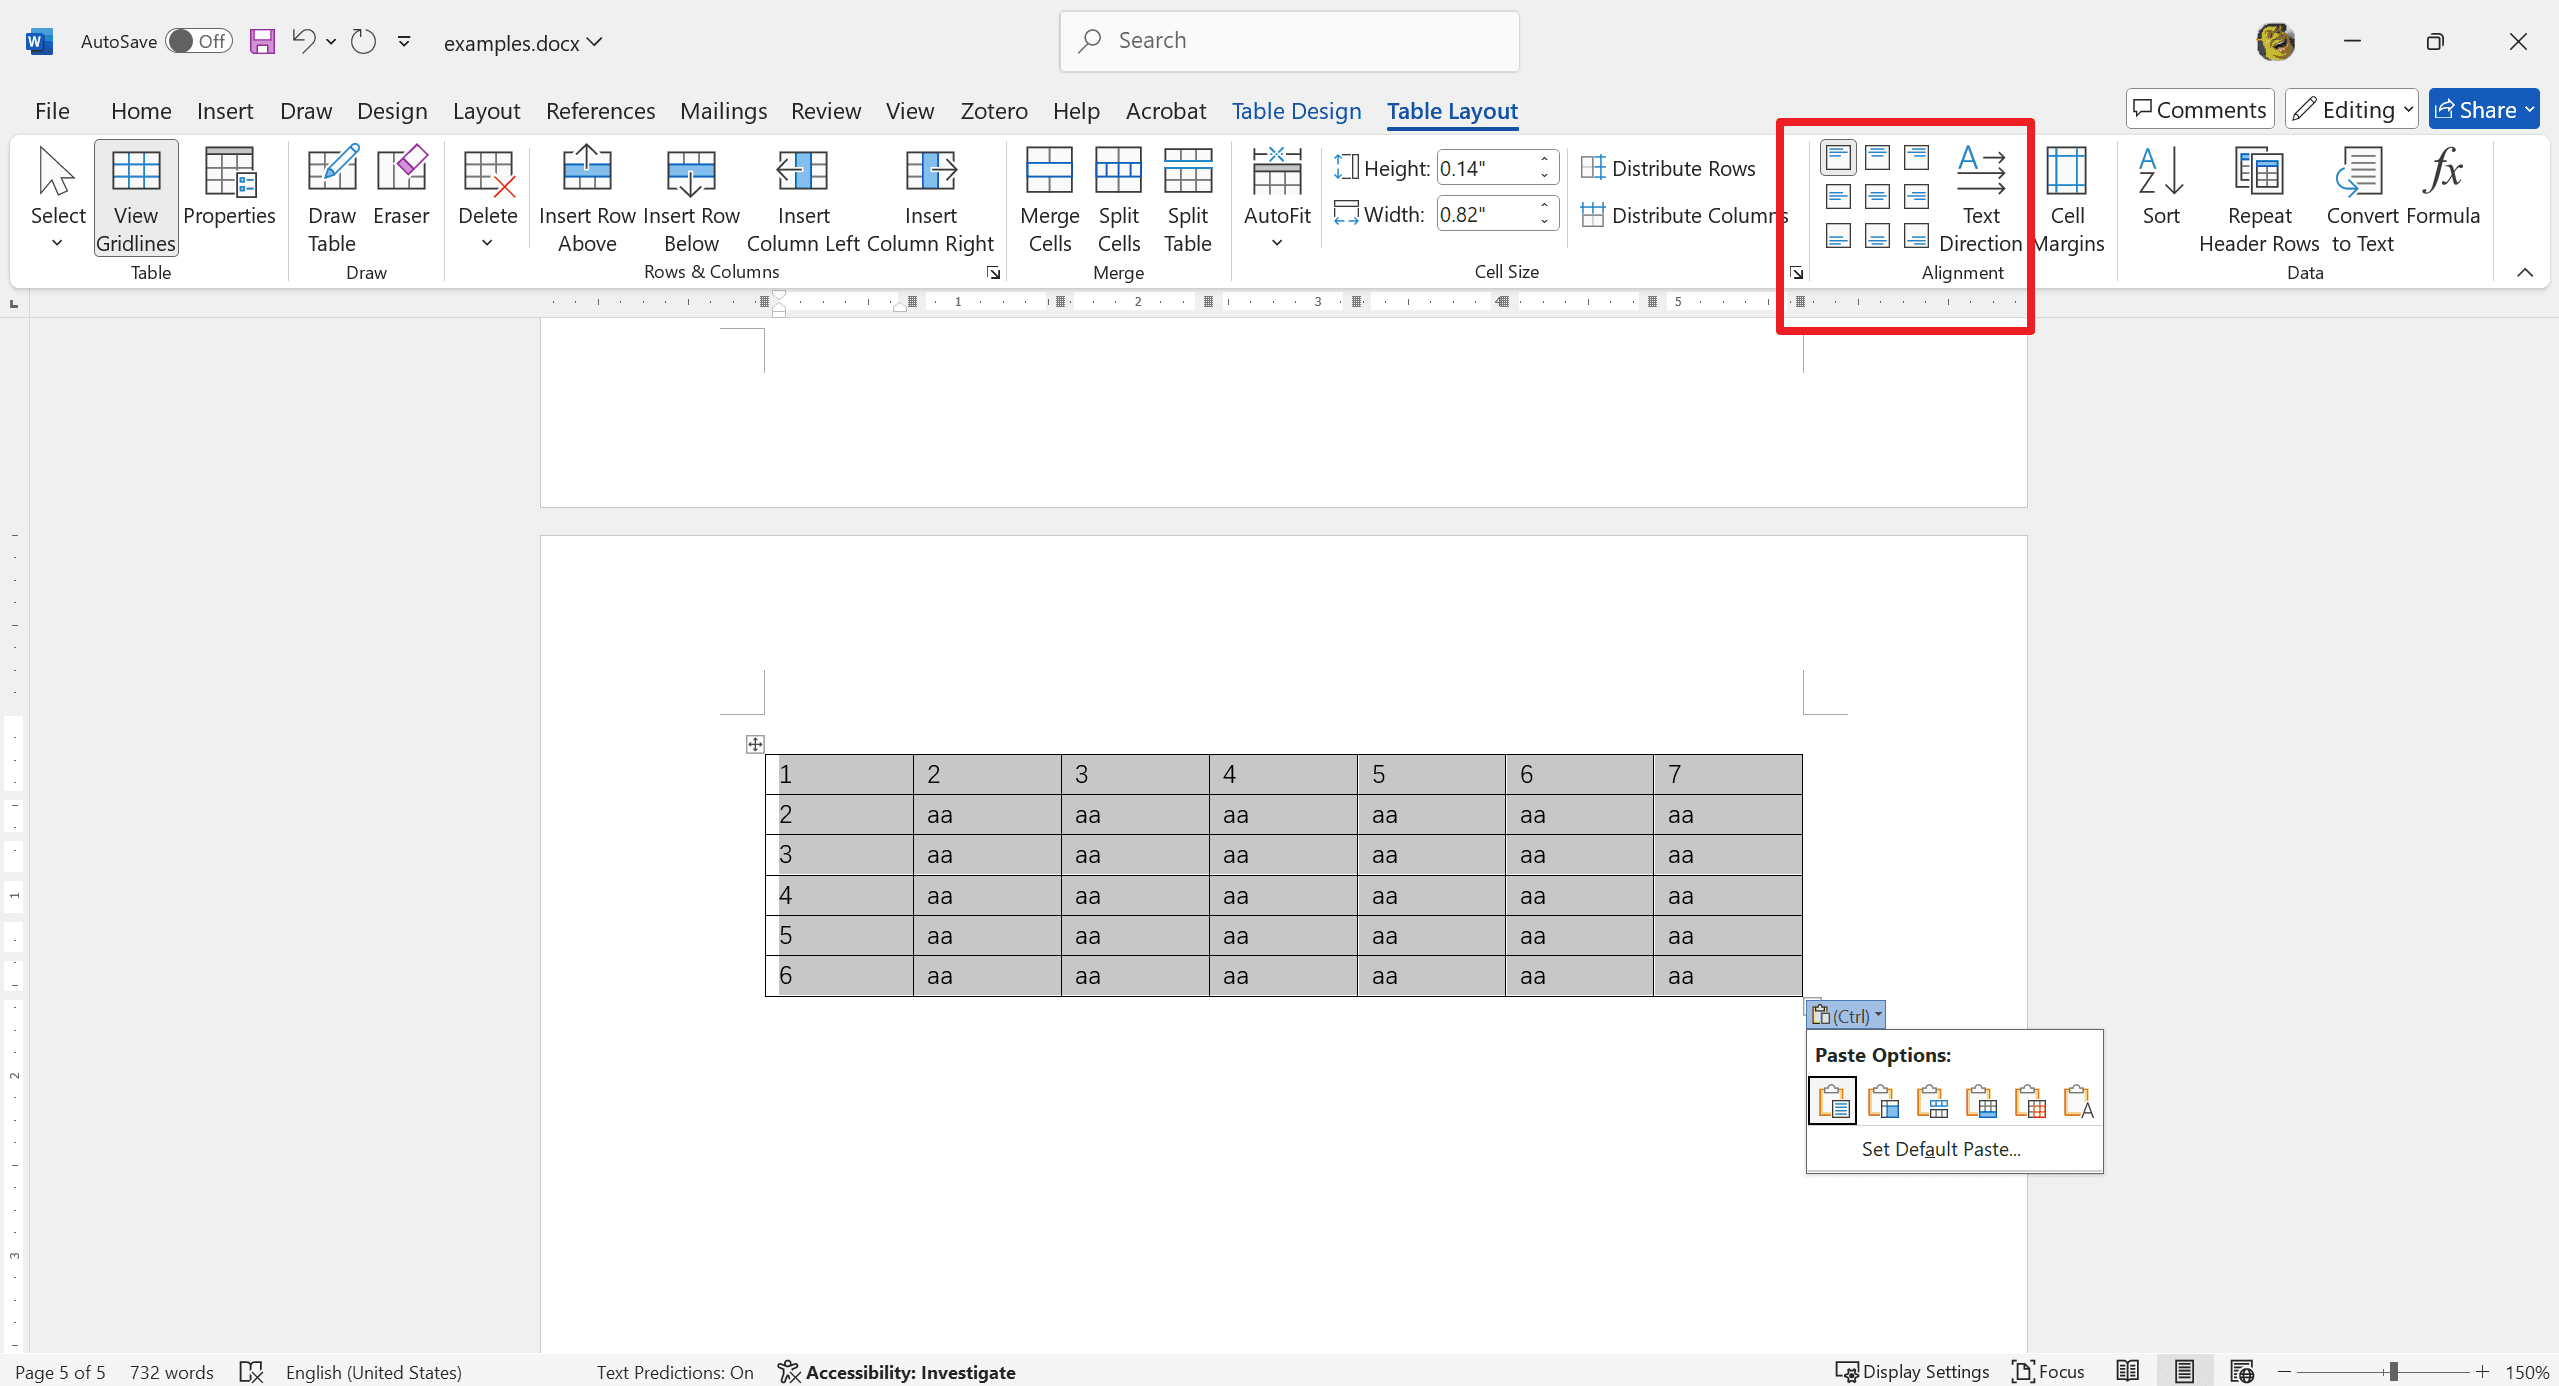
2. Navigate to Table Tools Layout > Text Direction:
Go to the Table Tools Layout tab. Click the Text Direction button to rotate the text.
3. Repeat the Process to Rotate the Text Additional Times:
Each click rotates the text by 90 degrees.
Rotating WordArt Text
Using WordArt for Stylized Text
WordArt adds a creative flair to your documents, making titles and important text stand out. It enhances visual appeal and draws attention to key elements.
Inserting WordArt
1. Navigate to Insert > WordArt: Go to the Insert tab. Select WordArt and choose a style.
2. Enter Your Text: Type the desired text in the WordArt box.
Rotating WordArt
1. Select the WordArt Object:
Click on the WordArt to select it.
2. Use the Rotation Handle:
Manually rotate by dragging the circular rotation handle above the WordArt.
3. Use Drawing Tools Format > Rotate:
Go to the Drawing Tools Format tab. Click Rotate to select specific angles (e.g., 90 degrees, 180 degrees).
4. Custom Angles:
Choose More Rotation Options for precise angle adjustments. These steps help you effectively use and rotate WordArt to create visually engaging text elements.
For Further Reading
In conclusion, the versatility of text rotation in table cells and WordArt significantly enhances document design. By experimenting with different text orientations and alignments, you can create clear, organized, and visually appealing content. These techniques not only improve readability but also make your documents more engaging.
Moreover, for those seeking to optimize their document management and processing skills, it is highly recommended to consult How-to & Tips Articles | PDF Agile and Microsoft Word Tips and Tricks | PDF Agile. These resources offer in-depth insights and practical guidance on Microsoft Word and PDF, enabling users to harness the full potential of this ubiquitous tool. Access these valuable articles at PDF Agile for comprehensive support and advanced techniques.